This article was co-authored by Jonas Jackel. Jonas Jackel is the Owner of Huckleberry Bicycles, a bicycle retail store based in San Francisco, California. Jonas has over 20 years of experience managing bicycle retail stores and has operated Huckleberry Bicycles since 2011. Huckleberry Bicycles specializes in servicing, repairing, and custom building road, cross, gravel, touring, folding, and e-bikes. Jonas was also previously sat on the Board of Directors for Bike East Bay, a bicycle-advocacy non-profit organization based in Oakland, California.
There are 13 references cited in this article, which can be found at the bottom of the page.
This article has been viewed 257,436 times.
A fixed gear bike, or a "fixie," is a blast to ride if you know what you're doing. Unlike traditional freewheel bikes, fixed gear bike pedals continuously move while the bike is in motion. Other than the technical differences, fixed gear bikes are also typically lighter and easier to repair than freewheel or mountain bikes. If you want to ride a fixed gear, you need to learn how to stop, wear a helmet, and practice in a safe area before you take it out on the road.
Steps
Starting from a Stop
-
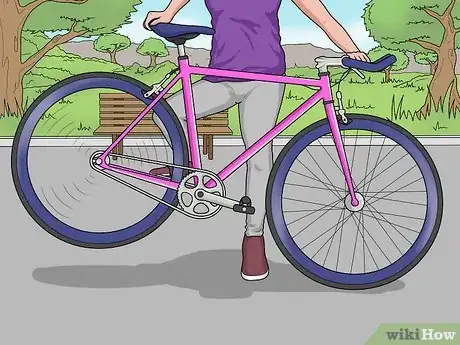
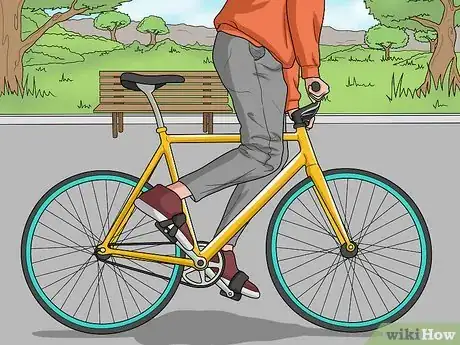
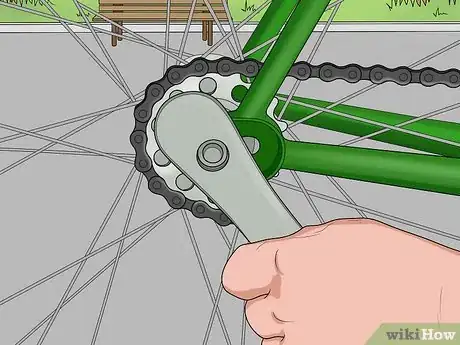
1Lift the back wheel off the ground to position your pedals. Lifting the back wheel off the ground will prevent your bike from rolling while you move the pedals. One pedal should be in front of you so that you can propel yourself forward when you step on it. Rotate the pedals with the back tire lifted up and put the pedals in the right position.[1]
-
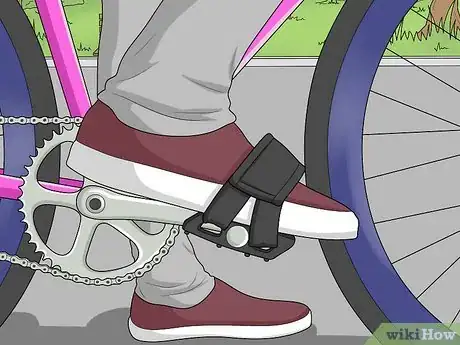
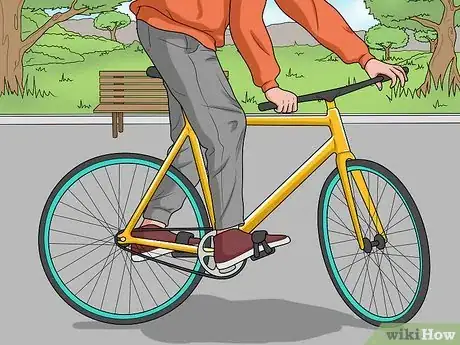
2Put your foot in the toe clips and start pedaling. Cleats, straps, and clips will give you greater control over your pedals if you need to stop. Most fixed gear bikes come with toe clips. Fit your lead foot into the clip. As you put your other foot on the pedal, push down with your lead foot to propel the bike forward.[2]
- If your bike doesn't have toe clips, you can purchase them at a bike store or online.
- Many stops on a fixed gear will be hard to do unless you have straps, clips, or cleats installed. If you have a bike that doesn't have any footholds, it may be unsafe to ride.
Advertisement -
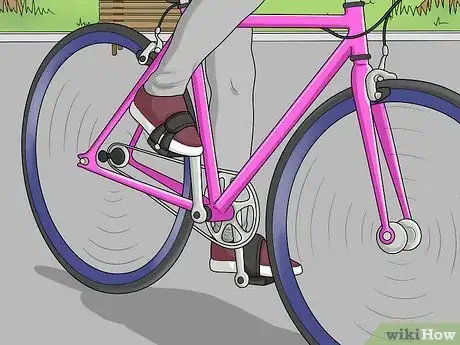
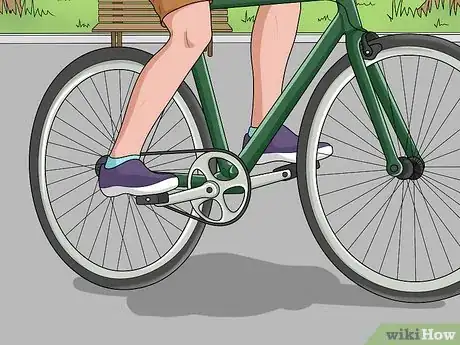
3Turn the pedals continuously. When the pedals on a fixed gear bike stop rotating the wheels stop rotating as well. Therefore, it's not possible to coast or leave your legs in a stationary position while you move. Once you gain your balance, keep on pedaling. You must get used to continually pedaling when you're on a fixed gear, unless you want to come to a complete stop.[3]
-
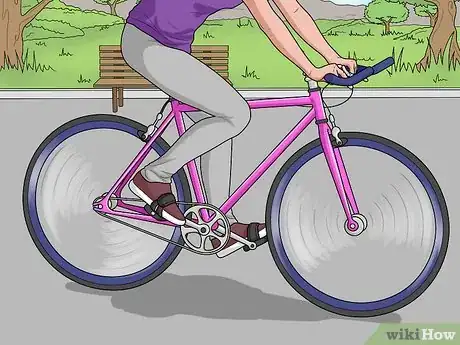
4Find a smooth and comfortable pedaling cadence. As you get used to the fixed gear bike, you'll find an average speed that you feel comfortable riding in. The rotation of your pedals should be smooth and feel good to you. If you feel like you're pedaling too quickly, slow down by applying backward resistance to your pedals.
Stopping with a Fixed Gear
-
1Start braking well before you have to stop. The bike should gradually slow down to a complete stop. Having to stop abruptly may cause you to wipe out. Look in front of you and try to anticipate any stops that you have to make. As you approach the stop, apply pressure to the brakes a couple of yards before the stop.[4]
- Braking gradually before your stop is even more important if you don't have a handbrake because it will take longer to slow down.
-
2Stop pedaling to slow down. If you want to slow down, stop putting forward momentum on the bike. Relax the muscles in your legs until you start to lose momentum. Your pedals will still rotate, but you won't be pushing the bike forward by pedaling.
-
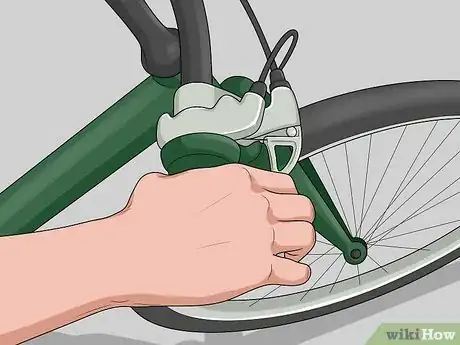
3Use your front wheel handle brake. A handle brake is the easiest way to stop a fixed gear bike. If you don't have a front brake installed, you can go to a bike shop and they will install it for a fee. Squeeze the handle brake gradually and bring your bike to a controlled stop. Do not clamp down on your brake or you may go over the handlebars.[5]
- Always look for a bike that has a hand brake in case your chain breaks.
-
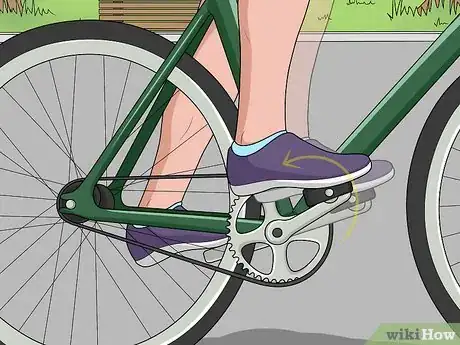
4Put backward pressure on the pedals to stop. Practice slowing to a stop until you get used to braking with your pedals. Estimate how long it typically takes for the bike to come to a full stop after you apply pressure on the brakes.[6]
- Check your local bike laws to see if they have any requirements for the number or type of brakes you need on a fixed gear bike.
Doing Advanced Stops
-
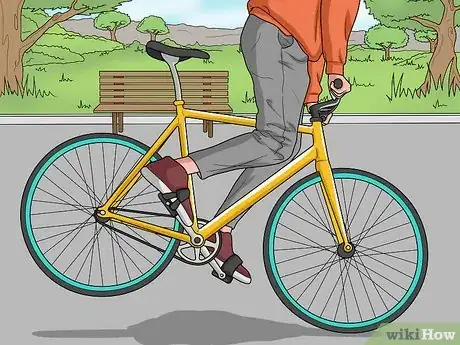
1Backpedal and lift up your back wheel to skip stop. If you need to stop quickly, lift off your seat and drive your back foot down while lifting your front foot up. Lift up on your toe clips while leaning forward slightly so that the back wheel lifts off the ground. This is called a skip-stop and is effective at quickly reducing your speed.[7]
- You might have to skip multiple times to come to a complete stop.
- Do not lean too far forward when trying this stop or you may fall off your bike.
-
2Backpedal while moving quickly to skid stop. A skid stop is similar to a skip-stop except your back wheel stays on the ground and skids. To skid stop, lift off of your seat, adjust your weight toward the front of the bike, and press down on your back pedal while pushing up on your forward pedal. This will cause your back wheel to stop and skid along the ground.[8]
- Skid stopping will weaken the rubber on your tires so don't use it all the time.
-
3Perform a track stand. Slow down until you almost come to a complete stop. Lift off of the seat, turn the wheel to the same side as your lead food, and apply downward pressure on the pedal with your back foot. Do your best to keep the pedals horizontal. Try to balance in this stance without unclipping your foot and putting it on the ground. A track stand is perfect to use when you have to come to a momentary stop and don't want to unclip your foot.[9]
- If you feel like you're losing your balance, unclip your foot and place it flat on the ground instead.
Staying Safe
-
1Take wider corners when turning. Because the pedals are always moving on a fixed gear, turning can feel very different than when riding freewheel bike. Don't take corners too tightly or your pedals may end up scraping against the ground or you might topple over. Slow down significantly when going around corners and take them wider than you normally would on a freewheel bike.[10]
-
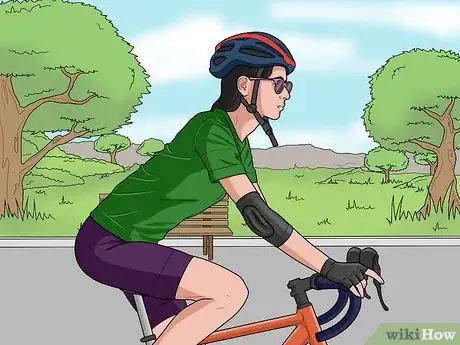
2Wear a helmet and safety gear. Purchase bike safety gear at a bike store, department store, or online. A helmet will protect your head if you fall off of the bike. If you are just learning how to ride a bike, you should also consider wearing additional protective gear like knee pads, elbow pads, and a mouthguard.[11]
- Make sure that the helmet fits snugly, but is not too tight on your head.
- Ensure that your bike has reflectors if you plan on riding it when it gets dark out. Many areas require you to have a front light and rear reflector while riding at night.[12]
-
3Practice in an empty area when starting out. Even if you have experience riding a freewheel bike, riding a fixed gear feels completely different. For that reason, you should practice riding it in an area that's free of obstacles until you're confident enough to ride it in other places.[13]
-
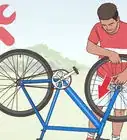
4Keep the bike chain tight. If you notice that the bike chain is drooping or loose, it could make it harder to ride the bike and could damage the chain. You can tighten the chain by unscrewing and repositioning the rear wheel further back. Check your bike chain periodically to make sure that it's tight.[14]
- Professionals at the bike shop will also be able to replace or tighten your chain.
References
- ↑ http://www.londoncyclist.co.uk/riding-fixed-for-the-first-time/
- ↑ https://www.youtube.com/watch?v=eQu1rNs0an0&feature=youtu.be&t=2m10s
- ↑ https://humancyclist.wordpress.com/2014/08/16/riding-fixed-gear-bike/
- ↑ https://totalwomenscycling.com/road-cycling/technique/technique-how-to-brake-efficiently
- ↑ https://humancyclist.wordpress.com/2014/08/16/riding-fixed-gear-bike/
- ↑ http://www.63xc.com/gregg/101_10.htm
- ↑ https://www.youtube.com/watch?v=eQu1rNs0an0&feature=youtu.be&t=1m2s
- ↑ https://www.youtube.com/watch?v=eQu1rNs0an0&feature=youtu.be&t=1m39s
- ↑ https://www.youtube.com/watch?v=-0VnQJF_WKQ&feature=youtu.be&t=51s
- ↑ https://www.youtube.com/watch?v=jh-MFK3GiL8&feature=youtu.be&t=2m43s
- ↑ http://www.hopkinsmedicine.org/healthlibrary/conditions/non-traumatic_emergencies/for_parents_bicycle_in-line_skating_skateboard_safety_85,p00818/
- ↑ https://bikeleague.org/content/smart-cycling-tips-0
- ↑ Jonas Jackel. Owner, Huckleberry Bicycles. Expert Interview. 18 February 2020.
- ↑ https://www.youtube.com/watch?v=jh-MFK3GiL8&feature=youtu.be&t=1m33s
