X
wikiHow is a “wiki,” similar to Wikipedia, which means that many of our articles are co-written by multiple authors. To create this article, 11 people, some anonymous, worked to edit and improve it over time.
This article has been viewed 41,501 times.
Learn more...
Foodsaver machines are getting more and more popular as way to save money by not wasting food. If you've purchased one second-hand, or have been using your own for a long time, the cutter blade may need to be replaced. Here are simple instruction to help you do it yourself.
Steps
-
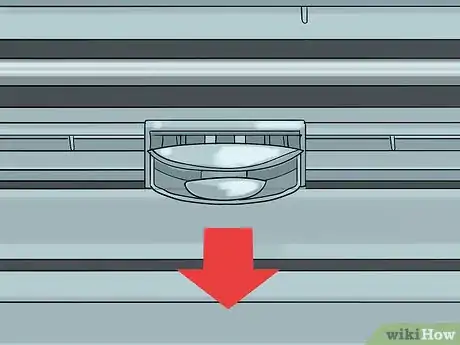
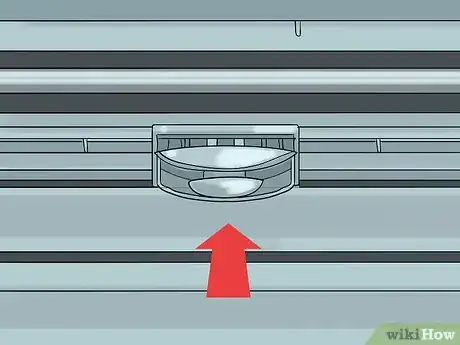
1Open the cover and locate the blade assembly from underneath.
-
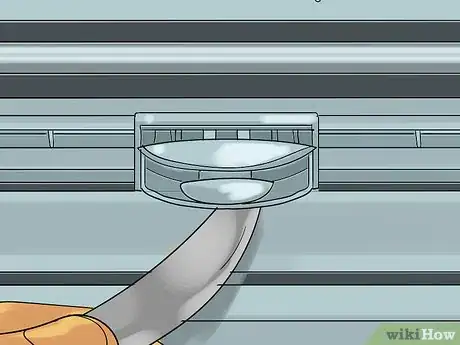
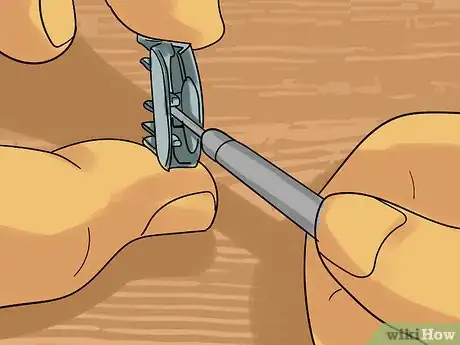
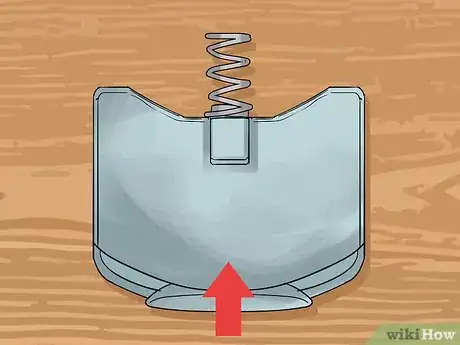
2Insert a small screwdriver or dull table knife under the retaining tab of the blade holder while gently pulling on the blade cartridge.Advertisement
-
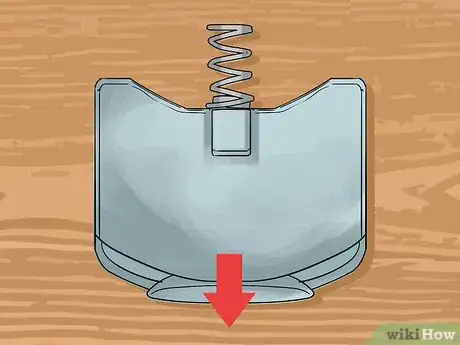
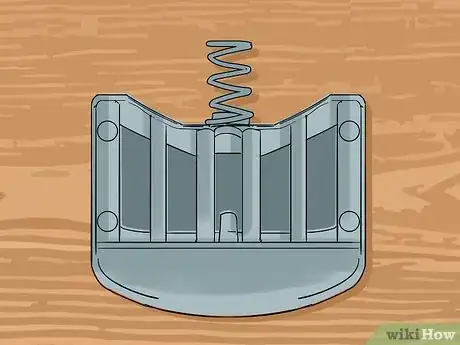
3Be careful not to loose the small spring on the blade assembly. These pictures show the retaining tab and the notch on the blade cartridge that it snaps over.
-
4Find the similar retaining tab on the blade cartridge.
-
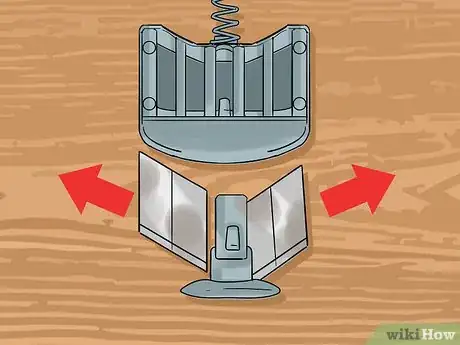
5Insert a small screwdriver or ice pick into the cartridge to unlock the tab while pulling on the blade carrier.
-
6Gently pull the blades out of the carrier. Notice that they probably got dull simply by rusting.
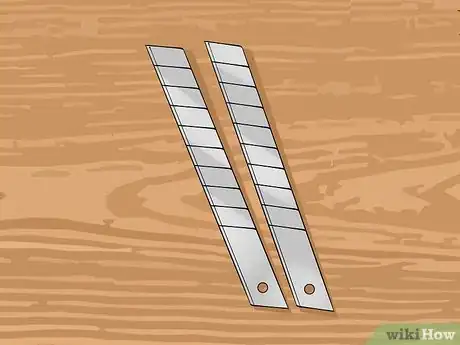
- The replacement blades are Stanley Quickpoint 9mm blades, available as refills at your nearby home improvement store. These are the kind of blades that you break off when they get dull, to create a fresh edge (notice the score lines on the blades).Ace hardware brand in the small size works also.Probably any brand small (9mm) will work.
-
7OLFA 9281 AB-10S 9mm Stainless Steel Snap-Off Blades are available from Amazon. They will prevent the "rusting" problem from happening again.
-
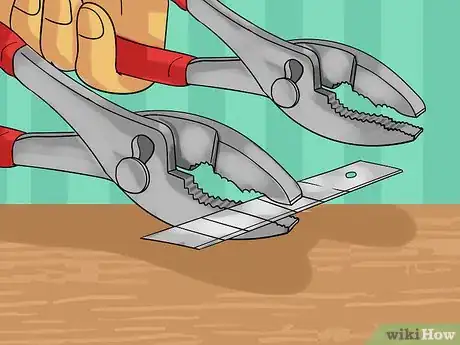
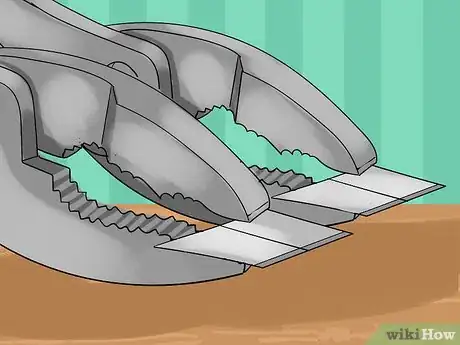
8Use two pairs of pliers to snap the blades. Be careful not to touch the sharp blade edge with anything, they dull very easily.
-
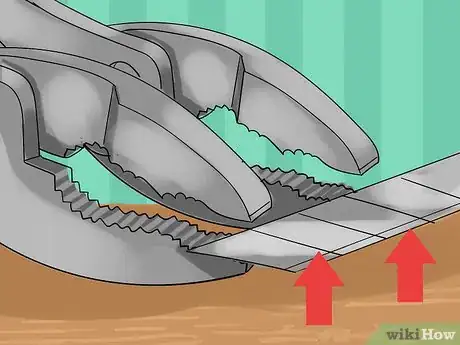
9Hold the blade with the score line facing up, one plier on each side of the score line. Notice that it takes 2 segments of the blade for each side of the Foodsaver cutter.
-
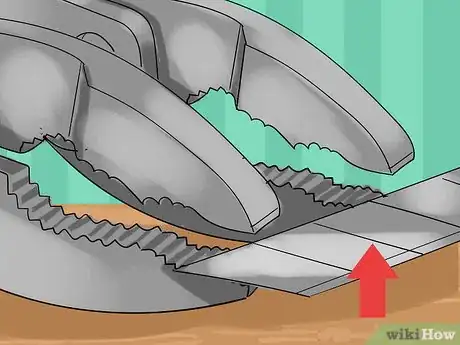
10Gently bend both sides down and the blade will break along the score line. If it doesn't break easily the you need to bend it the other direction.
-
11Break off 2 sets, each set being 2 segments wide.
-
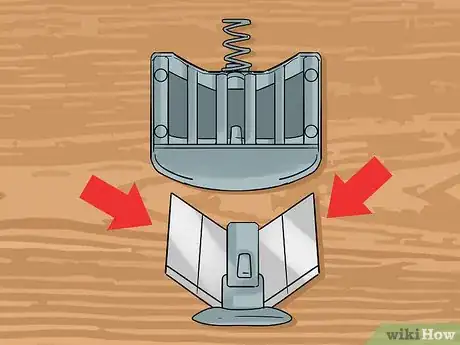
12Carefully slide one set of blades into each side of the carrier.
-
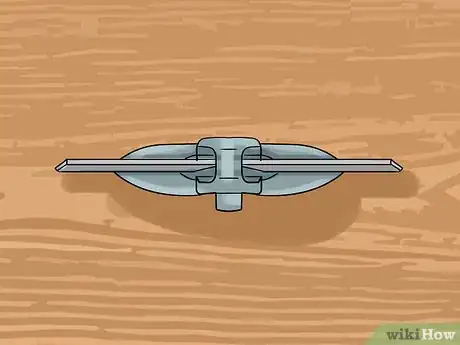
13Looking down onto the top end of the carrier, the backs of each set should be touching the center of the carrier.
-
14Insert the carrier back into the cartridge until it snaps into place. Be VERY careful not to cut yourself.
-
15Insert the cartridge back into the blade assembly, making sure the notch on the cartridge snaps into the tab on the blade assembly. That's all there is to it. It takes longer to explain than to actually replace the blades, it is easier than it sounds.
Advertisement
About This Article
Advertisement
