This article was co-authored by Mike Katona. Mike Katona is a DIY Home Improvement Specialist and the Co-founder of ShabbyChicHouse. With experience dating back to the early 2000s, he specializes in building new homes, home design, and decor. Mike has been featured in publications such as Real Homes and MSN Lifestyle. He has also been named one of Feedspot's Top 100 Home Improvement Bloggers.
This article has been viewed 42,668 times.
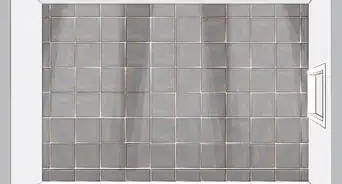
Tile is a very tough and durable wall and floor covering, but it is not indestructible. Tile can be made of ceramic, porcelain, quarry stone or terracotta (clay) and is vulnerable to damage caused by virtually any item heavy or strong enough to crack those materials. A floor tile may even crack on its own if it's hiding a manufacturer defect or if it's installed on an uneven subfloor. Fortunately, cracked tile is repairable and you don't have to be a flooring contractor to be able to do it. If you have a broken tile that needs to be replaced, follow these steps for how to repair tile.
Steps
-
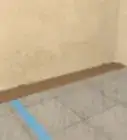
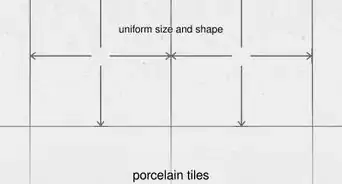
1Find a replacement tile that matches. Flooring contractors often leave spare tiles in the garage or storage room for when the homeowner might need to repair tile mishaps.[1]
-
2Choose a matching grout. Borrow colored grout samples from a well-stocked flooring supply store and bring it home to find the closest match.[2]Advertisement
-
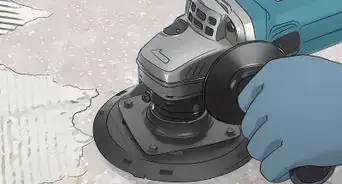
3Remove the old tile completely. Be careful not to damage any of the surrounding tiles.[3]
- Use an electric drill with a masonry bit to drill a diagonal series of small holes into the cracked tile, keeping drilled holes less than 1 inch (2.54 cm) apart.
- Split the tile through the horizontal hole-line by using a ball-peen hammer to tap a cold chisel into the tile. Tap very lightly so as not to crack neighboring grout joints.
- Remove the loosened pieces. Use a flat bar to pry up any shards that you cannot get up by hand.
- Scrape the remaining old mortar from the subfloor using a stiff-bladed scraper. It is not important that you get every last bit up. Just make sure the area is fairly clean of mortar.
- Vacuum up any loose dirt or debris.
-
4Set the replacement tile. Mix the thinset mortar to a pancake batter consistency. Let sit for 5 minutes, stir again, and begin spreading. Use a notched trowel to spread mortar onto the subfloor and lay the new tile in. Use a level to ensure tile is laying perfectly flat and also to determine that the newly set tile is flush with surrounding tiles.[4]
-
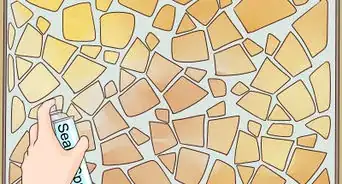
5Grout the area according to the grout manufacturer's directions.[5] Generally, it is done the following way:
- Mix your grout in a clean container with fresh water. Slowly add a little bit of water, mix and then repeat until you reach a consistency of pancake batter.
- Using a grout float, scoop out a bit of grout. Place the float at a 45-degree angle and in diagonal strokes spread the grout in the gaps between the tiles.
- After 20-30 minutes your grout should start to harden, and you can clean the surface of tiles with a wet sponge. You may need to do 2-3 rounds of cleaning.
-
6Finished.


Warnings
- Stay away from newly grouted tile area for at least 24 hours.⧼thumbs_response⧽
Things You'll Need
- Replacement tile
- Grout
- Mortar
- Portable drill
- Masonry bit
- Ball-peen hammer
- Chisel
- Flat bar
- Safety goggles
- Work gloves
- Scraper
- Vacuum
- Notched trowel
- Level


References
- ↑ https://www.youtube.com/watch?v=4MDsciUzG4U
- ↑ https://www.youtube.com/watch?v=4MDsciUzG4U
- ↑ https://www.thisoldhouse.com/flooring/21016165/how-to-replace-a-cracked-floor-tile
- ↑ https://www.thisoldhouse.com/flooring/21016165/how-to-replace-a-cracked-floor-tile
- ↑ https://www.bhg.com.au/how-to-replace-outdoor-tiles
About This Article