This article was co-authored by Josh Goldbach. Josh Goldbach is an Outdoor Education Expert and the Executive Director of Bold Earth Adventures. Bold Earth leads adventure travel camps for teenagers all over the world. With almost 15 years of experience, Josh specializes in outdoor adventure trips for teens both in the United States and internationally. Josh earned his B.A. in Psychology from Eckerd College in St. Petersburg, Florida. He’s also trained as a wilderness first responder, a Leave No Trace master educator, and a Level 5 Swiftwater rescue technician.
This article has been viewed 107,493 times.
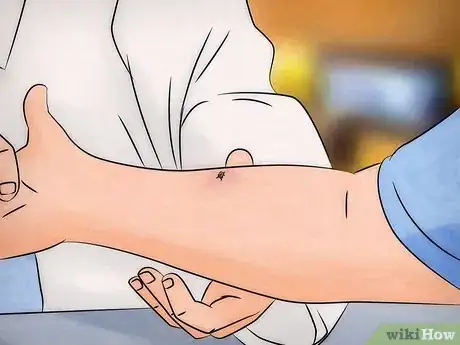
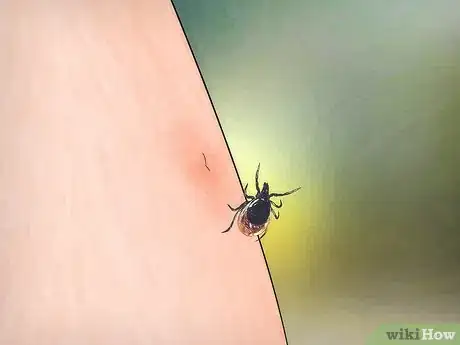
Deer ticks tend to be found in wooded areas and can carry bacteria that lead to Lyme disease and other infectious illnesses. In order to prevent the transmission of disease, it is important to act quickly. Removal of a deer tick up to 36 hours after it has attached to the skin can prevent the transmission of Lyme disease. Within that timeframe, there are multiple methods for removing a deer tick to ensure your health.
Steps
Using Tweezers to Remove a Tick
-
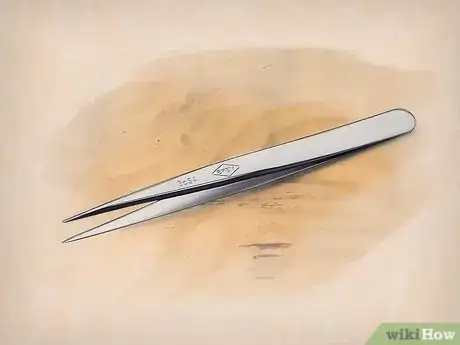
1Use pointy tweezers. Household tweezers are too large and increase the chances of tearing the tick apart during removal, increasing the likelihood for the spread of Lyme disease or infection.[1]
- If you do not have a pair of pointy tweezers, use a pair of household tweezers. They will work better than your fingers.
- Do not use pliers. This will squish the tick and increase the likelihood of infection.
-
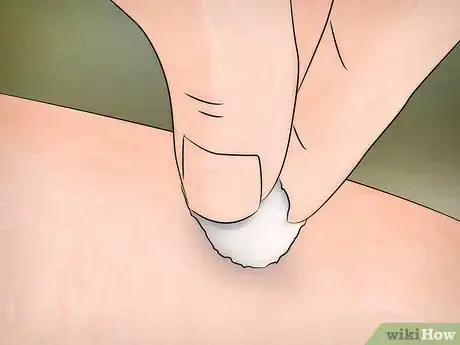
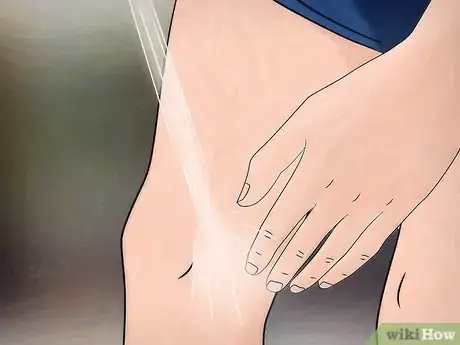
2Disinfect the area where the tick is attached. Before you remove it, be sure to disinfect the tick and the area surrounding it. Soak a cotton swab with a disinfectant, such as hydrogen peroxide, and apply it to the area of the bite.
- Applying disinfectant before removing the tick creates a sterile area and helps prevent the spread of infectious disease.
Advertisement -
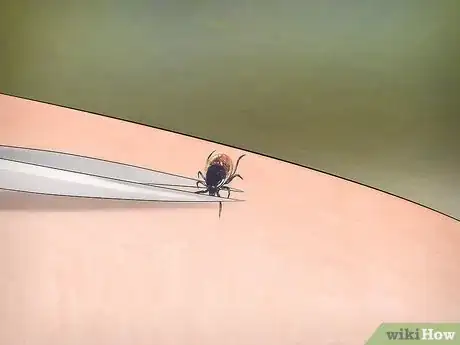
3Grab the tick’s head. With your pointy tweezers, grasp the tick as close to the skin as possible. The tick’s head is under your skin, and if it is agitated it will empty its stomach contents into your system. Therefore, the goal is to grab it by its head, and avoid squeezing the tick’s body, which will cause bacteria in its gut to squirt into the wound and possibly spread infectious disease.[2]
- Getting the tick by its head will close off its throat and prevent it from regurgitating the toxins in its system into yours.
-
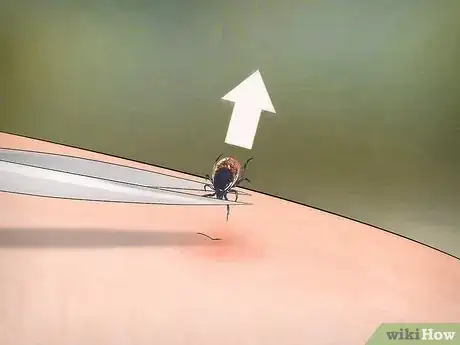
4Use a slow and steady motion to pull the tick backwards out of the skin. Keep pulling straight back until the entire tick is out of the skin. Pulling too fast can cause the tick to tear, leaving the head of the tick still attached to the skin.[3]
- Avoid twisting or jerking the tick.
- Although it is best to removal the entire tick at once, do not be too concerned if the head breaks off. As long as the tick’s throat is closed, disease transmission will be limited.
-
5Clean the wound. Rinse the wound with clean water and use an over the counter disinfectant on the area to reduce the chances of an infection. Be sure to clean off any blood or other bodily fluids, especially around the wound. [4]
- Use iodine or rubbing alcohol, as well as soap and water, to clean the wound.
- Do not rub too vigorously. This might irritate the bite area.
-
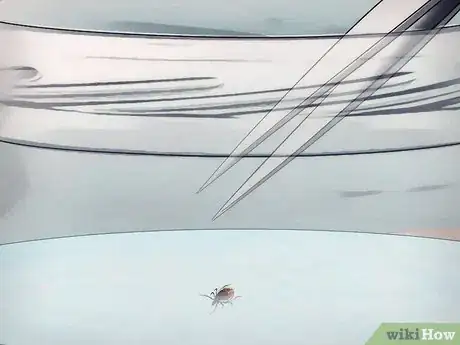
6Dispose of the tick. Make sure that the tick is dead by squeezing it with the tweezers. Submerge the tick in alcohol, place it in a tissue or a plastic bag, and put it in the garbage. You can also flush it down the toilet.[5]
- Avoid squeezing the tick with your fingers. This will cause the infectious contents of its stomach to spill onto your fingers.
-
7Think about getting the tick tested. You may consider sending your tick to your state or local health departments for testing. This will tell you if the tick was carrying an infectious disease. However, these tests are generally not useful because they do not indicate if you are infected, just the tick. Also, if you are infected, you will probably develop symptoms before you get the tests results.[6]
-
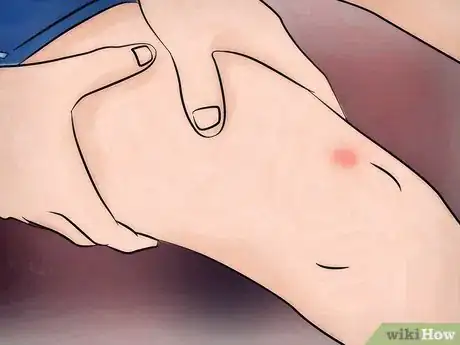
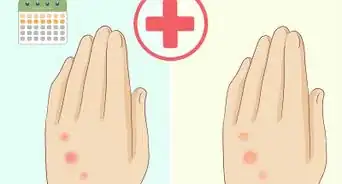
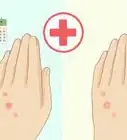
8Monitor the site where the tick was removed for signs of infection. If you see increased redness, pus oozing out, or feel pain, apply an antibiotic ointment or contact your doctor. It is important that you monitor your symptoms and keep an open for any complications. [7]
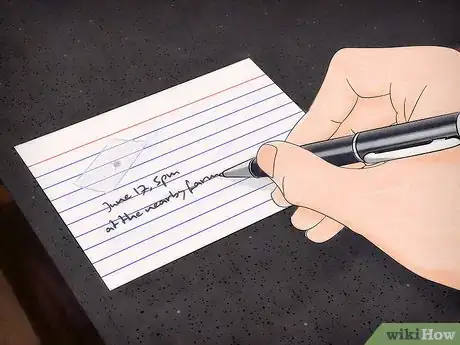
- Write down the date you were bitten. This may help your doctor determine if you are experiencing symptoms of a tick borne illness.
Removing the Tick with a Straw and a Knot
-
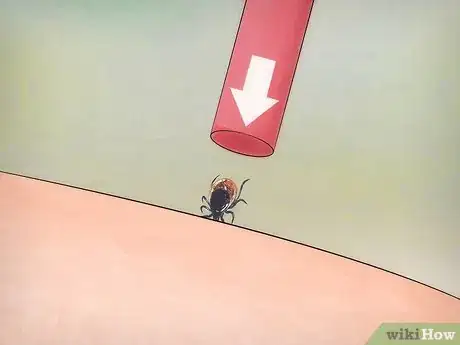
1Place a drinking straw at a 45-degree angle over the tick. Make sure that the straw is big enough to encircle the tick but not so big that there is too much room around it. The straw will act as a guide for the knot you will use to grab the tick.[8]
- Although you can perform this operation on yourself, depending on where the tick is located, it is best to have someone help you. If you, or someone else, are unable to remove the tick, have a doctor remove it safely.
-
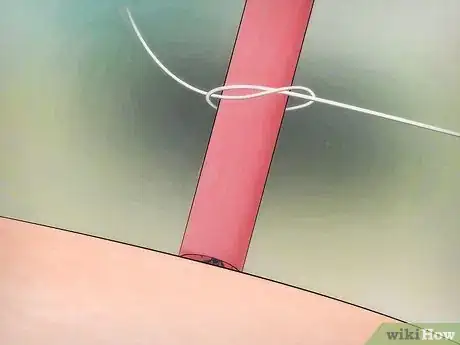
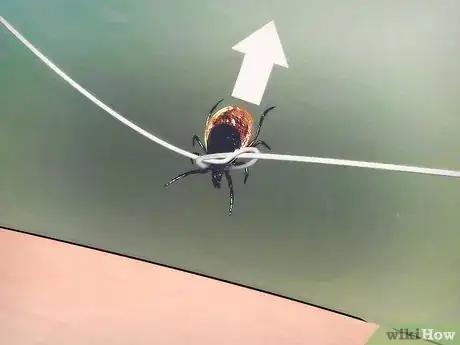
2Tie a loose knot at the top or midsection of the straw. Using either thread or dental floss, create a loose knot on your straw. Do not make it so tight that you cannot move it on the straw or so loose that it does not grab onto anything.[9]
- The goal is to have a knot that can move on the straw.
-
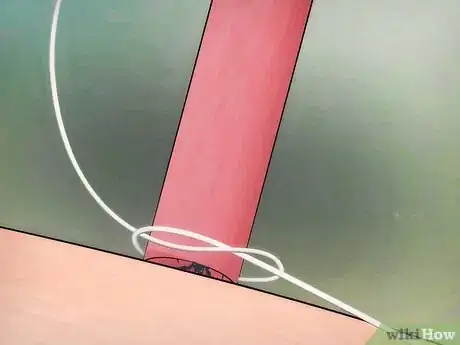
3Slide the knot down the straw to the tick. Once it has reached the tick, position the knot under the tick’s belly. This will encircle the embedded head and mouth of the tick, making it easier to remove the entire insect.[10]
- Avoid tying the knot around the tick’s body. This will cause it to regurgitate its stomach contents into the wound.
-
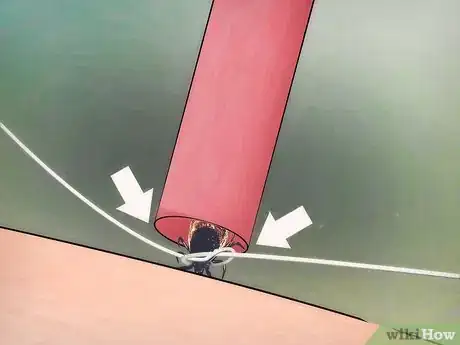
4Slowly tighten the knot around the tick’s head. Gently and carefully pull the knot tighter. Pulling too forcefully or quickly may tear the tick. Your goal is to create a knot that closes off the tick’s throat and prevents regurgitation.[11]
-
5Remove the straw and pull the thread upward. Get the straw out of your way and begin pulling upwards on the tick with a steady motion. After a few moments, the tick will detach without spilling its stomach contents.[12]
- Be sure to kill the tick and dispose of it.
Getting an Intradermal Blister
-
1Find the nearest doctor’s office. If you are close to a clinical or hospital, you may want to have a doctor remove the tick using an intradermal blister. This procedure is great for cleanly removing a tick without pulling it from the skin and risking stomach regurgitation.[13]
- The procedure is relatively quick and painless. However, it does involve needles, so it may not be perfect for those with needle phobias.
-
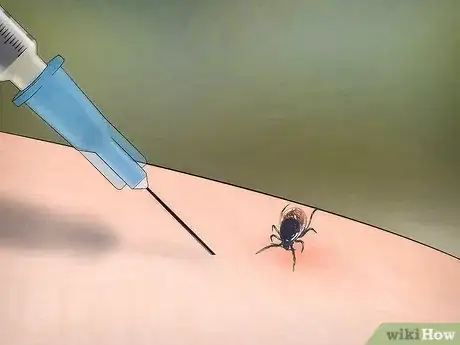
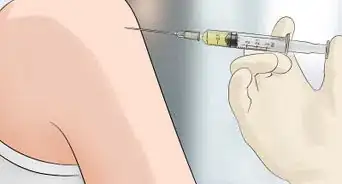
2Let the doctor inject Lidocaine into the skin under the tick. This is a medication used to numb tissue in a specific area. A Lidocaine filled blister will slowly begin to develop under the tick.
- Lidocaine is also referred to as Xylocaine.
-
3Watch the tick detach itself. Because the tick will find the Lidocaine unappealing, it will release its grip and remove itself from the bite on its own. Because it was not pulled from the wound, the tick will not have released its stomach contents into your body.[14]
- Be sure to grab the tick before it runs off and finds a tastier spot on your body or attaches to someone else.
- Once the tick is gone, you can squeeze the Lidocaine out of the blister or let your body break it down on its own.
Warnings
- Do not touch the tick with your bare hands.⧼thumbs_response⧽
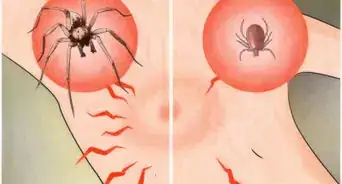
- Go to a doctor if you believe you are developing any symptoms of Lyme disease. These include joint pain, a rash around the bite, fever, fatigue, or other flu-like symptoms.⧼thumbs_response⧽
- If you are unable to remove a deer tick, go to your doctor as soon as possible. Although a tick may work its way out on its own, it is best to get it out before it has a chance to transmit any disease.⧼thumbs_response⧽
References
- ↑ https://newsnetwork.mayoclinic.org/discussion/mayo-clinic-q-and-a-how-to-remove-a-tick-quickly-and-correctly/
- ↑ http://dnr.state.mn.us/insects/deerticks/index.html
- ↑ https://newsnetwork.mayoclinic.org/discussion/mayo-clinic-q-and-a-how-to-remove-a-tick-quickly-and-correctly/
- ↑ http://www.cdc.gov/lyme/removal/
- ↑ http://www.cdc.gov/lyme/removal/
- ↑ http://www.cdc.gov/lyme/removal/
- ↑ http://www.cdc.gov/lyme/removal/
- ↑ http://canlyme.com/lyme-basics/tick-removal/
- ↑ http://canlyme.com/lyme-basics/tick-removal/
About This Article
To remove a deer tick, start by using hydrogen peroxide to disinfect the area around the tick. Next, use a pair of pointy tweezers to grab the tick by the head as close to the skin as possible. Then, use a slow and steady motion to pull the tick out of the skin. Once the tick is out, rinse the area with clean water and use a disinfectant to reduce the chance of infection. Finally, dispose of the tick by squeezing it with the tweezers and submerging it in alcohol or flushing it down the toilet. To learn how to monitor a tick bite for chance of infection, keep reading!
