This article was co-authored by Lindsay Yoshitomi. Lindsay Yoshitomi is the nail artist behind the blog, Lacquered Lawyer. She was featured as one of Nail It! magazine’s “Bloggers You Should Know,” and has been on the cover of Nail Art Gallery Magazine. She has been practicing nail art for over 15 years.
There are 10 references cited in this article, which can be found at the bottom of the page.
This article has been viewed 164,229 times.
To remove your gel nail extensions, also called gel overlays, it's important to focus on keeping your nails healthy and undamaged. After you trim your nail extensions and soak the gel in acetone, scrape off the gel very gently using your finger or a cuticle pusher. By not scraping too forcefully and moisturizing your nails and hands once the gel is removed, your nails will be gel-free and healthy.
Steps
Trimming and Filing the Nails
-
1Remove any embellishments on your nails using nail clippers. These include things like jewels or other bling on top of your gel nails that need to be removed before soaking them. Use nail clippers to take off the embellishments, or remove them with your fingers if possible.[1]
-
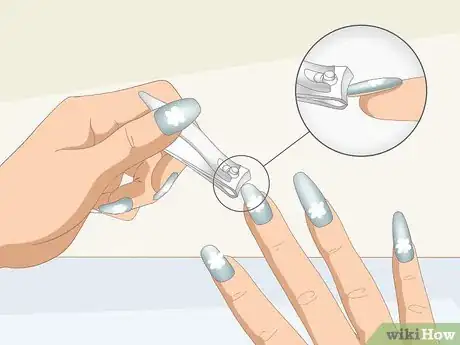
2Trim your nail extensions to just above your real nails. Use nail clippers to cut off the ends of the fake nails. Be careful not to clip too close to your nail bed if you only want to remove the nail extensions and keep your real nails at their regular length.[2]
- Look at the underside of your nails to see where your real nail meets the nail extension.
Advertisement -
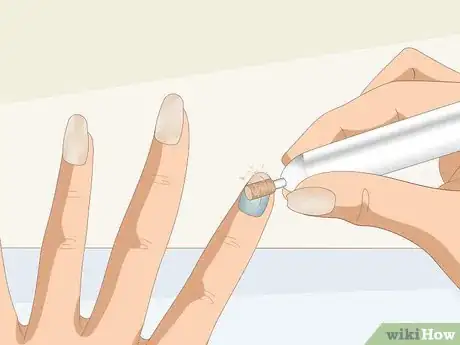
3File off the top coat of gel on each nail gently to get to the base coat. Do this using an e-file, which is an electronic file used for buffing, sanding, and polishing acrylic or gel nails, if you have one. If not, use a regular nail file to gently remove the gel coat so that the base coat is exposed. The base coat is often an opaque white color that’s lighter than your real nail.[3]
- Watch out for your cuticles when you’re filing so that you don’t damage them.
- Avoid going over the same spot on your nail with the file more than a few times—you don’t want to file straight through to your natural nail.
- Filing the gel coat off of your nails will make it easier for the acetone to penetrate the base coat.
Soaking Your Nails in Acetone
-
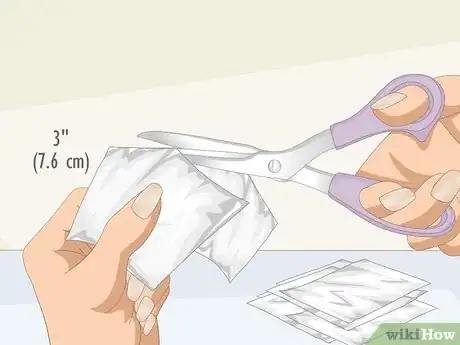
1Cut 10 pieces of foil that are roughly 3 in (7.6 cm) in width and height. Use scissors to cut the aluminum foil, which will wrap around your nails to hold the acetone in place. Cut the pieces of foil so that they're large enough to wrap around your finger securely.
-
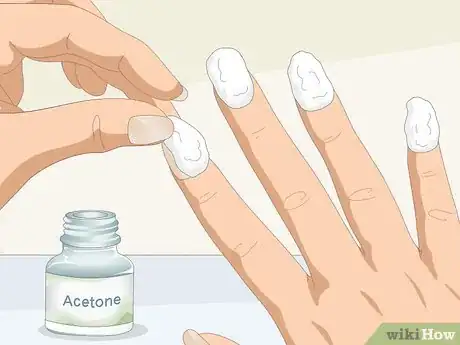
2Soak 10 cotton balls in acetone and place one on each nail. Use regular cotton balls or cotton pads cut in half. Soak each piece of cotton in acetone so it’s thoroughly drenched and won’t dry out. Hold a cotton ball or cotton pad on your nail.[4]
- Cutting round cotton pads in half will make it easier to fit them around each nail.
- When positioning the piece of soaked cotton, make sure your entire nail will be saturated, including the tip.
-
3Wrap aluminum foil around each finger to hold the acetone in place. Take a square of aluminum foil and wrap it around the piece of cotton so it won’t move. Twist the end of the foil and wrap it under your nail so it’s nice and tight. Do this to each nail until all of your gel nails are covered in soaked cotton balls and foil.[5]
- Wrap the foil tightly around each nail so that the acetone won’t evaporate.
-
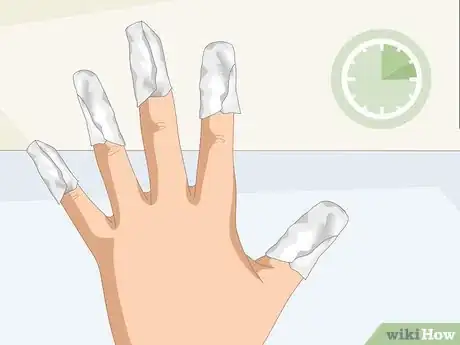
4Wait for 10-15 minutes to let the acetone penetrate the gel. How long you let the acetone soak is up to you, but waiting roughly 10 minutes before checking should allow enough time for the gel to begin to come off. Set a timer to help you remember when it’s time to check on your nails.[6]
- Some people remove the foil after just 5 minutes while others wait 20 minutes. How long it takes for the gel to loosen will depend on the type of nail extensions as well as the gel application.
-
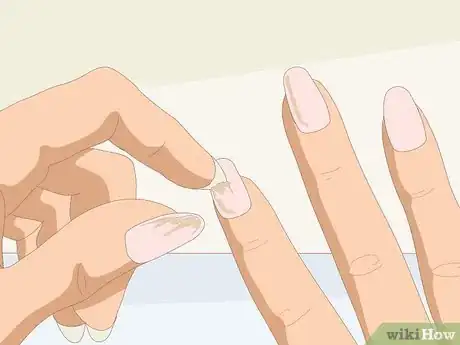
5Remove the foil and gently scrape off any loosened gel from your nails. Take off the foil and cotton balls to look at your nails, setting the foil and cotton aside to possibly use again. Use your finger or a cuticle pusher to gently scrape off gel that has loosened due to the acetone. Avoid aggressively trying to remove the gel—if it isn’t coming off easily, it needs to be soaked again.[7]
- The gel around your cuticle will likely loosen first.
-
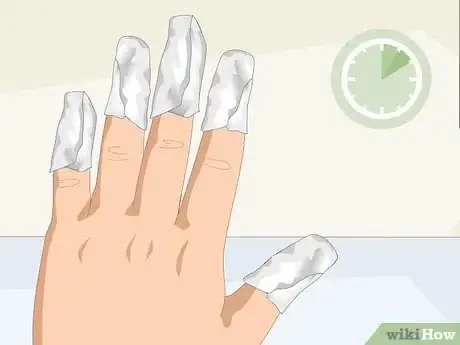
6Soak your nails in acetone again for 5-10 minutes to remove any leftover gel. Place the cotton balls back on your fingers, wrapping the foil around each nail again to keep the cotton ball in place. Set a timer for another 5-10 minutes to let the acetone continue soaking off the gel.[8]
- Touch the cotton balls to see if they’re still wet with acetone or if they need to be soaked again.
-
7Take off any remaining gel using your fingers or a cuticle pusher. After you’ve soaked your nails for a second time, remove the foil and cotton balls. Gently scrape off the remaining gel using a cuticle pusher, or your fingers if the gel is super loose.[9]
Cleaning and Moisturizing Your Nails
-
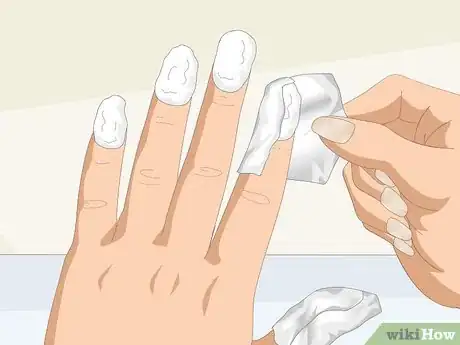
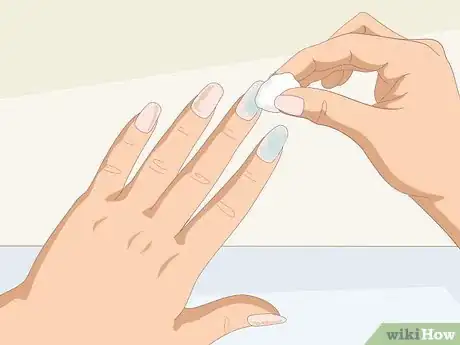
1Wipe off leftover residue using an acetone-soaked cotton ball. Dampen a cotton ball or paper towel with nail polish remover and swipe it over each nail. This will help get rid of any stubborn gel spots or loose dust from scraping.[10]
- Wash your hands after you've finished with the acetone to clean it off of your skin, if desired.
-
2Massage cuticle oil into your nail beds to moisturize your cuticles. Apply a drop of cuticle oil to each nail and use your fingers to spread the oil around your nail bed and onto your cuticles. This keeps your cuticles healthy after being soaked in acetone.[11]
- Purchase cuticle oil from your local big box store, beauty store, or online.
-
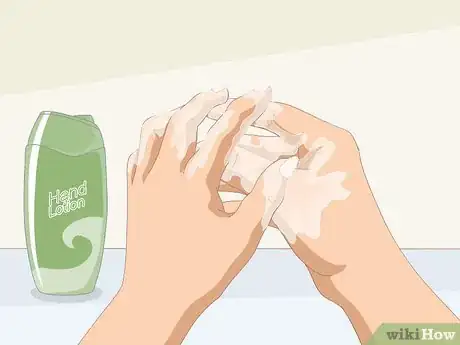
3Use a moisturizer on your hands to prevent them from drying out. Acetone is very drying on your nails and fingers. To add a little more moisture back into your skin, use a hand lotion or cream so your hands are feeling soft again.[12]
- Pay special attention to the skin around your fingernails as you apply the lotion.
- There are also special nail and cuticle oils you can purchase that will help hydrate and strengthen your nails and skin.[13]
Our Most Loved Articles & Quizzes
Warnings
- Gel extensions that aren't able to soak off will need to be taken off by a professional.⧼thumbs_response⧽
References
- ↑ https://www.youtube.com/watch?v=s07ezSA3AmU#t=1m30s
- ↑ https://www.youtube.com/watch?v=X0cVTSmAU50#t=30s
- ↑ https://www.youtube.com/watch?v=rb_8dIl7QRU#t=4m55s
- ↑ https://www.youtube.com/watch?v=s07ezSA3AmU
- ↑ https://www.glamourmagazine.co.uk/gallery/how-to-remove-gel-nails
- ↑ https://www.glamourmagazine.co.uk/gallery/how-to-remove-gel-nails
- ↑ https://www.seventeen.com/beauty/nails/a14512746/how-to-remove-gel-nail-polish/
- ↑ https://www.youtube.com/watch?v=X0cVTSmAU50#t=2m10s
- ↑ https://www.youtube.com/watch?v=X0cVTSmAU50#t=2m15s
- ↑ https://www.youtube.com/watch?v=X0cVTSmAU50#t=2m21s
- ↑ Lindsay Yoshitomi. Nail Artist. Expert Interview. 12 July 2019.
- ↑ https://www.glamourmagazine.co.uk/gallery/how-to-remove-gel-nails
- ↑ Lindsay Yoshitomi. Nail Artist. Expert Interview. 12 July 2019.

