This article was co-authored by wikiHow Staff. Our trained team of editors and researchers validate articles for accuracy and comprehensiveness. wikiHow's Content Management Team carefully monitors the work from our editorial staff to ensure that each article is backed by trusted research and meets our high quality standards.
There are 11 references cited in this article, which can be found at the bottom of the page.
wikiHow marks an article as reader-approved once it receives enough positive feedback. In this case, 100% of readers who voted found the article helpful, earning it our reader-approved status.
This article has been viewed 537,561 times.
Learn more...
In this guide, you will learn a step-by-step process to add a different look to your car and car accessories using plasti dip. Plasti dip is a substance utilized for wheels and cars to protect their original surfaces during the winter season. Plasti dip is a high quality product that is resistant to sun fading, winter ice, cold, and salt. It is also a durable yet removable substance that will peel off after a long period of time. Most importantly, anyone can use this product to display a clean and matte look for their car while completely remaining free of harm.
Steps
-
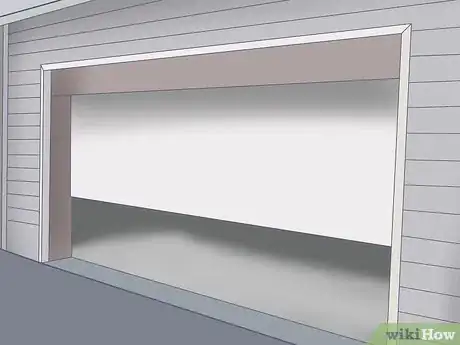
1Find a suitable location. Find an area that is large enough to house the car and is very well ventilated. A good suggested area would be an open garage,[1] but if that is not possible, outside under in the shade is a good idea. Avoid direct sunlight.
-
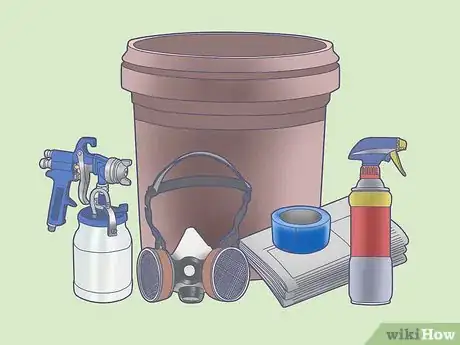
2Gather materials. Gather the materials needed listed in the Things you’ll need section.Advertisement
-
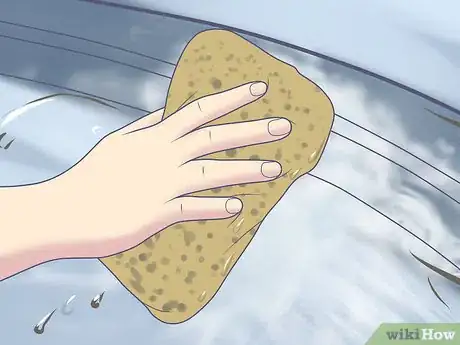
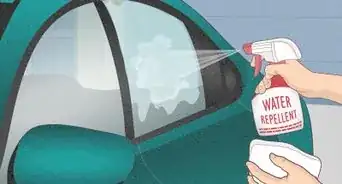
3Properly wash and clean the surface. Before applying any type of plasti dip to the car, it must be clean. The plasti dip is an overlay so it will form a separate layer on top of any surface as well as dirt, raised surfaces, or bird poop found on the car. In other words, you want a clean surface to work with.[2]
-
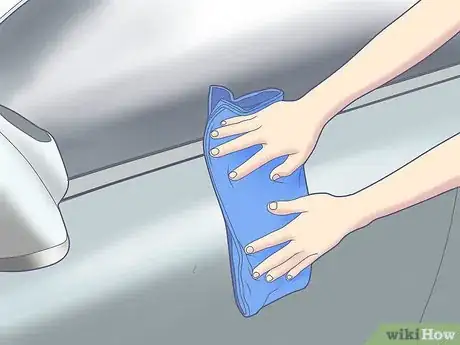
4Surface MUST be dry. After cleaning the area, dry it with a cloth of your choice. Try using a Meguiar's Water Magnet Drying Towel, but you can use any terry towel. Avoid using shirts with designs or logos and paper towels.These will create scratches.[3]
-
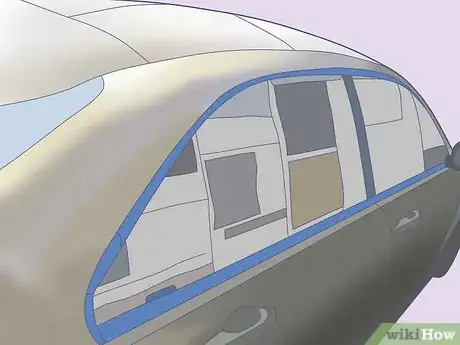
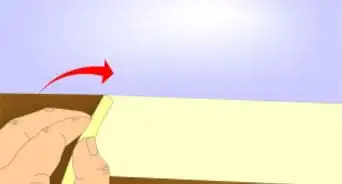
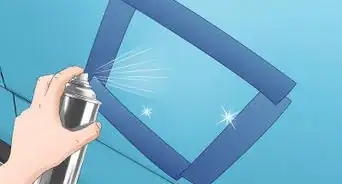
5Prepare the area.[4] Although plasti dip is already easy to remove, you would want to prepare the area. Preparing the area you wish to apply the plasti dip reduces the hassle of removing the over spray later. Using painters tape and newspapers, cover windows and any designated area that you do not want to get plasti dip on.
-
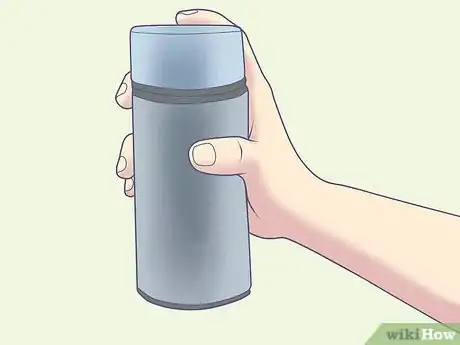
6Shake the can. As with any spray-on material, it will need vigorous shaking. Shake the can for one minute.
-
7Paint in sections. Painting in sections will allow for the fastest time (6-8 hours) through this process. For example, add a first layer to the hood, while the hood is drying add a first layer to the roof, etc. You do not need to start on the hood. You may start wherever you like. Important note! do not touch Plasti dip on the car at any point in time during the process as to avoid any mis-painted spots. Plasti dip is safe to touch after curing. It is recommended to wear a mask and eye protection.
-
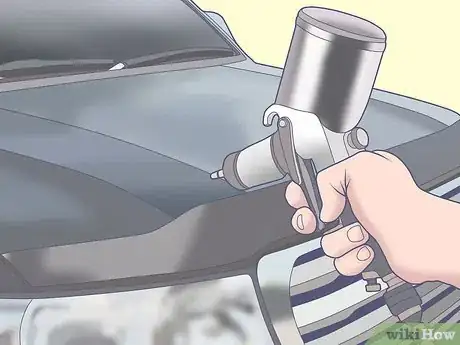
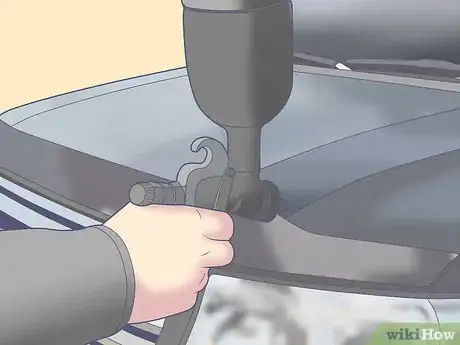
8Spray the first layer.[5] It is very important that this layer is a light dusting because the first layer is the bonding layer meaning it will be a 50 - 60% transparency. This will allow the rest of the layers to bond and stick to the paint. Spray in a clean sweeping motion, making sure to hold the can 6–8 inches (15.2–20.3 cm) away from the area. Allow plasti dip to dry 15-30 minutes depending on climate, before adding the next layer.
-
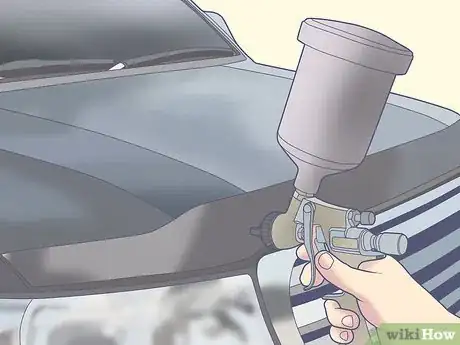
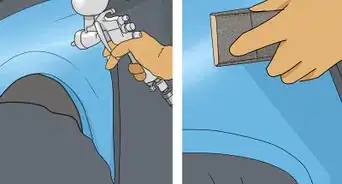
9Spray additional layers. Increasing the layers on top of the first will only increase the durability of the plasti dip. The average number of layers is 4-5. Any additional amount of layers is up to personal preference. The layers after the first will be light layers in which you will fully coat the area. Spray in a clean sweeping motion, making sure to hold the can 6–8 inches (15.2–20.3 cm) away from the area. Remember Allow 15-30 minutes of drying time in between each layer.
-
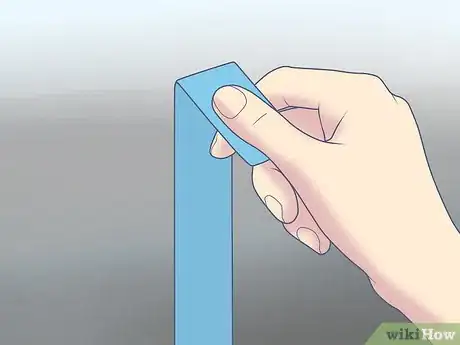
10Tape/newspaper removal.[6] After the final layer is applied, immediately remove any painter's Tape or newspaper that may have been used, from the immediate area, and toss in the trash. Remove before plasti dip dries.
-
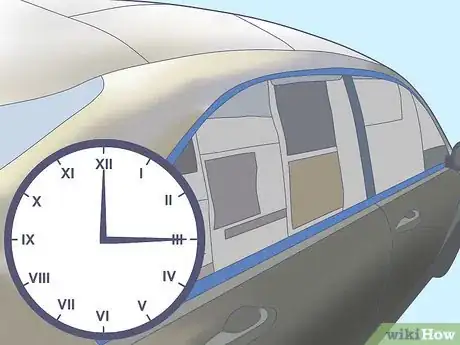
11Cure time. At this point the plasti dip will take four hours to fully cure. At ALL costs, avoid any form of liquid, or any substance that may cause damage to the area. It may ruin the curing process.
-
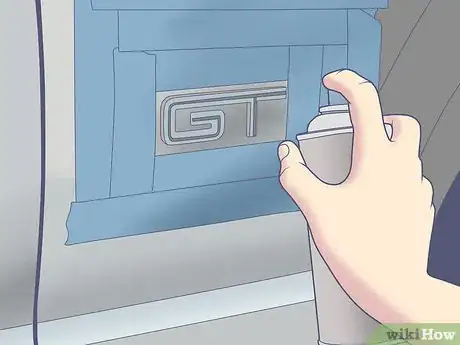
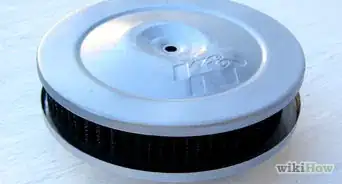
12Spray car accessories.[7] For car accessories such as emblems and the grille, repeat steps 1 - 11. Spray onto emblems or grille only. important note - if the car is currently in the curing process, wait until car is fully cured before preparing the area. Spraying the car accessories can be done while painting the main body of the car.
-
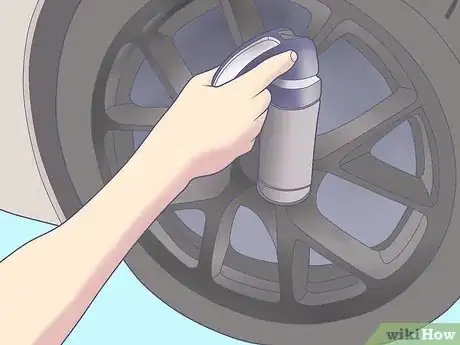
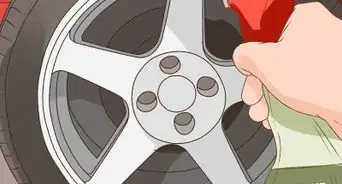
13Plasti dip rims.[8] The cleanest way to apply plasti dip your rims is to remove the wheels completely from the car. Follow respective car manual on how to remove entire wheel from car. Repeat steps 1-11 for the rims. It is completely optional to cover the rubber of the wheel as plasti dip is easily removable. But covering the rubber ensures easy clean up. (Wranglerforum.com)
Community Q&A
-
QuestionHow do I remove it from areas that got overspray?
 Community AnswerYou can either peel it (if it is thick enough) or rub vigorously with your finger or a towel, and it will wipe right off.
 -
QuestionHow many bottles do I need for 4 rims?
 Community Answer3 bottles of dupli•color custom removable coating (essentially plasti-dip) is a safe amount to go with. This is enough to do wheels, hubcaps, and any emblems you want.
 -
QuestionDo I need to sand any of the materials I'm painting when plasti dipping my car and car accessories?
 Community AnswerObviously not! The purpose of applying a layer of plasti dip is to change the appearance of the object without damaging the current state. You should at all times be able to revert to the old (original) look by peeling off the layer of PD. Sanding before applying would only ruin the original paint. Just make certain - as explained - that the surface is clean and dry.
Warnings
- Extremely flammable harmful vapor. Irritates eyes, skin and respiratory tract.⧼thumbs_response⧽
- Wash hands after using.⧼thumbs_response⧽
- Keep away from heat sources, open flame, and sparks.⧼thumbs_response⧽
- Do not puncture or incinerate container.⧼thumbs_response⧽
- Contents under pressure. “If ingested contact physician or Poison Control immediately. If inhaled remove to fresh air. Administer Oxygen or Artificial Respiration if necessary. If contact with: Flush with large amounts of water. If irritation persists, contact Physician”.⧼thumbs_response⧽
- Avoid skin and eye contact. Overexposure may cause numbness in extremities, which persist for some period of time and may be permanent.⧼thumbs_response⧽
- Do not store can above 120 °F (49 °C).⧼thumbs_response⧽
Things You'll Need
- Painter’s tape 1–3 inch (2.5–7.6 cm) wide
- Newspapers
- Performix plasti dip (About 15-20 cans depending on the size of the car)
- - each 11 oz can covers 6 sq ft at 5 mils thickness
- Spray trigger (Optional, make sure it fits can)
- Spray gun (optional)
- 2 one-gallon buckets of plastidip (only if using spray gun)
- Painter’s mask (does not need to be professional can be disposable masks)
- Index Cards
- Gloves (plastic)
- Painters goggles
- Old clothes (In case you get dip on you)
- Nice open space
- Water (in case of emergency)
References
- ↑ https://lifehacker.com/how-to-transform-your-garage-into-the-ultimate-diy-work-1719480723
- ↑ https://www.consumerreports.org/car-repair-maintenance/how-to-wash-your-car/
- ↑ https://www.carbibles.com/best-way-to-dry-a-car/
- ↑ https://www.youtube.com/watch?v=7J6rRj98A5s&t=535s
- ↑ https://youtu.be/7J6rRj98A5s?t=1310
- ↑ https://www.youtube.com/watch?v=7J6rRj98A5s&t=1883s
- ↑ https://www.youtube.com/watch?v=otCtkVePX_0
- ↑ https://www.youtube.com/watch?v=bKSxjSEpYec&feature=youtu.be
- Fonzie, Brad, Patrick.Dipyourcar.com. Dipyourcar. Web. 27 March 2012
- Jeffk42. “Plast dip Coating Wheels”.WranglerForum.com. WranglerForum. 19 December 2011. Web. 27 March 2012
- Plastidip International.Perfomix Brand by Plastidip International. Plastidip International. Web. 28 March 2012.
