X
wikiHow is a “wiki,” similar to Wikipedia, which means that many of our articles are co-written by multiple authors. To create this article, volunteer authors worked to edit and improve it over time.
This article has been viewed 86,217 times.
Learn more...
The valve cover on your car's engine can become dirty and stained from the grease, oil, and dirt it is exposed to underneath your car's hood. Valve covers are made of metal and have either a smooth or wrinkled texture, both of which can become stained and difficult to clean. The only way to get it looking like new again is to paint the valve cover. If you can use basic hand tools and spray paint, you can learn how to paint a valve cover yourself.
Steps
-
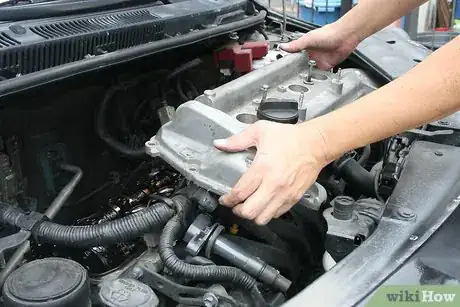
1Remove the valve cover with a ratchet and a properly fitted socket. Most valve covers have 1 bolt at each corner. In some cases, as in 4-cylinder engines, the spark plug covers and seals must be removed. Once the valve cover is off, check the gasket around the bottom of the cover. If it is broken, it needs to be replaced before you install the valve cover again.
-
2Place the valve cover in a well-ventilated area on some newspaper or a piece of cardboard. Put on protective gloves and goggles. Wipe paint stripper on the valve cover with paper towels or a scrub brush. Apply liberal amounts of the paint stripper to make sure all of the existing paint is removed.Advertisement
-
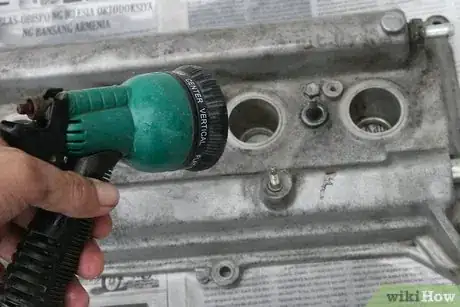
3Rinse the valve cover with water to make sure all of the paint stripper is removed including any small cracks and crevices. This is critical so that the new paint adheres to the cover properly. Let the valve cover dry completely.[1]
-
4Sand the valve cover's surface with 600-grit sandpaper until it is smooth and dull. Fold the sandpaper sheet over to sand in the corners and along any crevices in the valve cover. Wipe the surface with wax and grease remover and a towel to remove any dust and fingerprints.
-
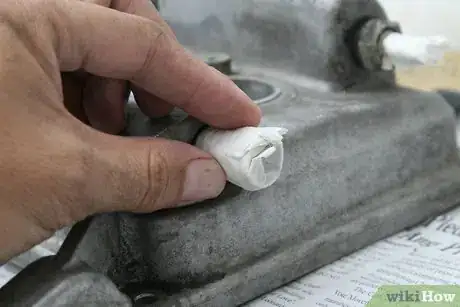
5Place masking tape over any holes or emblems that you don't want painted on the valve cover. Make sure to cover all the bolt holes so the threads don't become clogged with paint. Use a razor blade to carefully trim the masking tape so it fits correctly.[2]
-
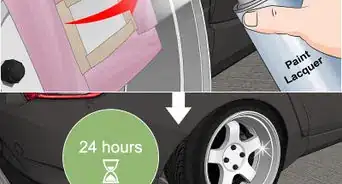
6Spray the valve cover with high-heat paint, which is available at any auto parts store. Use a total of 4 or 5 coats of paint. Keep the coats light, and wait 5 minutes between each coat before applying the next. Wait 24 hours after the last coat before moving to the next step.[3]
-
7Place the painted valve cover near a heated source to set the paint. It can be placed inside an oven at 200 degrees Fahrenheit (93 degrees Celsius) for 20 minutes, or you can heat the cover with a heat gun for several minutes. Wear gloves when handling the heated valve cover because it will be very hot. Let the valve cover cool completely.
-
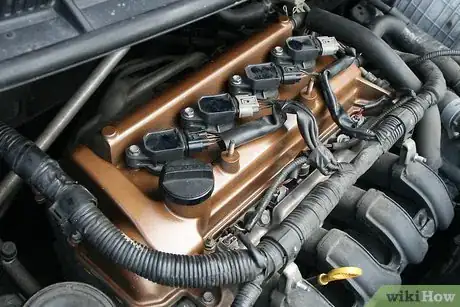
8Reinstall the painted valve cover onto the car, and replace all gaskets, seals, and bolts.
Advertisement
Community Q&A
-
QuestionIs a primer required for the cam cover?
 Community AnswerIt's not always required, however it will make a difference for the paint adhesion of the top coat in terms of longevity.
Advertisement
Warnings
- Use caution when handling the heated valve cover since it will be extremely hot.⧼thumbs_response⧽
Advertisement
Things You'll Need
- Ratchet and socket
- Paint stripper
- Paper towels
- Scrub brush
- Water
- 600-grit sandpaper
- Wax and grease remover
- Masking tape
- Razor blade
- High-heat paint
References
About This Article
Advertisement
