This article was written by Caitlin Jaymes and by wikiHow staff writer, Jessica Gibson. Caitlin Jaymes is a Closet Organizer and Fashion Stylist based in Los Angeles, California. With a background in Fashion PR and Fashion Design, she specializes in creating wardrobes for her clients with pieces they already own. She has experience working with celebrities, editorial shoots, and men and women of all ages. Caitlin uses fashion and organization to help instill and influence confidence, ambition, and stress-free lifestyles for all her clients. She runs her business by two guiding principles: “fashion has no rules, only guidance on how to look and feel your best” and “life has too many stressors, don’t let clutter be one of them.” Caitlin’s work has been featured on HGTV, The Rachael Ray Show, VoyageLA, Liverpool Los Angeles, and the Brother Snapchat Channel.
There are 9 references cited in this article, which can be found at the bottom of the page.
This article has been viewed 6,580 times.
Organizing your tools on shelves helps you keep your workshop, tool shed, or closet tidy and easy to get around. There are a ton of easy DIY hacks to keep your tools organized, and many are super affordable, too. Keep reading for the best ways to organize your tools on shelves.
This article is based on an interview with our closet organizer and fashion stylist, Caitlin Jaymes. Check out the full interview here.
Steps
Take an inventory of your tools before you start.
-
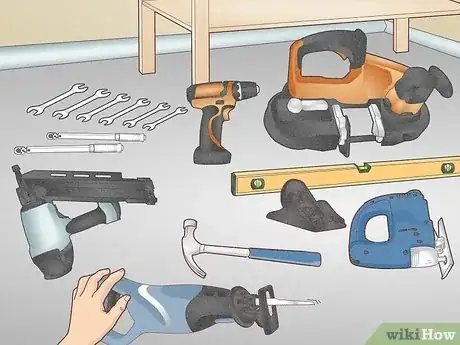
Gather all the tools you have and get rid of ones you no longer use. This way you won't have to organize items that just take up valuable shelf space. As you make your inventory, try to list the items by groups like hand tools, power tools, and accessories. This will make sorting easier, and you'll be able to see which groups require the most shelf space.[1] X Research source
- Hand tools include wrenches, hammers, clamps, and screwdrivers.
- Power tools include drills, circular saws, miter saws, and nail guns.
- Tool accessories include drill bits, batteries, battery chargers, and saw blades.
Group tools on the shelves by type.
-
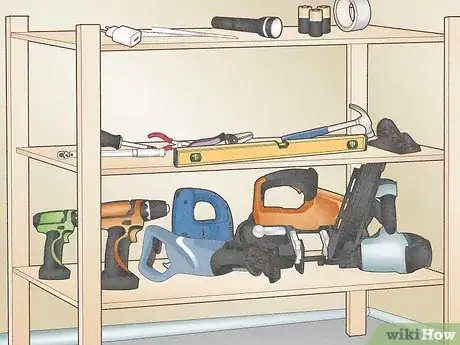
Create zones on the shelves based on what you use the tools for. Think about the tools you use the most and store them together for the easiest access. You might put hand tools on a middle shelf for instance. Then, create zones for tools you use for projects. You could have woodworking tools on one shelf and painting tools in another zone.[2] X Research source
- Categories or zones could be household tools, yard and gardening tools, or workshop tools. Refer back to your inventory to decide what zones work for you.
- Store heavier tools on the lower shelves to prevent accidents in case they fall.
- There's no right or wrong way to group your tools—tailor your organization to your personal use.
Label each shelf.
-
Labels help you remain consistent in your organization. Even if you've designated a spot for certain tools, you might not stick to it when you're in a hurry. Use a label maker to assign a shelf or portion of a shelf to specific tools. That way, you'll remember to put back your tools in the same spot every time.
- You might try labels like "Hand Tools," "Power Tools," and "Tool Accessories." For larger tools, designate a specific spot, like "Cordless Drill."
Store your small tools in bins on shelves.
-
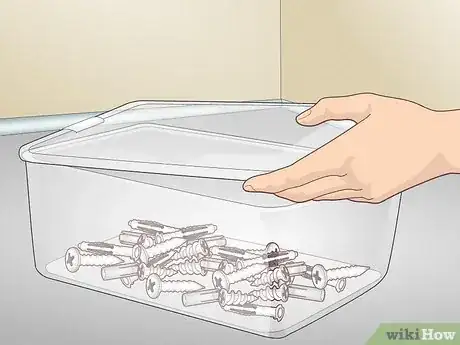
Storage bins help you save space and stay organized. Tuck small accessories like screws, nails, and bolts into bins, so they're not scattered throughout your shelves. Purchase a few storage bins and place them along your shelves for a tidy workshop, closet, or toolshed.[3] X Research source
- For extra organization, label each bin. This really helps if you run out of an item, so you know what to replace it with.
- If you can't find storage bins you like, attach small blue electrical boxes to your shelves. These are a great open storage option.
Store large tools or power tools on wire shelving.
-
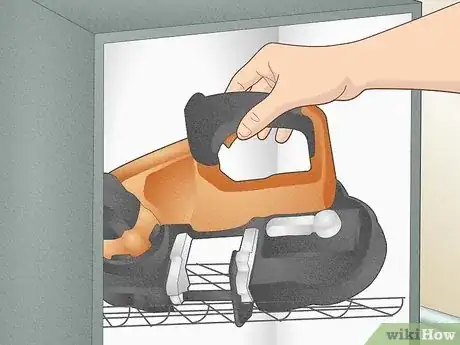
Since power tools don't always lay flat, they rest easier on wire shelving. Get wire shelving appropriate for the size of your closet, toolshed, or workshop. Drill holes on either side of the wall, fasten clips through them with screws, and hang the wire shelves on the clips.[4] X Research source Then, place power tools on the wire shelving, letting the ends of the drills and saw blades rest in between the wires.[5] X Research source
- For added organization, hang power tool chargers from the wire shelves.
Install a pegboard above the shelves.
-
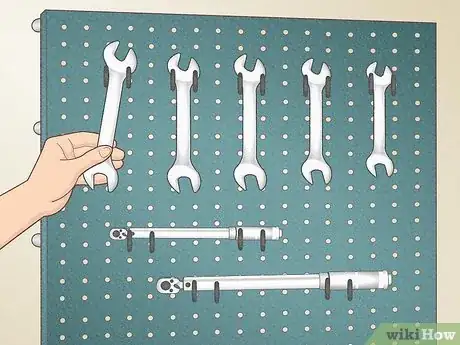
Hang tools on a pegboard to maximize your storage space. Measure the area above the shelf to determine the length of pegboard that you need and get a pegboard in that length. To attach the pegboard to the wall, use furring strips that match the dimensions of the pegboard. Fasten the strips to the wall with screws, then attach the pegboard to the strips with screws.[6] X Research source
- Fasten hooks to the holes of the pegboard to hang your tools.[7] X Research source
- Since you can find specialized hooks, you can hang pliers, screwdrivers, hammers, wrenches, and even additional shelving.
- If you need to customize the length of your pegboard, cut it with a circular saw.
Use the storage space under the shelves.
-
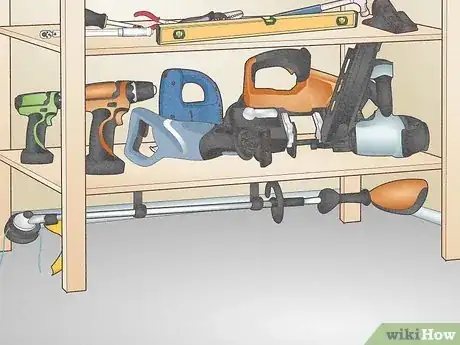
Install brackets under the shelves, so you can hang more tools. Look for brackets that are designed to support hanger rods. Then, screw it underneath the shelf, so you can place a long tool on the curved part of the bracket where the hanger rod was designed to rest.[8] X Research source
- For example, hang your weed eater, grabber tool, or wooden dowel rods on the bracket.
Install storage cubes to organize loose items.
-
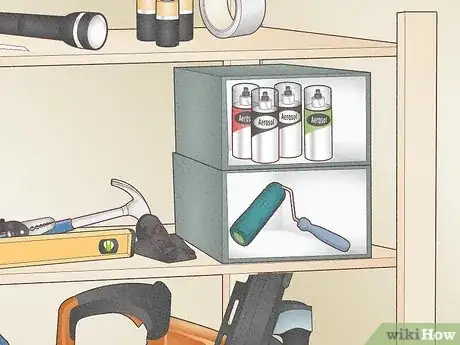
Attach storage boxes between the shelves for smaller tools. If you don't want to make your own storage cubes, buy a wooden cubby storage unit and place it on the shelf. Then, you can start filling it with smaller tools like caulking, paint rollers, and cans of spray paint.[9] X Research source
- You can also stick a label under the space for each cubby.
Store bulky items in totes on the shelves.
-
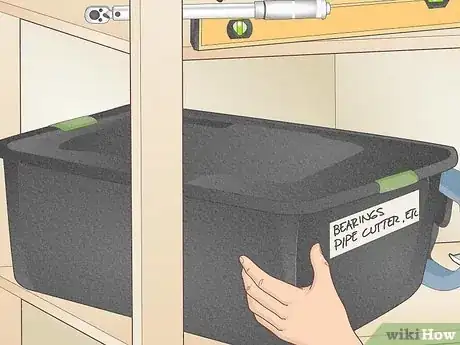
Organize awkward tools in large bins, so they're not in the way. You might have tools that roll off shelves or tools that you don't use very often, so it doesn't make sense to display them. Group these items by their use or material type and put them into large plastic totes. Set them on low shelves under your workspace.
- To make it easier to remember what's inside, label the outside of the tote that faces outward.
- If you've got several totes, store them on a vertical shelving unit, so they take up less space and won't topple over.
Hang floating shelves for extra storage.
-
Create more shelves if you don't have enough storage space. Sometimes, you need extra shelves, especially for awkwardly shaped items. Purchase floating shelves online or at your local home improvement store. Then, attach brackets to the wall and screw the shelves into the brackets.[10] X Research source
- To make sure that your floating shelves are even, use a level.
Build customized shelving to suit your needs.
-
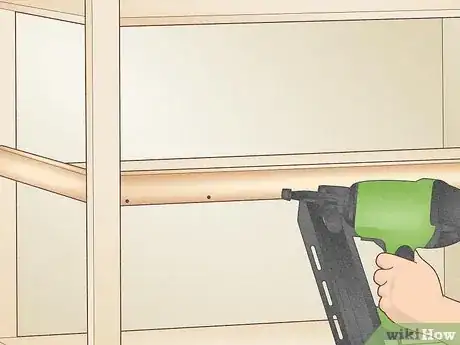
Make shelving units that fit your space or your specific tools. For instance, if you want to store a lot of spray paint or bottles for projects, you don't want them rolling off the shelves, so you need to store them vertically. Instead of setting them on your standard shelf where they could get knocked off, build support shelving at the ends and attach a strip of wood to the middle to create your own shelf.[11] X Research source
- Use a mix of shelf storage options to really get the most out of your space.
You Might Also Like

 How to Get Spray Foam off Your Hands



 How to Defrost a Samsung Ice Maker: A Quick Guide



References
- ↑ https://theorganizationhouse.com/how-to-organize-a-tool-box/
- ↑ https://hackerworkshop.org/how-do-you-organize-tools-on-a-shelf/
- ↑ https://www.washingtonpost.com/lifestyle/home/wheres-the-dang-hammer/2019/04/08/3e58d232-558d-11e9-814f-e2f46684196e_story.html
- ↑ https://youtu.be/-to_jbccfYY?t=178
- ↑ https://toolguyd.com/workshop-power-tool-organization/
- ↑ https://www.diycentral.com/how-to-install-pegboard-1107/
- ↑ https://www.washingtonpost.com/lifestyle/home/wheres-the-dang-hammer/2019/04/08/3e58d232-558d-11e9-814f-e2f46684196e_story.html
- ↑ https://www.familyhandyman.com/list/ideas-for-storing-all-kinds-of-tools/
- ↑ https://www.familyhandyman.com/list/brilliant-ways-to-organize-your-garage/
About This Article

