This article was co-authored by wikiHow staff writer, Christopher M. Osborne, PhD. Christopher Osborne has been a wikiHow Content Creator since 2015. He is also a historian who holds a PhD from The University of Notre Dame and has taught at universities in and around Pittsburgh, PA. His scholarly publications and presentations focus on his research interests in early American history, but Chris also enjoys the challenges and rewards of writing wikiHow articles on a wide range of subjects.
This article has been viewed 37,840 times.
Learn more...
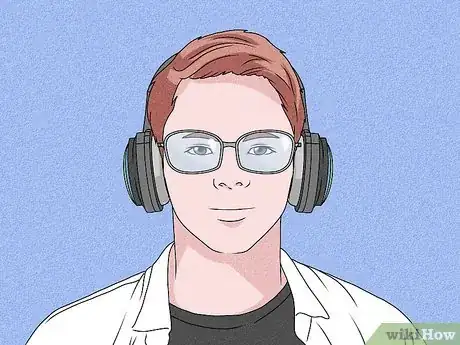
A good pair of headphones should provide great sound quality without causing sore ears or pain at the top of your head. If you are experiencing discomfort, try some simple headphone hacks that may solve the problem without sacrificing sound quality. You may even be able to comfortably wear both your headphones and a pair of glasses!
Things You Should Know
- If your headphones hurt your ears, replace the ear pads with thicker, softer pads made from natural materials.
- You can easily stretch a too-tight headphone band by placing your headphones around a row of books that's wider than your head.
- If you wear glasses and have foam ear pads, cut notches into the earpads to accommodate your glasses.
- Wrap a padded seat belt strap around your headphone band to add extra padding at the top of your head.
Steps
Upgrading Ear Pads
-
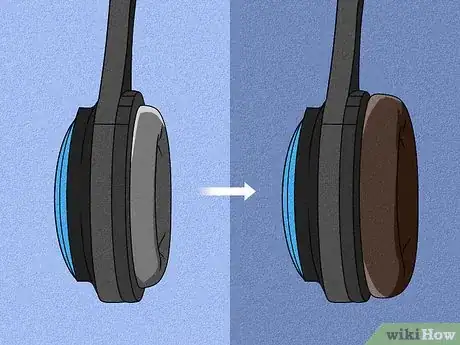
1Replace the existing ear pads with thicker ones. Search online for a new set of pads that are compatible with your model of headphones but that offer more padding. Simply pinch and pull the old pads to remove them. To put on one of the new pads, feed the lip of the pad over the ridge of the earpiece on opposite sides of the earpiece. Stretch and work the lip over the ridge all the way around, then repeat the process on the other earpiece.[1]
- Increasing the padding may help if you get pain on or right around one or both of your ears. It’s especially helpful if the driver—the disc that converts electrical signals into sounds—presses against the middle of your ear.
-
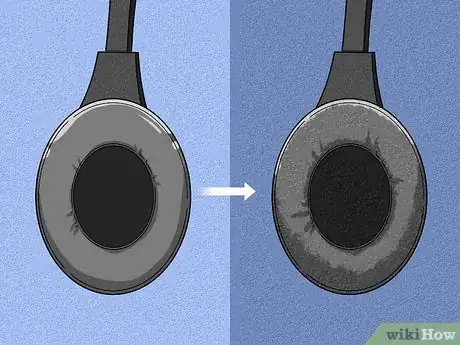
2Switch out sweaty faux leather pads for a more breathable alternative. While faux leather pads are a less pricey and more animal-friendly option than genuine leather, they tend to hold more heat and make your ears more sweaty. To solve this problem, replace faux leather with pads made of genuine leather, velour, or the least expensive option, foam. Make sure to shop for pads that are compatible with your model of headphones.[2]
- A pair of foam pads usually costs around $10 USD, velour pads may run closer to $15-20 USD, and leather pads may be $25 USD or more.
Advertisement -
3Compare the sound quality before and after switching pads. Listen to the same music or other audio track with the old and then the new pads in place and check to see if you notice a difference. Switching leather or faux leather pads for velour or especially foam may, for instance, affect bass sounds and cause more “sound bleed” into and out of the headphones. Trading some sound quality for more comfort may or may not be a deal you’re willing to make.[3]
- If exceptional sound quality is your top priority, you’ll probably have to either keep the original ear pads in place or shop for a new pair of headphones that provides both great sound and high comfort.
Stretching Tight Headphones
-
1Put your headphones on a box or row of books that’s wider than your head. Estimate the width of your head from ear to ear, or be more precise if you wish: hold a pencil at each of your ears, pointing forward, and have someone measure the distance between them. Set up a row of books or find a cardboard box that’s about 1 in (2.5 cm) wider than your head. Place your headphones onto the books or box.[4]
- Don’t go more than 1 in (2.5 cm) wider than your head. You may stretch out the headphones so far that they no longer fit your head or, even worse, the headband breaks.
-
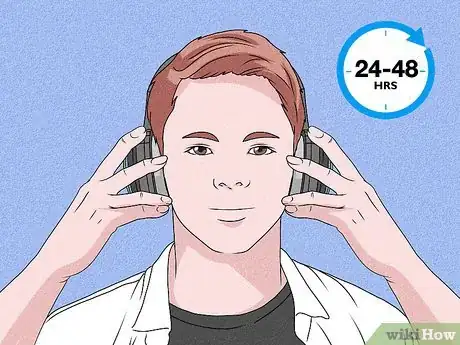
2Check your headphones for fit after 1, 24, and 48 hours, as needed. Some headphones stretch out quickly, so give yours a try after about 1 hour. If you don’t notice any real difference, put them back on the books or box for 24 hours. Check them again, then give them another 24 hours if needed.[5]
-
3Use a slightly wider box or row of books if your headphones are still too tight. If your headphones haven’t achieved a comfortable fit after 48 hours of stretching, increase the width of the box or books you’re using by no more than an additional 1⁄2 in (1.3 cm). Check for fit after another 48 hours and, if they still don’t fit right, add another 1⁄2 in (1.3 cm) to the stretch and give them yet another 48 hours.[6]
- Keep stretching the headphones incrementally until you get the right fit. However, stop the process if the headband looks or feels like it is under significant strain from the stretching—headphones can only stretch out so far before they break.
-
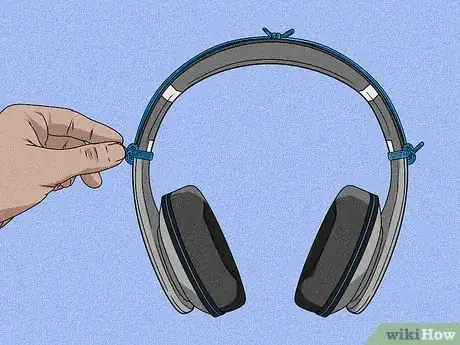
4Link zip ties over top of the headband as another stretching option. Most headphones have a narrow area above the ear cups and below the wider headband. Secure a pair of zip ties in this area, leaving just enough slack to loop another zip tie into each one. Connect these 2 zip ties with a series of rings made of more zip ties that each loop around the headband. Tighten these zip tie rings to increase the tension on the headband and stretch the ear cups wider apart.[7]
- This is a quicker option than stretching your headphones over books or a box for several days, but it may not create the most fashionable look.
Wearing with Glasses
-
1Wear thinner-framed glasses to reduce your discomfort. Generally speaking, thicker frames cause more pain when they get pressed into the sides of your head by your headphones. Try wearing an old pair of glasses that have thinner frames with your headphones to compare the comfort level. If you notice a clear difference, consider switching to thinner frames next time you get glasses.[8]
- If you want a truly retro style that guarantees no headphone pain, try out a pair of pince-nez glasses. Unfortunately, you may be trading head pain for nose pain!
-
2Cut notches into foam ear pads to accommodate your glasses. Wear your headphones and glasses together until indentations from your frames form in the foam, or look in the mirror and mark the frame locations on the foam. Use a crafting knife to carefully cut out just enough of the foam material to make a channel for your frames to fit into. Fine-tune the channels as needed until you no longer feel pressure from the headphones on your frames.[9]
- You may notice some increased sound bleed and a slight reduction in sound quality once you cut into the foam pads.
- Don’t try this with ear pads made of leather, faux leather, velour, etc. Switch out the existing pads for foam pads first.
-
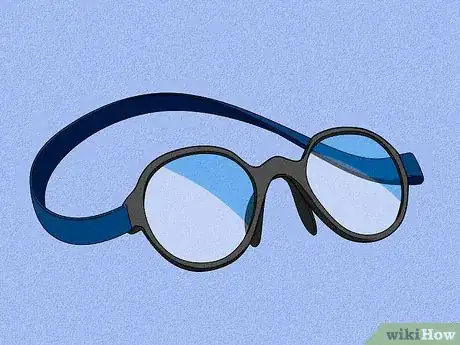
3Try out VR headset-compatible glasses with an elastic headband. Even if virtual reality (VR) headsets haven’t quite hit the mainstream yet, a few companies have designed glasses that can comfortably fit under a VR headset. These glasses use an elastic headband instead of rigid side frames, which also makes them more comfortable when you’re wearing headphones. You’ll have to decide if the style adjustment is worth a reduction in discomfort.[10]
- Search online for “VR headset compatible glasses.” You’ll get results from manufacturers such as VR Lens Lab.
Improving the Headband
-
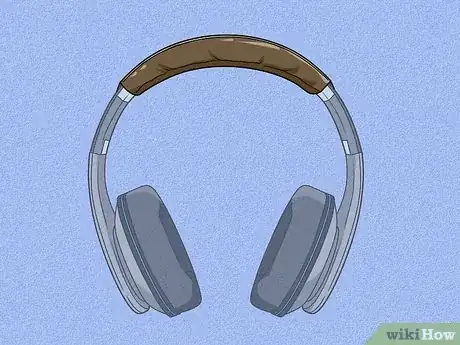
1Buy a thicker replacement headband pad for the best-looking option. High-end headphone makers in particular often offer custom accessories for their models. Contact the manufacturer or shop online for headband pad replacements that match your headphone model. In many cases, you’ll simply have to pop out or snap off the old pad and install the new, thicker one.[11]
- The thicker pad will provide more cushioning at the top of your head, but shouldn’t be too noticeable since it’s custom-designed to fit your headphones.
-
2Slip on a seat belt strap pad for a budget-friendly option. A quick online search for “seat belt strap pad” will produce an abundance of results. Most types close around a seat belt strap (or headphones headband) with a hook-and-loop (Velcro) closure, but some use snaps instead. Buy the pad that has the look, feel, and features you want, then simply add it over your headband and any existing padding.[12]
- You can find seat belt strap pads for under $5 USD, but more cushioned models usually run in the $10-15 USD range.
- The pad will probably make your headband less sleek and more noticeable, but the top of your head will probably be a lot more comfortable.
-
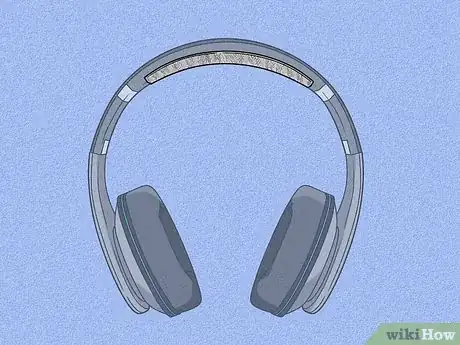
3Tape a nylon strap under the existing headband for the full DIY option. Run a string from ear cup to ear cup on the headphones, making sure to touch the string to the underside of the headband the entire way. Mark this length on the string and then transfer it to a nylon strap—such as a length of shoulder strap you cut off of an old backpack. Cut the strap so it’s about 1 in (2.5 cm) shorter than the string length. Use black electrical tape to secure the ends of the nylon strap to the underside of the headband, just above each of the ear cups.[13]
- Basically, the nylon strap will become your new headband, since the top of your head will press against it instead of the existing headband. Since the nylon is soft and flexible, you should find it more comfortable.
- This may not be the most stylish option, but it’s worth a try if the top of your head hurts!
Warnings
- Stretching out headphones over a row of books or a box can cause the headband to permanently deform or even break.⧼thumbs_response⧽
References
- ↑ https://www.headphonesty.com/2018/07/how-to-wear-glasses-with-headphones/
- ↑ https://www.popsci.com/make-headphones-more-comfortable/
- ↑ https://www.popsci.com/make-headphones-more-comfortable/
- ↑ https://www.popsci.com/make-headphones-more-comfortable/
- ↑ https://youtu.be/j3DnJV3QQQw?t=60
- ↑ https://youtu.be/j3DnJV3QQQw?t=60
- ↑ https://youtu.be/6YjSmdqkUDU?t=20
- ↑ https://www.headphonesty.com/2018/07/how-to-wear-glasses-with-headphones/
- ↑ https://www.popsci.com/make-headphones-more-comfortable/
