wikiHow is a “wiki,” similar to Wikipedia, which means that many of our articles are co-written by multiple authors. To create this article, 27 people, some anonymous, worked to edit and improve it over time.
There are 7 references cited in this article, which can be found at the bottom of the page.
This article has been viewed 207,970 times.
Learn more...
Carving a wooden propeller can be a complex process that takes a lot of planning and work. You need to pay strong attention to detail. If you are looking to make a propeller as a fun toy or decoration, you can afford to make mistakes. However, if you plan to use a propeller on an engine, it is best to take a class to get a good handle on how to create a propeller for flight. Building a propeller takes some practice and you may end up working on a few practice propellers before you get one that works.
Steps
Designing Your Propeller
-
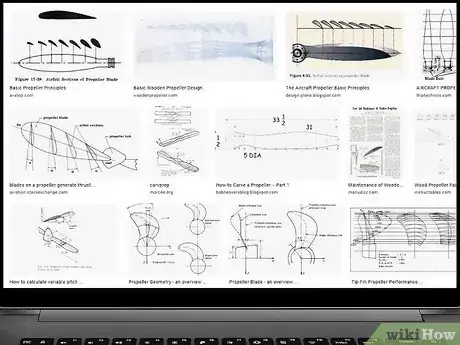
1Search for a design pattern. If possible, try to locate a design pattern for a propeller that will suit your needs. You will need to know the engine power, prop diameter and RPM's and see if you can find plans for a wooden propeller that is ideal for your specs. You can search for designs online, or try checking out a book at the local library. Some books have sample prop blueprints to get you started.
-
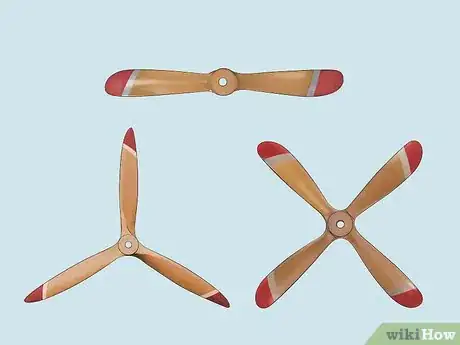
2Decide how many blades your propeller will have. Most propellers have two, three, or four blades. Some large aircraft use propellers with even more blades. The more powerful the engine driving the propellers, the more propellers will be needed to distribute the power evenly.[1] While it is possible to carve a three or four blade propeller, it is best to start by building a 2-blade propeller as it is easier for a beginner to construct. Adding blades adds cost, weight and building time.Advertisement
-
3Determine the length for your blades. Similar to the amount of propeller blades, increasing the length of the blades can help to handle a more powerful engine. However, blade length can only be increased so much because the blades still need to clear the ground. Measure the distance between the nose and the ground to get an idea of your blade length limitations.
-
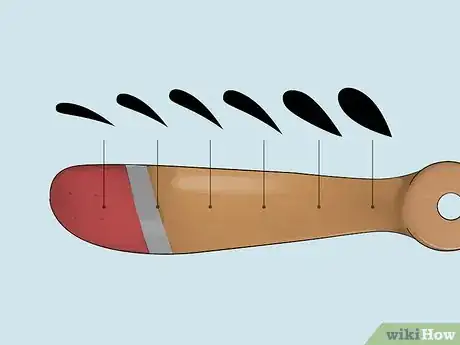
4Shape the airfoil. A propeller blade is thick at the hub with a large blade angle and thin at the tip with a low blade angle.[2] Determine the width of the blade and the angle of attack. Propeller blades are fixed to their hub at an angle, just as the thread on a screw makes an angle to the shaft.[3]
-
5Consider the proper twist for your propeller blades. A propeller blade is like a wing with a twist. The twist of the blade makes the propeller more efficient at pushing air or water. This is because the speed of the propeller blade is much faster at the tip than at the hub. By twisting the blades, the propeller can maintain the same angle of attack across the length of the blades. To figure out the pitch you can use a prop calc.
-
6Determine a material for your propeller blades. All well-built wood propellers are better at handling the aircraft vibrations,[4] but you need to use a strong, light wood like maple or birch. [5] Note the grain of the wood when you select your material. A straight grain that is uniform will help with balancing the prop.
- Get about 6-8 planks that are 3/4 to 1-inch thick and about 2 meters long. You can use extra pieces that you cut. The more layers you have the stronger your prop will be. Even if the layers are very thin. To safe time you can try to find a lumber supplier that makes laminated wood planks that will suit your purpose.
-
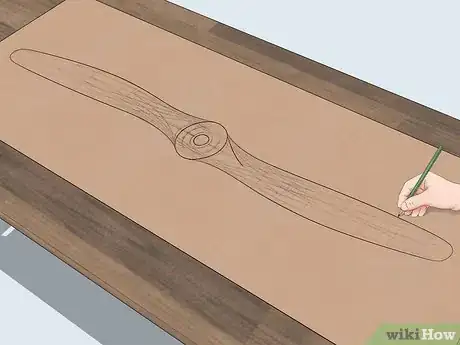
7Draw out a pattern for your propeller. Now that you have determined how you want your propeller to look, create a pattern using a thick cardboard or poster board. Create the propeller in actual size. Include the center hole and draw a separate model for the pitch. Cut out the patterns. These will be used as guides for carving the prop.
Gluing the Wood
-
1Arrange the wooden planks. You will need pieces of wood of various lengths. The longest pieces of wood should be in the middle with the smallest pieces on the top.
-
2Measure each blade to make sure it is equal in length. A propeller must have as much balance as possible in each blade to operate as desired. Each blade should be crafted to be uniform as the rest.
-
3Laminate the planks together. You will need to use a very strong glue, like Resorcinol, to create aircraft propellers. [6] Be sure there are no spaces or air between the wood. It may seem easier to use one large piece of wood, but you will have a stronger material by gluing a number of smaller pieces tightly together.
-
4Clamp or tie the boards together for 24 hours. Use a vice and a table to keep pressure on the boards while the adhesive dries. You may find that using several clamps at various parts of the board will do a better job of keeping out any air.
Carving the Blades
-
1Place your pattern over the block of wood and trace the profile of the propeller. Draw a line all the way around the shape of the blade. Mark the hole in the center.
-
2Keep the prop stable. You may want to use a vice to secure the propeller while you work. If you don't have one you can tie down one side of the propeller to the table while you work on the other end to keep it secure.
-
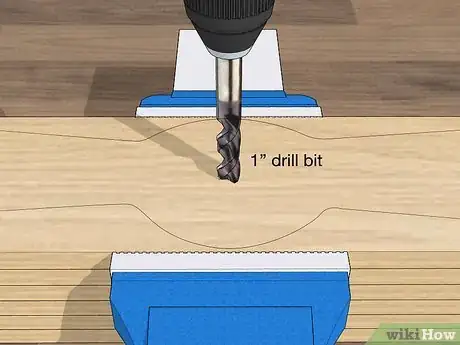
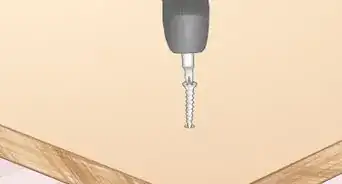
3Drill the center hole. Mark the hole from you design cutout, then drill it with a one inch drill bit. The hole should be at close to the center of the wood, but doesn't need to be exact.
-
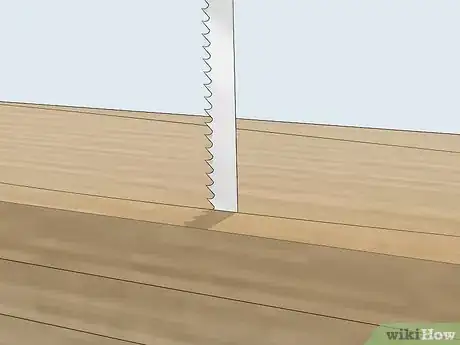
4Trim off the excess wood. Cut the wood around the shape of the propeller profile. Use as saw and cut as close to the lines that were traced on the wood as possible.
-
5Mark the pitch angle across the edge of the wood. Use the blade angle that was determined from the prop calc and mark off the shape of the pitch on the wood. Mark the pitch angle on the edge of the block of wood that would make the tip of the propeller blade. Then draw a line along the length of the blade to mark the twist of the blade. Repeat at the opposite end of the prop blade.
-
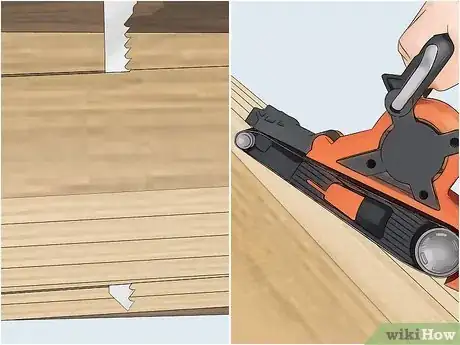
6Trim away everything that is outside the angle. Use a saw to cut off the bulk of the excess wood first. Then, use a chisel or belt sander to work the wood into the correct shape. Continue sanding until the blade is smooth.
- Precision milling machines can take 60 passes to sand a propeller[7] precisely, so be prepared to spend some hours getting your propellers as close to perfect as possible.
-
7Repeat shaping the blade from the opposite corner. Flip the block over and repeat so you are carving off the excess wood on the bottom in the opposite corner.[8] Be sure your blades are both curved in the same direction.
-
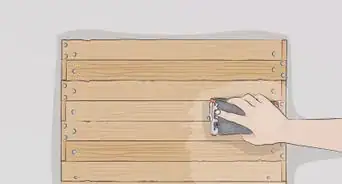
8Turn the propeller around. Repeat carving the corners in a similar fashion for the other blade. Try to keep the propeller blades as smooth as possible. Go over the wood with a sander to get a nice flat surface on your blade.
-
9Check the balance on the prop. Put a straight bar through the center hole of the propeller and see if the wings will balance evenly at each end. If the prop stays straight with the blades perfectly horizontal, you have a well-balanced propeller.
-
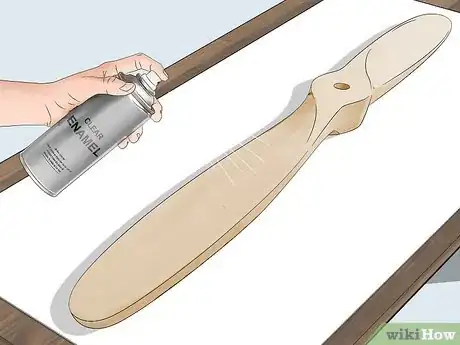
10Add a coat of clear enamel. Enamel will help to seal in the propeller to protect it from weather and moisture. Spray a coat over the entire surface. Allow 24 hours to dry. If desired you can repeat and add a second coat.
- You can also paint the tips a bright color like yellow or red to make the propeller more visible when spinning.
Things You'll Need
- About a dozen wood planks that are 1⁄2 inch (1.3 cm) thick, 6–8 inches (15.2–20.3 cm) wide and 2 yards long, depending on your plans.
- Saw
- Hammer
- Chisel
- Belt sander
- Strong glue
- Enamel
- Clamps or straps.
References
- ↑ http://howthingsfly.si.edu/ask-an-explainer/why-do-propellers-have-two-three-or-four-blades
- ↑ http://www.experimentalaircraft.info/articles/aircraft-propeller-2.php
- ↑ http://www.explainthatstuff.com/how-propellers-work.html
- ↑ http://www.abc.net.au/science/articles/2003/06/26/888510.htm
- ↑ http://www.instructables.com/id/Wood-Propeller-Fabrication/step2/Choose-your-wood-and-prep-it/
- ↑ http://www.abc.net.au/science/articles/2003/06/26/888510.htm
- ↑ https://www.youtube.com/watch?v=JvLra7G31cU
- ↑ http://sci-toys.com/scitoys/scitoys/aero/proptoy/proptoy.html
About This Article
To make a propeller, start by designing the length and number of blades. If you're new to making propellers, you'll want to start with 2 blades since it's easier to construct. As for the length, you can determine the limit by measuring the distance from the nose of your aircraft to the ground since you don't want your propeller to hit the dirt! Once you have a design, begin your build by laminating several planks of wood together since this will make a stronger blade than using 1 thick piece of wood. To learn how to check the balance of your propeller, keep reading!
