This article was co-authored by Sam Hubbard. Sam Hubbard is a Professional Carpenter and the Owner of Hubbard Carpentry and Remodeling. He has over 19 years of experience in the industry. Sam specializes in kitchen remodels, home woodworking, cabinetry, and handyman services.
wikiHow marks an article as reader-approved once it receives enough positive feedback. In this case, 86% of readers who voted found the article helpful, earning it our reader-approved status.
This article has been viewed 254,180 times.
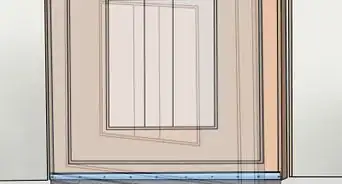
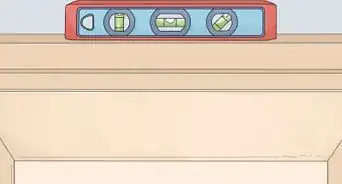
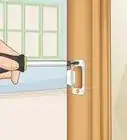
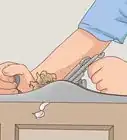
Over time, the doors in your home may begin to stick and bind. Sometimes simply tightening the hinge screws will solve the problem, but occasionally it is necessary to resize the door. One of the best ways to resize a wood door is to plane the door edges to relieve the binding. In order to plane a door, you will need to identify the area that needs to be planed, prepare the door properly, remove wood gradually, and check your work as you go. With a bit of care and the right technique, you can make your door work smoothly again.
Steps
Locating the Problem Areas on a Door
-
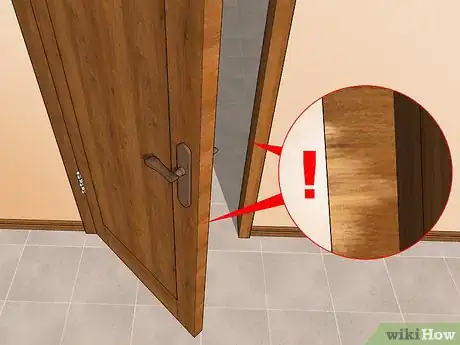
1Look for areas on the door and jamb that show signs of rubbing. In some cases, you can easily find the area that needs planing because the sticking has rubbed the surface of the paint on the jamb and the door. Areas along the edge where the paint is discolored or gone are the areas that you need to plane.[1]
- If the discoloration is subtle, use a pencil and draw a circle around the area. This will help you find it when you are using the plane.
-
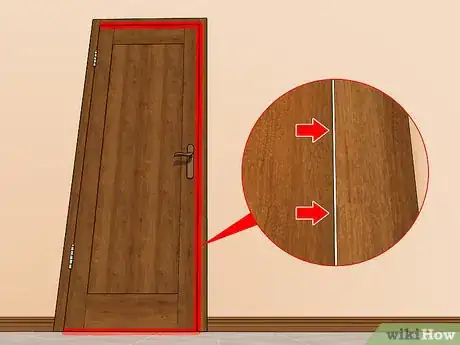
2Look for differences in the gaps around the door. If you don't know exactly where your door is rubbing, look at the gap between the jamb and the door when it is closed. The gaps will be smallest in the area where the door is rubbing.
- Once you have identified this area, you can look closer for additional signs of rubbing.
Advertisement -
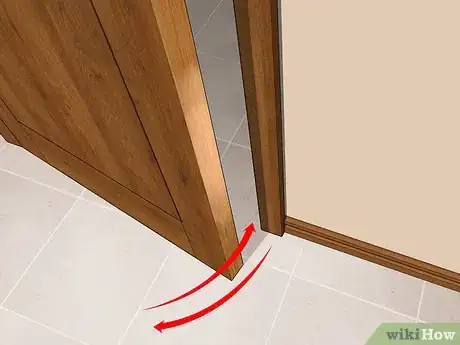
3Open and close the door to locate trouble spots. Do this repeatedly while looking for the point where the door first makes contact with the jamb. You should be able to find the spots that rub by looking at where the door makes contact when the door catches.
- If the door doesn't close all the way, close it as much as you can and then push all around the door to see which areas feel loose and could close further and which feel tight. The tight areas are where the door is catching.
Tip: For best results, test and mark the door for sticking on a humid day so that you are checking when the door's wood is most swollen.
-
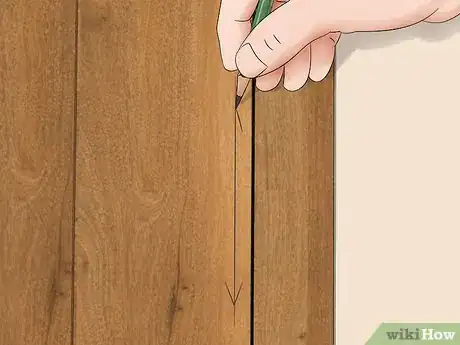
4Use pencil marks to verify rubbing areas. Once you think you know where the door is rubbing, put pencil marks all over that area. Then open and close the door several times. If the marks are transferred to the jamb, this is an area of contact that needs to be planed down.[2]
Preparing the Door For Planing
-
1Mark areas that need to be planed. Once you have identified where to plane, it's important to make marks there so you can find them once the door is in your work area. Use a pencil to shade the area that you want to plane down.[3]
- Covering the entire area that you want to plane with marks will allow you to keep track of what you have and have not planed while you are doing it.
- Mark spots with a pencil on both the front and back of the door to help you maintain the door's symmetry as you plane.
-
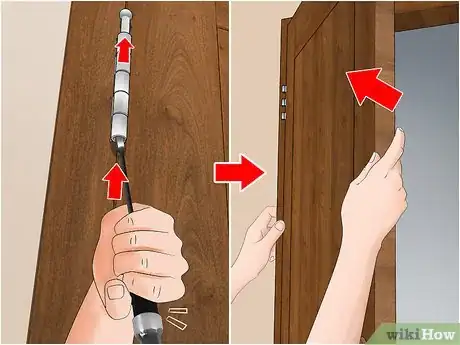
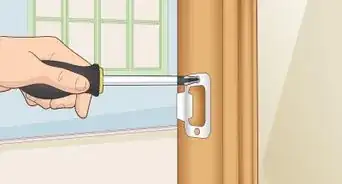
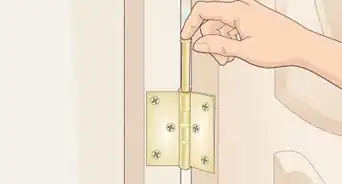
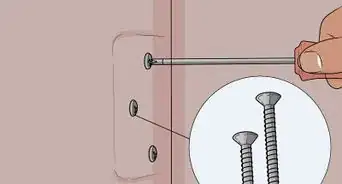
2Remove the door from the frame. You can take the door off by removing the pin in the hinge, if your door has a removable one, or by unscrewing the hinge from the door. To take out the pin, use a pair of pliers and pull the pin straight up on the bottom hinge and then the upper hinge. If you choose to unscrew the hinges, take the hinges off of the door face, keeping the hinges attached to the door frame.[4]
- Whichever way you do it, get a helper to hold the door while you undo it. They can help hold the door steady to avoid binding the pin, damaging the hinges, or stripping the screw holes in the door.
- Tape the screws to the hinges to avoid misplacing them.
- Place the pins in the half of the hinge that is still on the door jamb so you don't misplace them.
Tip: If you only need to remove a tiny amount of wood on the top or lock side of the door, you can plane it while it is secured to the frame. However, in most cases it will be easier to plane and repaint the door after it has been taken down.
-
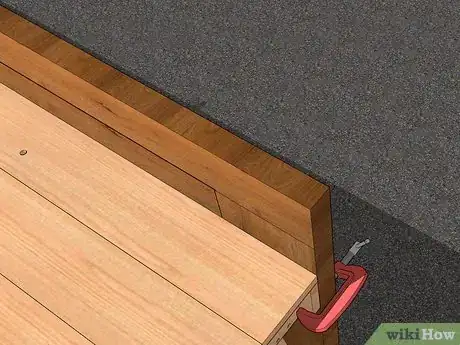
3Lay the door on a stable surface and secure it. You need a strong surface to work on so that you can exert force on the door as you plane. You can put the door on sawhorses or a worktable. Once it is stable, secure it with clamps or straps so that it doesn't move when you plane.[5]
- When positioning your door, take the area you are going to plane into consideration. Put the area that will be planed in a spot that will be easy for you to access.
Tip: If you are having a hard time securing the door well enough to the work surface so that it can't move, ask someone to help you hold it while you plane.
-
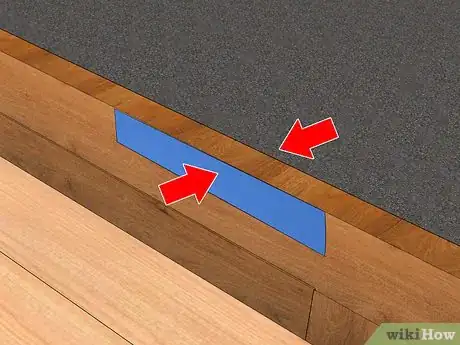
4Protect the surface around the area you are planing with painter's tape. Apply painter's tape to both sides of the door around the whole area you are going to plane. Masking this area will protect the paint or finish from getting dinged by your plane and it will lessen the risk of chipping as you remove layers of wood.
- Use painter's tape because it comes off easily and will not remove the finish on the door the way that other types of tape can.
Planing Down the Door
-
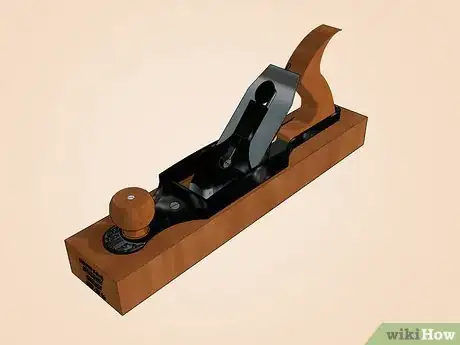
1Pick a type of plane. A plane is a tool that requires muscle power to run a small blade over wood too smooth it out. All planes have a smooth bottom surface that runs along the wood. At one end of the surface is a thin open slot where the blade is inserted. On the top of the tool are the handles, which are used to push the plane across the wood. There are several types of planes that will work well for planing a door. The most common is called a bench plane. It is held with both hands and is great for smoothing out areas on the edges of doors. There is also a small form of plane that is called a block plane, which is held with one hand and works well for removing small areas on a door.[6]
- There are also a wide variety of specialty planes that will work for planing a door.
- In general, if you have a plane already, it will likely work well enough to plane small areas on a door.
-
2Check that the plane is adjusted to the correct angle. You want to take off very thin layers of wood as you plane so that the material is removed gradually and evenly. To ensure this, the blade of the plane should be adjusted to just barely peek out from the bottom of the plane. This is done by adjusting the wheel below the handle of the plane.
- To check that your plane is removing the right amount of wood, run it down a scrap piece of wood. If the plane easily removes the wood as you push, it should work well on your door.[7]
-
3Use smooth, light strokes as you run the plane across the wood. Hold the plane with both hands, or with a single hand if you are using a small block plane. Plane the edges of the door by working your way from the outside edge toward the center. Don't press hard and focus on removing only small amounts at a time.
- Focus on keeping the bottom surface of the plane flat on the wood as you move the plane. Rocking it or having it raised up on one side will give you uneven cuts.
-
4Run the plane in the direction of the wood grain. Plane the hinge or lock sides of the door in the same direction as the wood grain, applying light pressure to remove very small amounts of wood at a time. Running the plane in this direction will create smooth cuts instead of chunky, bumpy cuts.[8]
- On many doors the grain runs from top to bottom, instead of side to side. This means that the plane should be run in this direction as well.
-
5Check the fit of your door several times. To avoid taking off too much wood, check the fit frequently by putting the door back in the jamb. Open and close the door to see if the door is still sticking. If its still sticking, take the door off and continue planing. If it isn't, you will still need to take the door off to refinish the surface you planed.
- In most cases, the difference between planing off enough wood and too much is small.
Tip: While it is inconvenient to repeatedly remove and re-hang the door, doing so reduces the likelihood of removing too much and having to completely replace the door.
-
6Sand the exposed wood to smooth it out. Once the door has been planed down enough, you should focus on making the surface look smooth again. Run a rough sandpaper across it to remove any large grooves that were created by the planer. Then run a fine sandpaper over it to create a smooth surface.[9]
- When sanding, try to take as little wood off the door as possible. You have made your adjustments to it with the plane and the sanding is just to make the door surface look smooth finished.
-
7Use paint or stain to recoat the area you planed.Apply primer and paint to the exposed surface if the entire door is painted. If the door was stained, use stain on the planed area and try to blend it into the existing stain.[10]
- If you have the paint used for the door originally, use that for your planed area. If you don't have it, try to match it the best you can or use a whole new color to paint the entire door.
- Once the stain is dry, be sure to apply wood sealer to the planed area to protect the stain and to give it a nice finish.
-
8Reattach the door. Once you have planed down enough of the wood, simply reattach the door to the hinges. Check that the door works and doesn't rub once it is reattached.[11]
- Make sure to tighten the hinge screws properly to prevent sagging.
Community Q&A
-
QuestionCan a hollow core interior door be cut at the bottom so that I can put new vinyl over existing vinyl? How much can be cut at the bottom?
 Community Answer20mm.
 -
QuestionHow do I hold a door to plane the sides?
 Community AnswerYou can either buy a door stand (e.g. Trend Adjustable Door Stand) or create your own jig using off-cut timber.
 -
QuestionI have a non-wood door that needs to be planed for my new flooring to fit. How would I do that?
 Ashton GilmoreCommunity AnswerIt greatly depends on the type of door. If it is a metal or fiberglass, I'm afraid you are out of luck. Some types may be able to be sanded down. However, never use a plane on anything except wood.
Warnings
- Use protective eye wear, such as goggles, while planing to protect your eyes from wood splinters and sawdust.⧼thumbs_response⧽
Things You'll Need
- Pencil
- Screwdriver
- Work bench or sawhorses
- Clamps or straps
- Painter's tape
- Hand plane
- Sandpaper
- Sealer/paint
References
- ↑ https://www.popularmechanics.com/home/interior-projects/how-to/a162/1275846/
- ↑ https://www.bobvila.com/articles/how-to-plane-a-door/
- ↑ https://www.popularmechanics.com/home/interior-projects/how-to/a162/1275846/
- ↑ https://www.popularmechanics.com/home/interior-projects/how-to/a162/1275846/
- ↑ https://www.bobvila.com/articles/how-to-plane-a-door/
- ↑ https://www.wonkeedonkeetools.co.uk/woodworking-hand-planes/what-are-the-different-types-of-woodworking-hand-plane/
- ↑ https://www.bobvila.com/articles/2088-making-plane-adjustments/
- ↑ https://www.bobvila.com/articles/how-to-plane-a-door/
- ↑ https://www.bobvila.com/articles/how-to-plane-a-door/
About This Article
To plane a bedroom door, use a pencil to mark the areas that need to be planed on both the front and back of the door, remove it from the frame, and secure it on a stable surface. Next, adjust your plane to the correct angle so that it can take off very thin layers of wood gradually and evenly. Then, run the plane across the wood in the direction of the wood grain using smooth, light strokes. Finally, sand and paint or stain your door before reattaching it to the frame. For more tips on using the proper planing technique, read on!
