This article was co-authored by wikiHow staff writer, Christopher M. Osborne, PhD. Christopher Osborne has been a wikiHow Content Creator since 2015. He is also a historian who holds a PhD from The University of Notre Dame and has taught at universities in and around Pittsburgh, PA. His scholarly publications and presentations focus on his research interests in early American history, but Chris also enjoys the challenges and rewards of writing wikiHow articles on a wide range of subjects.
The wikiHow Video Team also followed the article's instructions and verified that they work.
This article has been viewed 299,057 times.
Learn more...
Learning how to drill pilot holes properly is an essential part of working with wood. A pilot hole is a small hole drilled before driving a screw into a piece of wood. The hole helps in multiple ways: it prevents the screw from splitting the wood; it allows for easier installation in dense hardwoods; and, it ensures that the screw will be installed straight, because it will follow the path of the pilot hole. Before attempting a woodworking project of any magnitude, you should learn how to make a pilot hole.
Steps
-
1Mark the location of your intended hole with a pencil. If it is crucial that the screw is installed in a precise location, you may want to mark the spot with a pencil on the material. Use a ruler to determine your intended location (usually by measuring the distance from the edge of the material's surface), tracing along the ruler with a pencil. At the desired distance along the line you drew, make a small mark with the pencil.
-
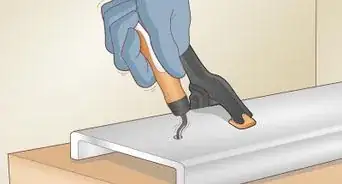
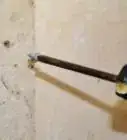
2Create an indentation using a center punch. A punch is a small, slender tool with a pointed end that allows you to create a small indentation in the work surface. This indentation will help keep your drill bit from slipping when starting the pilot hole. Position the tip of the punch over your pencil mark, and then strike the punch gently with a hammer.Advertisement
-
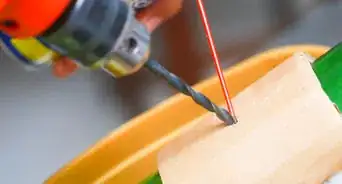
3Determine the appropriate size bit for drilling your pilot hole. As a general rule of thumb, your pilot hole should be slightly smaller than the diameter of your screw. This will remove as much material as possible, which will reduce the likelihood of splitting, but will still leave enough material for the screw's threads to grip into.
- Exact recommendations for pilot hole diameters based on screw sizes can be looked up online. However, a visual check of your drill bit against the screw will suffice for most applications. It is best to err on the smaller side when choosing a bit; a pilot hole can always be made bigger, but not smaller.
-
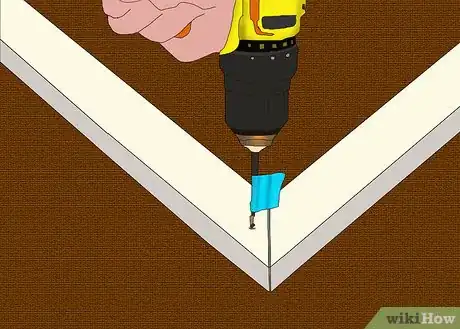
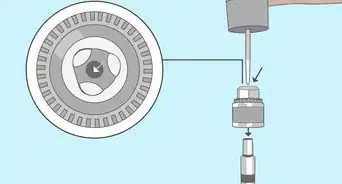
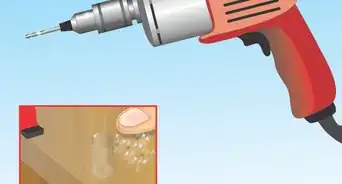
4Drill the pilot hole. After choosing a bit and fitting it into your drill, position the tip of the bit into the indentation you created with the center punch. Holding the bit at the angle you want the screw positioned, drill the hole to a depth equal to the screw's length. Back the bit out carefully.
-
5Install the screw. Once the pilot hole is drilled, you can install the screw. Fit your drill with a screwdriver bit and position the screw's tip into the pilot hole. Drive the screw in, being careful to angle it to follow the path of the hole. Repeat this process for each screw used.
Community Q&A
-
QuestionI don't have a drill and I'm hanging a curtain rod. How do I get the screw started?
 Community AnswerThe tip of a screwdriver should work.
 -
QuestionCan I use a 5/32 bit instead of a 7/32 bit for a pilot hole?
 Community AnswerYou need the pilot hole to be smaller than the screw diameter you will use, otherwise screws will not hold.
 -
QuestionHow do I start a hole in my screen door to put in a new closure?
 JulieCommunity AnswerYou could use a punch or a screw driver. Just start the screw to puncture or dent the metal.
Things You'll Need
- Ruler
- Pencil
- Center punch
- Hammer
- Drill
- Drill bits
- Screw


