wikiHow is a “wiki,” similar to Wikipedia, which means that many of our articles are co-written by multiple authors. To create this article, 23 people, some anonymous, worked to edit and improve it over time.
This article has been viewed 299,531 times.
Learn more...
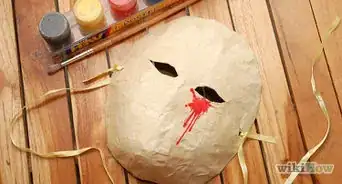
Making a mask is a fun, easy and inexpensive way for adults or children to prepare for Halloween or a masquerade party. The masks can cover your entire face or just a small portion over your eyes. After you create your mask, you can attach a ribbon, string or dowel to make it wearable. If you plan on wearing your mask multiple times, there are even some tricks to preserve it.
Steps
Designing Your Mask
-
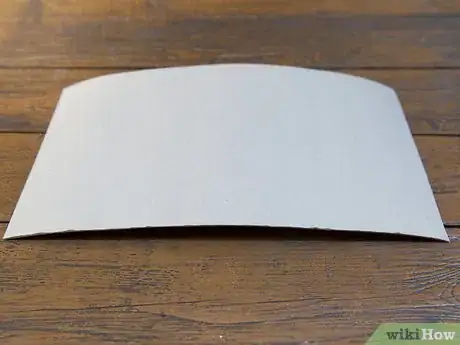
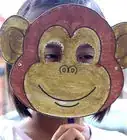
1Choose your material. Cardstock is going to be the best material to use for your paper mask, but you can also use heavy cardboard or even a sturdy paper plate.[1] Choose any color you’d like and decide what shape you want.
-
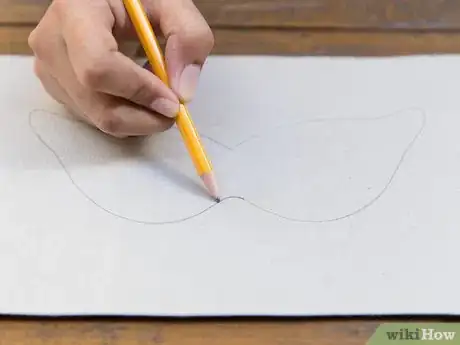
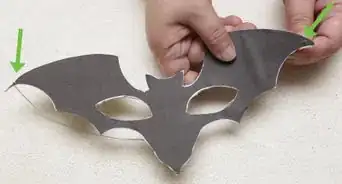
2Draw the shape.[2] You can make a mask to cover your eyes, half your face or the entire thing. Decide what shape best fits the occasion and draw it on the cardstock.[3]
- To make your mask symmetrical, fold your paper in half and draw half of the mask. Place it up to the window and trace the shape on the other half of your paper. You can also cut out the half-shape while your mask is still folded, just be sure that the center is along the fold or you'll end up with two separate halves.
Advertisement -
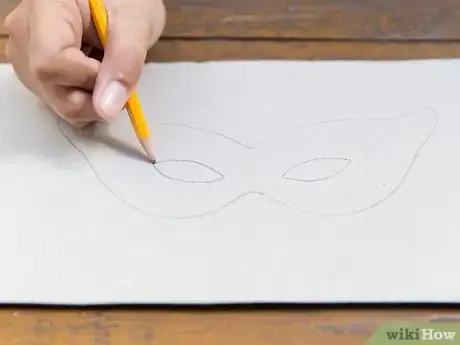
3Draw eye holes and, if necessary, a mouth hole. To make sure the eye holes are in the right place, first hold the mask in front of your face, then use a pencil to make a small mark on the area in front of your eyes. You can then draw the eyes around the mark. Do the same for the mouth if making a full-face mask.
-
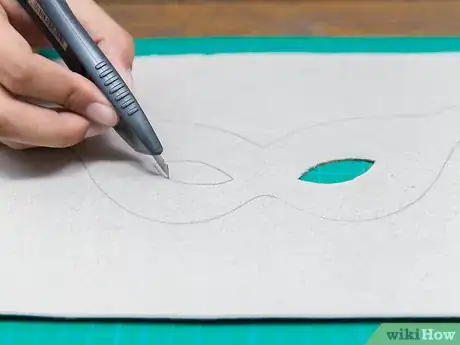
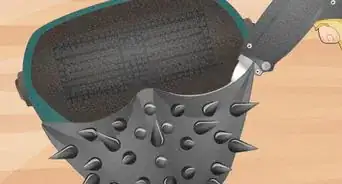
4Cut out the eyes. Use an X-Acto knife or a razor blade to cut out two holes for the eyes. If you’ve decided to make a full-face mask, cut out the mouth hole as well.[4]
- If you don't have an X-Acto knife or a razor blade - or if there isn't an adult present - you can cut them out with scissors. Just fold the mask across where you want to cut the eye and cut a small hole. You can then insert your scissors through the hole to cut out the remaining shape of the eye.
- Don’t cut out your full mask yet. Leave the extra paper around the shape in case you find that you want a larger one while you’re decorating.
Decorating Your Mask
-
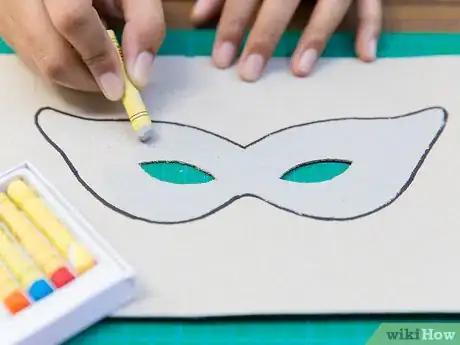
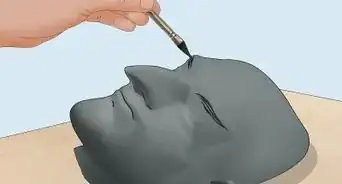
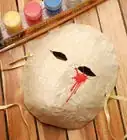
1Color your mask with markers, crayons and paint. Now that you have the shape of your mask, design its base color. You can use any medium that you wish to make your design, but paint, markers and crayons work best. You can make it a solid color or add designs such as stripes, stars, polka dots or even scars.[5]
- Chalk and pastels can rub off and get into your eyes, while markers with heavy scents or fumes can irritate your eyes and nose.
-
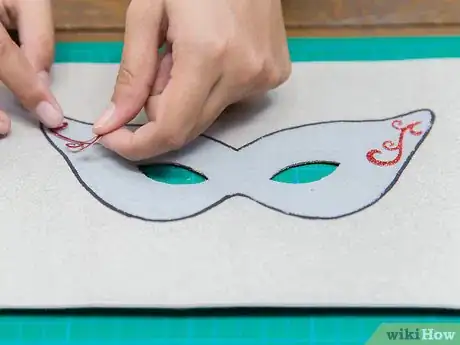
2Add glitter, jewels, feathers or any other decoration you have available. Once you’ve finished your base layer of color, put your additions onto your paper mask. Use white craft glue to attach them to your mask because it is water based and less likely to aggravate your skin or eyes. Craft glue is also flexible when dry, so your mask will still be able to form around your face.[6]
- Be careful that your chosen decorations are not too heavy or too numerous. Too many additions will weigh down the paper and make it difficult for the mask to maintain its form. Too much added weight will also make it difficult for the mask to stay in place over your face.
-
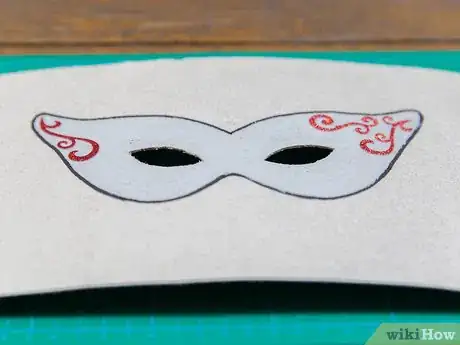
3Set your mask aside so it can dry completely. Before doing anything else with your mask, let it dry completely. If possible, leave it overnight. If you continue before letting the glue or paint dry, you will likely ruin your mask before you ever get to wear it.[7]
Making Your Mask Wearable
-
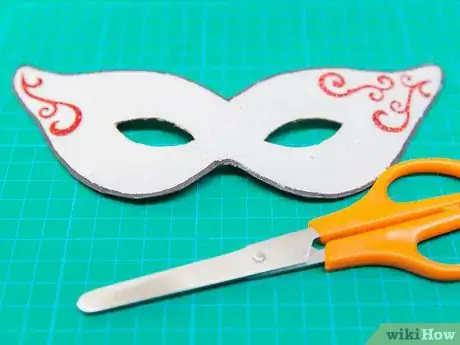
1Cut out your mask. Now that you’ve decorated your mask, use scissors, an X-Acto knife or a razor blade to cut out the shape. Be careful not to cut off any of the feathers or additions that you’ve attached. Bend the paper if you need to make it easier for cutting with scissors.
-
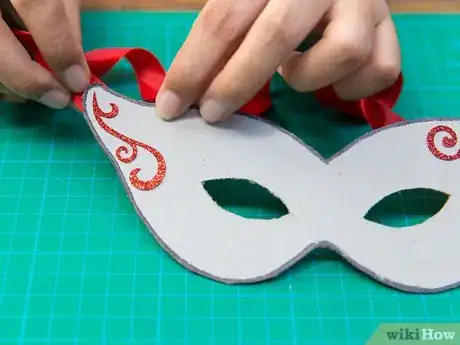
2Attach some ribbon. Get two pieces of ribbon, each about a foot long. If you don’t like ribbon, use some heavy-duty string to create the tie for to wear your mask.
- Glue the ends of your ribbon to the inside of your mask. Start the ribbon just outside the eyes and glue it from here to the edge of your mask.
- If you have a hole punch, you can also punch holes in the area between the eyes and the edge of your mask. Then slip the ribbon through the hole and tie it in snug loop.
- Stapling your ribbon is not a safe choice. It could come loose and scratch your eye.
- Once you've attached the ribbon or string, pull it around your head and tie it in the back to wear your mask.
-
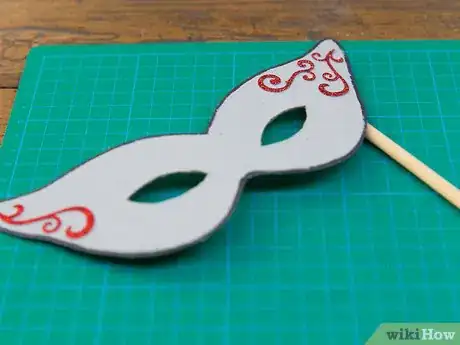
3Attach a stick, alternatively. If you wish to hold your mask to your face rather than tying it around your head, you can use a chopstick or a dowel to make a handle. Glue the handle onto the back of the mask. White glue will hold well, as long as it is applied generously.[8]
- You can keep your handle plain or you can decorate it with paint or markers before you attach it to your mask.
Preserving Your Mask
-
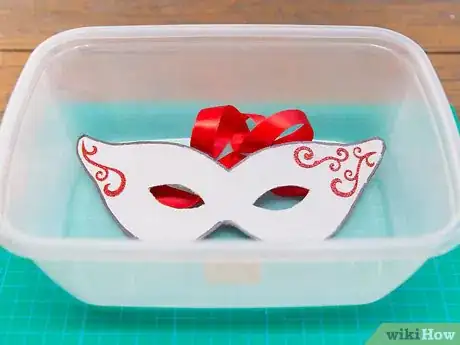
1Keep it dry. If you want your mask to last through many wears, it is very important that you keep it dry. Because it is made of paper, if you get it wet, it will easily tear.
- If you’re going to be wearing your mask in a very hot and humid environment, and you’re afraid you might sweat on your mask, glue plastic wrap or line the inside of your mask with scotch tape to prevent the sweat from being soaked up by your mask.
-
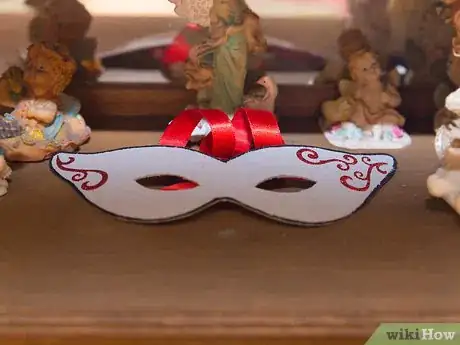
2Store it flat. When you take your mask off, try not to put it somewhere that will make it easy for it to be squished. Place it on a shelf rather than in a drawer.
-
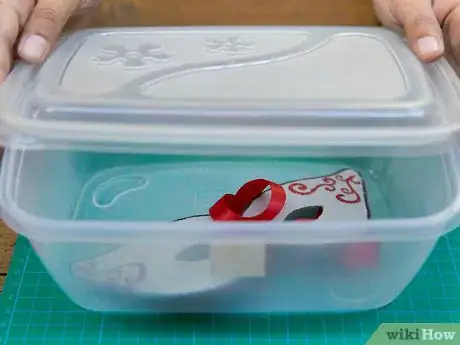
3Cover your mask to protect it from dust. Dust can easily ruin your mask, especially if you have glitter or feathers glued onto it. If you plan to keep your mask around for an extended amount of time, make sure it is covered. If you want to use it as a decoration, a shadow box frame is a great way to keep it clean while on display.
-
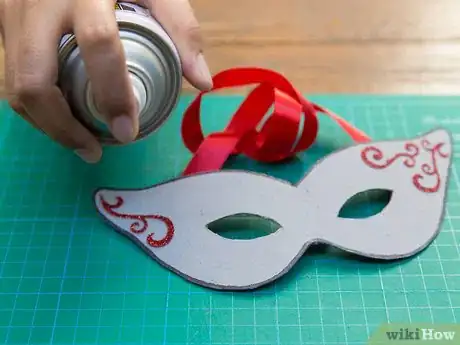
4Preserve the colors. To prevent your design from wiping or wearing off, just spray your mask with aerosol hairspray and let it dry.
Community Q&A
-
QuestionHow do I make a Phantom of the Opera mask shape?
 Community AnswerJust make half the mask physically without the ribbon, and then use fashion tape (or double-sided tape) to hold it in place.
 -
QuestionHow can I make a marionette mask?
 Community AnswerMake a full face mask as described above and then paint it like you want it.
 -
QuestionCan I make a mask just out of paper, card, paint and ribbon?
 Community AnswerYes.
References
- ↑ https://www.pinterest.com/explore/paper-plate-masks/
- ↑ http://www.handmadecharlotte.com/diy-halloween-masks/
- ↑ http://makezine.com/2012/03/02/how-to-craft-paper-masks/
- ↑ http://makezine.com/2012/03/02/how-to-craft-paper-masks/
- ↑ http://www.handmadecharlotte.com/diy-halloween-masks/
- ↑ http://www.adhesives.org/adhesives-sealants/adhesive-selection/types-of-glue-glue-tips
- ↑ http://makezine.com/2012/03/02/how-to-craft-paper-masks/
- ↑ http://www.firstpalette.com/Craft_themes/Wearables/masquerademask/masquerademask.html
About This Article
To make your own paper mask, cut the shape for your mask out of cardstock, heavy paper, or a paper plate. Hold the mask in front of your face, then use a pencil to mark the area in front of your eyes. If you’re making a full-face mask, do the same for your mouth. Use a craft knife to cut out the holes. Once you have the shape of your mask, decorate your mask with markers, crayons, or paint, and if you like, you can add fun embellishments with glitter, jewels, feathers, or anything else you want to use! Keep reading to learn how to attach ribbon or elastic to your mask!


-Step-1-Version-3.webp)


