This article was co-authored by wikiHow Staff. Our trained team of editors and researchers validate articles for accuracy and comprehensiveness. wikiHow's Content Management Team carefully monitors the work from our editorial staff to ensure that each article is backed by trusted research and meets our high quality standards.
The wikiHow Video Team also followed the article's instructions and verified that they work.
This article has been viewed 63,554 times.
Learn more...
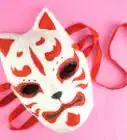
Making a latex mask is a fun way to get creative when designing a costume. Begin with shaping out the form of the mask using foam, clay, and liquid latex. Then you can move onto decorating your mask! Because you are making the mask from scratch, you can create the mask exactly how you want with paint and accessories such as fake hair, glitter, or fabric. You can purchase all of the supplies that you will need to make the mask either from a craft store or online.
Steps
Shaping the Mask
-
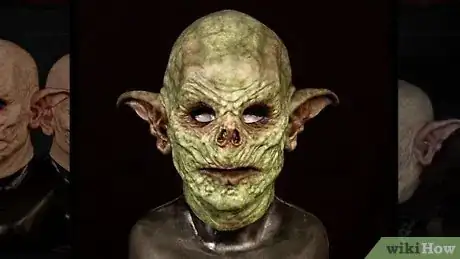
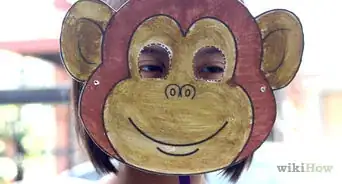
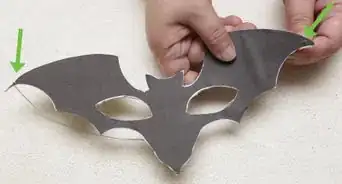
1Pick a design for your latex mask. Before you begin creating your mask, you will need to know the general shape that you want the mask to be. You can stick to either a human head shape, or accentuate the features if you are replicating a character or fantasy being.
- Some design options for your mask include a regular human face, a favorite popular culture character, or something Halloween related. For example, you could make a mask of your friend to pull a prank on them, your favorite superhero, an alien, a witch, or a scary zombie.
-
2Tape foam pieces onto a mannequin head to create the basic shape. The foam mannequin head will be the starting point for your mask. Cut pieces of foam to the desired shape and length, and tape these on the foam mannequin head firmly to accentuate features. Around 2 pieces of tape for each foam piece will do.[1]
- It doesn't matter if the foam or tape looks messy or untidy. You won't see this in your finished product, as all that matters is the general shape. The clay that you will use next can hide any minor imperfections.
- Try adding foam pieces around the ears to create bigger ears, over the nose to make it larger, or extending from the top of the mannequin to create horns.
- Use foam to create only the larger features on the foam mannequin head. Smaller features can be added on later using the clay.
- Duct tape is ideal as it is sturdy enough to hold the foam in place.
Advertisement -
3Cover the foam mannequin head with modelling clay. Place modelling clay over the entire foam mannequin head, making sure that all of the tape and foam pieces are covered. The clay will soften with your body heat, and it will be easily malleable.[2]
- Make sure that the modelling clay is moist enough before you start using it. Pull off a small chunk of modelling clay and roll it into a cylinder. Bend the cylinder in half. If the cylinder cracks and breaks, add more water. If the cylinder bends smoothly, then the clay is good to use.[3]
- You can leave holes around the eyes, nose, and mouth if you prefer.
-
4Shape smaller facial features with the modelling clay. Once the whole foam mannequin head is covered, add smaller features with the clay too. Use your hands to mould the clay into pieces, and stick these to the clay on the mannequin.[4]
- Some ideas for smaller facial features that you can make with modelling clay are eyebrows, lips, and cheekbones.
-
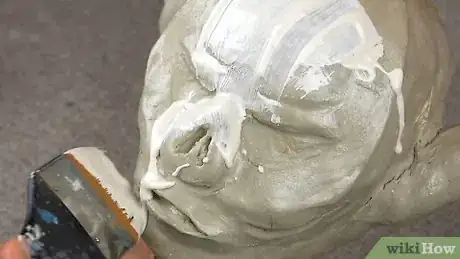
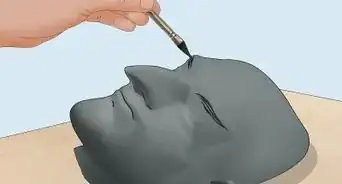
5Smooth petroleum jelly over the clay. Use your hands to cover every part of the clay with petroleum jelly. A thin layer will do.[5]
- The petroleum jelly will make it easier to remove the latex mask from the clay later on.
-
6Paint multiple layers of liquid latex over the clay. Use a paintbrush to paint a layer of liquid latex over the entire mask. Then use a blow dryer to dry each layer fully before painting on the next.[6]
- Liquid latex dries relatively fast, and only takes 1-2 minutes per coat without the help of a blow dryer. The blow dryer will speed up the process to around 20 seconds. Keep it on a low setting.[7]
- The number of layers that you need depends on how thick you want your mask to be. 20 layers is an ideal starting point.
- You can also use specialty mask making latex for this step, which can be found in speciality craft stores or ordered online. This latex is thicker than regular liquid latex, which means that you won’t have to do as many layers.
-
7Peel the latex mask off the mannequin head. When you have reached your desired thickness of latex and the final layer is dry, carefully pull the latex mask away from the mannequin head. Be gentle and remove it slowly to avoid damaging the mask.[8]
- The mask should pull off the mannequin relatively easily due to the petroleum jelly.
Decorating the Mask
-
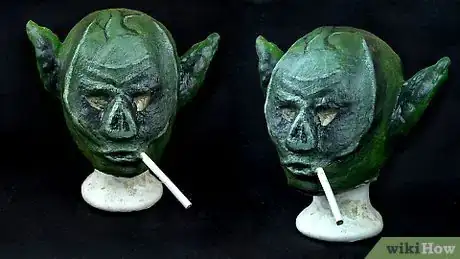
1Paint a base coat onto the mask. Pick a color that the majority of your mask will be. Use a paintbrush to cover the mask fully with the paint.[9]
- Acrylic paint tends to have the best results on latex masks.
- You can either wait for the base coat to air dry, or use a blow dryer to speed up the process.
-
2Include other colors once the base coat is dry. Add color to distinguish the features of your mask. Clean your paintbrush well in between each color to avoid ruining the lighter shades.[10]
-
3Add decorative accessories and features to the mask. Include all of the decorative touches that can't be done with just paint. Try fake hair, glitter, or fabrics depending on the style you are going for.[11]
- Make sure that any decorative features that you add are well secured. Glue is an ideal adhesive.
- This is the stage where your mask will begin to really come to life! If you have a set plan for what you want your mask to look like, follow your design carefully with the appropriate colors. Otherwise, experiment with different colors to get creative with your mask.
- There are a wide variety of different accessories that you can add to the mask. Try adding glasses, a hat, fake fur, spikes, fake teeth, or a hood.
- Your local craft store will sell many different options to get you inspired to decorate your mask.
-
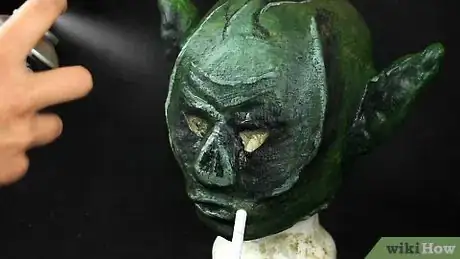
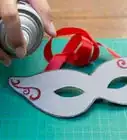
4Spray the mask with protective sealant spray. Make sure all of the paint on your mask is dry. Then take your mask to a well-ventilated area and coat it with protective sealant spray.[12]
- If you don’t want to spray your mask inside your home, take it outdoors instead.
- This spray will help your mask to last over the years.
Warnings
- Avoid storing your latex mask in direct heat or sunlight. This can cause the latex to crack and the colors to fade.[14]⧼thumbs_response⧽
Things You’ll Need
- Foam pieces
- Foam mannequin head
- Duct tape
- Modelling clay
- Petroleum jelly
- Liquid latex
- Blow dryer
- Paint
- Paintbrush
- Accessories for the mask
- Protective sealant spray
References
- ↑ http://www.stormthecastle.com/how-to-make-a/make-a-latex-predator-mask.htm
- ↑ https://www.figurines-sculpture.com/how-to-sculpt.html
- ↑ https://www.artistsandillustrators.co.uk/how-to/sculpture/252/beginners-guide-to-sculpting-in-clay
- ↑ http://www.stormthecastle.com/how-to-make-a/make-a-latex-predator-mask.htm
- ↑ http://www.stormthecastle.com/how-to-make-a/make-a-latex-predator-mask.htm
- ↑ http://www.stormthecastle.com/how-to-make-a/make-a-latex-predator-mask.htm
- ↑ https://www.cosplaysupplies.com/tutorials.php?id=Liquid_Latex_FAQ
- ↑ http://www.stormthecastle.com/how-to-make-a/make-a-latex-predator-mask.htm
- ↑ http://www.stormthecastle.com/how-to-make-a/make-a-latex-predator-mask.htm
- ↑ http://www.stormthecastle.com/how-to-make-a/make-a-latex-predator-mask.htm
- ↑ http://www.stormthecastle.com/how-to-make-a/make-a-latex-predator-mask.htm
- ↑ http://www.stormthecastle.com/how-to-make-a/make-a-latex-predator-mask.htm
- ↑ https://www.halloweenexpress.com/blog/caring-for-latex-items/
- ↑ https://www.halloweenexpress.com/blog/caring-for-latex-items/


-Step-1-Version-3.webp)
