X
wikiHow is a “wiki,” similar to Wikipedia, which means that many of our articles are co-written by multiple authors. To create this article, volunteer authors worked to edit and improve it over time.
This article has been viewed 30,029 times.
Learn more...
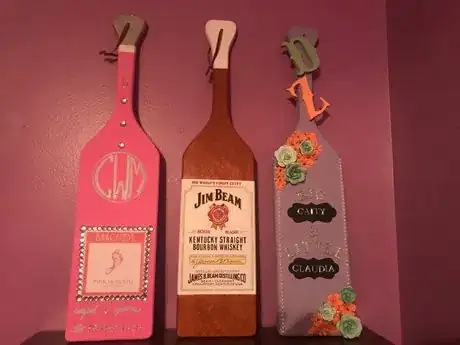
Are you not creative? Are you overwhelmed with the idea that you have to make your big sister the most anticipated gift that comes from her little? Don't worry! There are many different ways to make a paddle and this wikiHow will guide you in the right direction.
Steps
Part 1
Part 1 of 2:
Planning and Preparing
-
1Pick out the style of paddle you’d like to use. There are many different shapes of wooden paddles you can find at your local craft store.
-
2Decide what theme you want to go with for your paddle. The paddle you’ll be making is most likely for your big sister. Think about what she likes. Brainstorming with these questions should help you decide what you will want her paddle to look like.
- Does she like paisley or chevron?
- Does she like flowers or jewels?
- What are her favorite colors?
Advertisement -
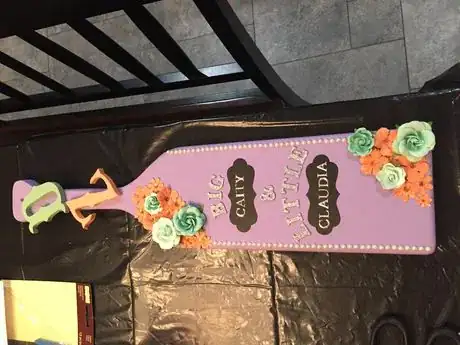
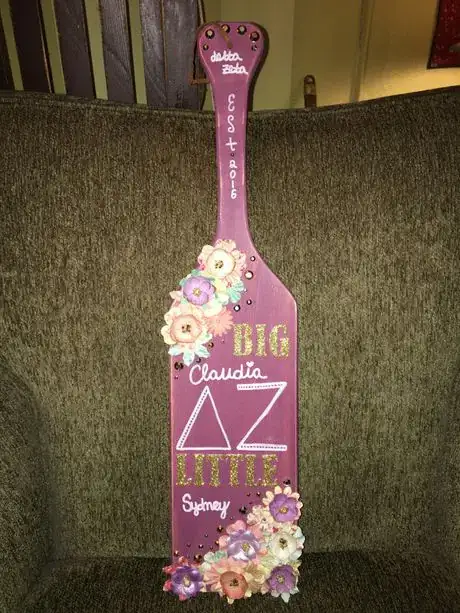
3Personalize it. The paddle should be personalized to your big sister, but also your sorority. Commonly, a paddle will have the greek letters of your sorority on it somewhere. It is important to give recognition to the sorority that brought you and your big sister together.
- Also, you should add “little" followed by your name and “big" followed by their name so it's personalized to the bond between you and your big sister.
-
4Do some research. If you’re not very creative it is okay. You can browse through a website like Pinterest and look at examples of other paddles people have made for their big sisters. Do not get discouraged by doing this because some paddles can be extremely intricate and almost like a work of art.
- Also, make sure you do not exactly copy a paddle you see online. You want the paddle to appeal to your big sister and also be meaningful to her. No matter what, your big sister will love it because she knows you spent the time to make her one.
-
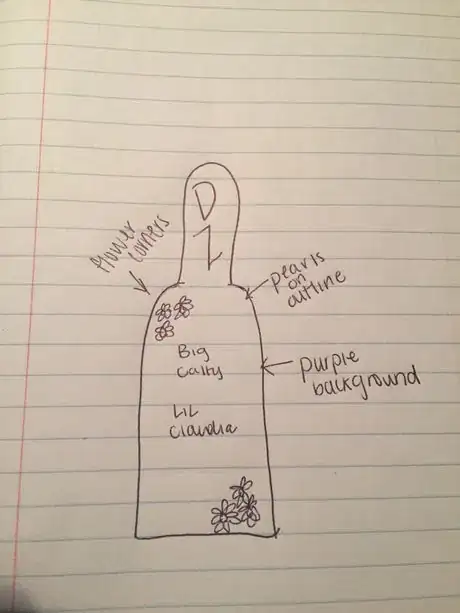
5Brainstorm on paper. Making a paddle takes a lot of beforehand planning. Once you’ve completed the previous steps, draw out what you think you want the paddle to look like.
- Make notes on what color, what embellishments you’ll need, and the placement of where you’ll be putting everything on your paddle. This will be extremely helpful when getting to the craft store so you do not get overwhelmed by the never ending aisles of glitter, paint, and flowers.
-
6Get your necessary tools. You will need some basic tools when making your paddle. These things can be found at your local craft store.
- Exacto knife
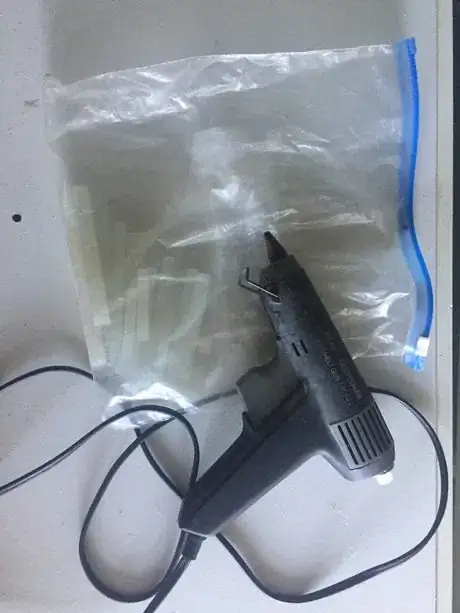
- Glue gun
- Paint brushes
- Big garbage bag to set your workstation up on to make sure you do not make a mess on your floor or carpet.
-
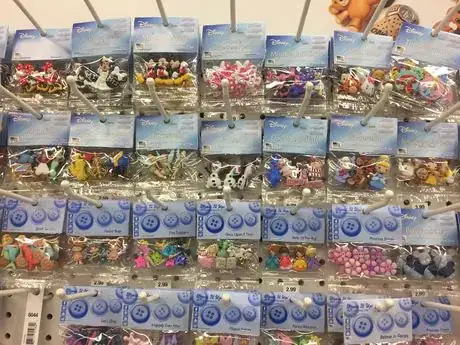
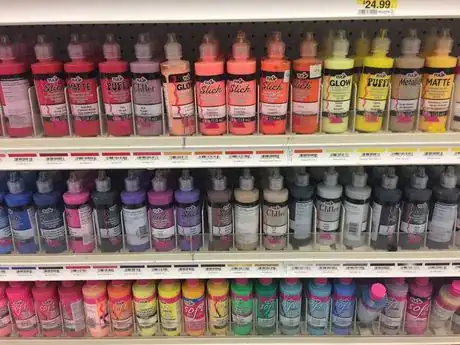
7Pick out your accessories. Do this after you have figured out exactly what you want from brainstorming questions, after doing some research from step three, and after completing your drawn out rough draft of your paddle from step five. All of your paint, embellishments, and other accessories you have planned to use can be found at your local craft store. Again, do not get overwhelmed at the craft store! If you find something you weren’t thinking of buying, but now want, buy it and return it later if you do not end up using it.
Advertisement
Part 2
Part 2 of 2:
Decorating the Paddle
-
1Paint it. The first step in making your paddle is to paint it. You may be staining it, painting it, or decorating the paddle in some way, but this step should be done first. Painting is most common. The best paint to use for a paddle is acrylic paint. If you are not sure what paint is what, ask a worker at the craft store when picking it out. They are usually very helpful.
- Make sure you paint your paddle with at least two coats so it is uniform throughout. Also, make sure it has plenty of time to dry before starting to decorate it with any of your embellishments.
-
2Plan it out. Place all of your jewels, flowers, and other embellishments in the places you have them written out on your drawn out plan. This way you can see if you like where things are or move them around if you do not.
- When laying things out try to keep a symmetry within the paddle. Do not just haphazardly place a mess of jewels and flowers on to your paddle. Make a corner filled with different color of flowers and fill the corner diagonal to it with the same layout of colored flowers to create symmetry. Line the outside of your paddle with your jewels. Commonly they’re outlined with pearls or diamonds, but it is up to you.
-
3Glue everything in place. Gluing everything down takes a lot patience since you will most likely have many different pieces. Make sure to glue down the things touching the paddle first. Glue from the bottom to the surface. After gluing, make sure to remove all the extra strings of glue that a hot glue gun leaves around.
-
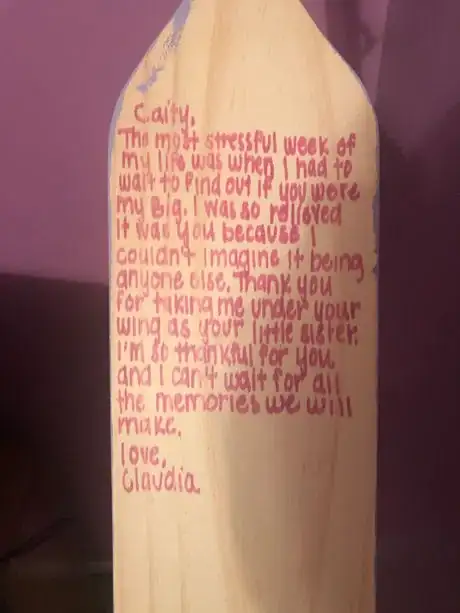
4Writing the message. The most significant part of the paddle is the written message you should include on the back for your big. It should be a thank you to them for helping you through your new member period and telling them how much you appreciate them. This is by far the most meaningful and memorable part of the paddle you will be making for your big sister.
-
5Delivering your paddle. Wrapping a paddle can be difficult so it's better to find a big bag and some tissue paper. The paddle should be given to your big sister after your initiation ceremony. It is a thank you to her for getting you ready for initiation and helping you officially become a member of your sorority.
Advertisement
Warnings
- When working with hot glue you need to work fast. If not, the hot glue will leave a glob of glue. If you chip it off it can chip the paint. If this happens, try to cover it up with one of your embellishments⧼thumbs_response⧽
- Acrylic paint stains! Make sure when painting you wear clothes that you are okay with getting paint on.⧼thumbs_response⧽
- Give your paddle time to dry. Paint can smear and embellishments can move if the paddle does not have enough time to dry.⧼thumbs_response⧽
Advertisement
About This Article
Advertisement
