wikiHow is a “wiki,” similar to Wikipedia, which means that many of our articles are co-written by multiple authors. To create this article, volunteer authors worked to edit and improve it over time.
wikiHow marks an article as reader-approved once it receives enough positive feedback. In this case, 90% of readers who voted found the article helpful, earning it our reader-approved status.
This article has been viewed 69,172 times.
Learn more...
A Moby wrap is a convenient way to carry your baby and keep her close to you, while also leaving your hands free to multi-task. You can save yourself some money by making your own Moby wrap at home. It's very easy to do, so just see Step 1 below to get started.
Steps
Gathering the Materials
-
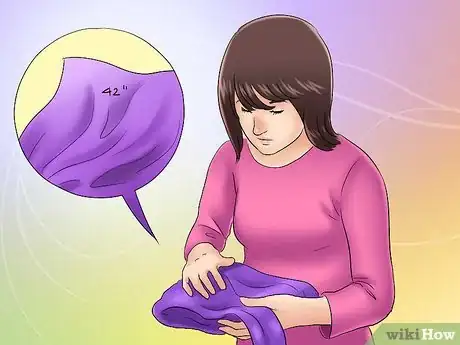
1Choose a comfortable, slightly stretchy material. The best material for making a Moby wrap is muslin or cotton with 5% spandex or 5% elastane. These materials are comfortable and slightly stretchy, allowing them to adjust to the contours of both you and your baby's body.To make the wrap, you will need 5 yards (4.6 m) of your chosen material (42 inches wide).
-
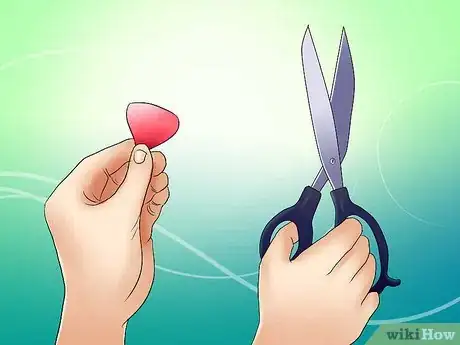
2Have a scissors readily at hand. You will need to have a scissors readily at hand which you can use to cut the required amount of material. Sewing shears are the best for cutting fabric - these have blades that are more than 6 inches (15.2 cm) long and have different shaped handles for your fingers and your thumb.[1]
- A piece of chalk will also come in handy to mark out the line for cutting.
Advertisement -
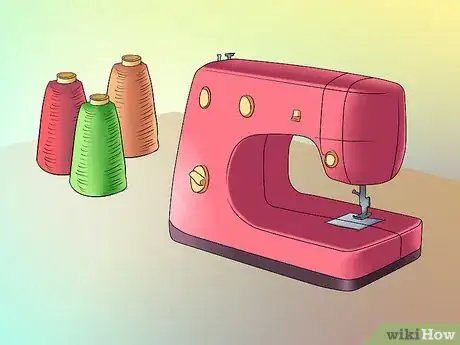
3Prepare your sewing machine and thread. The last items you need to make a Moby wrap are a sewing machine and some thread. You could sew the material by hand, but the sewing machine will be faster, make your stitches look neater and help to prevent fraying.
Making the Moby Wrap
-
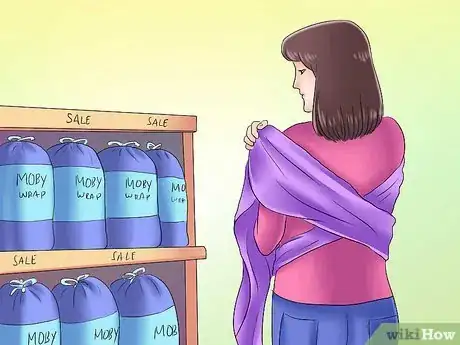
1Examine a Moby cloth for size, feel and texture. Before you make your own Moby wrap, go to a baby supply store and examine their stock of Moby wraps. This will give you an idea of the proper size, length, width, stretchiness and texture before you make your own.
-
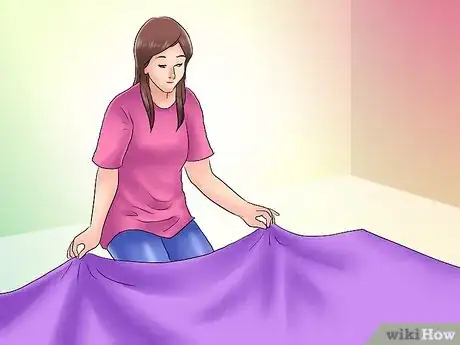
2Lay your chosen material out on the floor. Once you have purchased 5 yards (4.6 m) of an appropriate material, in your favorite color or texture, take it home and spread it out flat on the floor or on another large surface.
-
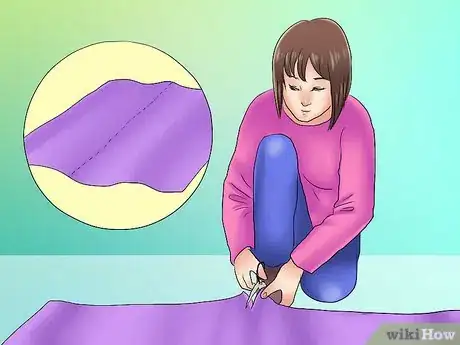
3Cut the material in half, lengthwise. The easiest way to cut the material in a straight line is to fold the material in half, then mark several points along the crease with a piece of chalk.
- Open the material out again and carefully cut along the chalk-marked line, using the fabric shears. It will be easier to cut if you ask someone else to hold the material taut as you work.
- Once cut, you should have two strips of material, each approximately 5 yards (4.6 m) long and 20 inches (50.8 cm) wide. Each of these long strips can be used to make a Moby wrap.
- Alternatively, you can ask one of the employees at the fabric supply store to cut the material in half for you before you bring it home.
-
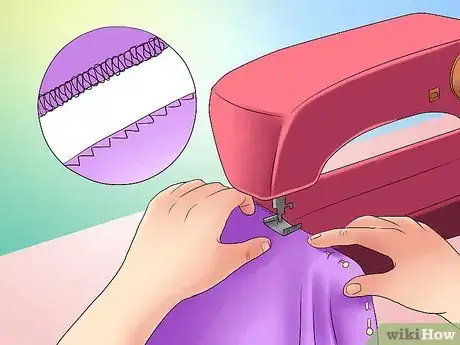
4Sew the edges of the wrap (optional). Once you have cut your fabric in half, your Moby wrap in half, it is ready to use. However, you can make the wrap look much neater and prevent the edges from fraying by sewing the edges.
- Use pins to fold over the rough edges to the desired width, then iron these folded edges to make them easier to sew.
- Place the thread in the sewing machine and use an overlock or zigzag stitch to hem the edges.
-
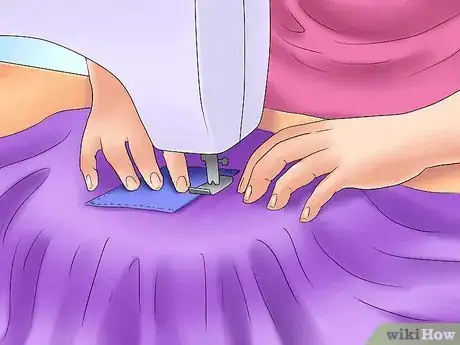
5Add a patch of fabric to the center of the wrap (optional). Brand-name Moby wraps have a tag in the center of the material so you can easily find the middle. This is helpful when you are tying the wrap around your body.
- If you like, you can emulate this tag by sewing a small square of fabric (in a contrasting pattern/color and fabric) onto the center of the fabric, along the top edge.
- Using a patch of material made from a different fabric will help you to easily find the tag by feel alone.
Wearing the Wrap
-
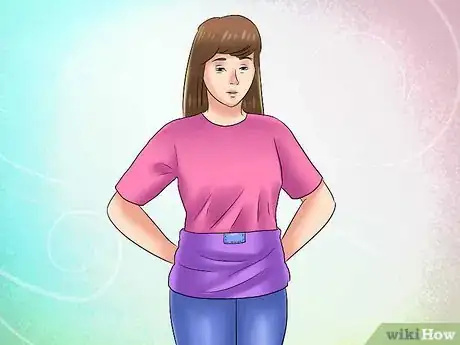
1Wrap the Moby wrap around your body. Take the Moby wrap and gather the material together. Wrap the material around your body from front to back, so the tag is at the center of your waist, just above your belly button.
- If you want a cleaner look, fold the Moby wrap in half lengthwise before you begin wrapping. Make sure to keep the seams together.
-
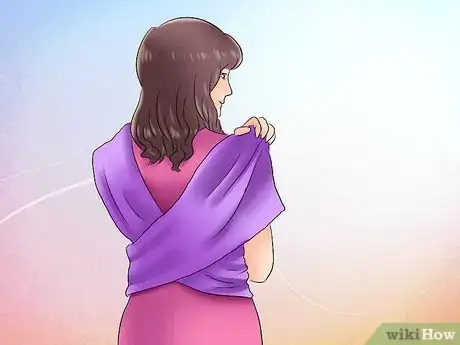
2Cross the ends behind your back to make an x. Cross the two ends of the material behind your back to make an x. Bring the ends over your shoulders (like straps), keeping the material as flat as possible for optimal comfort.
-
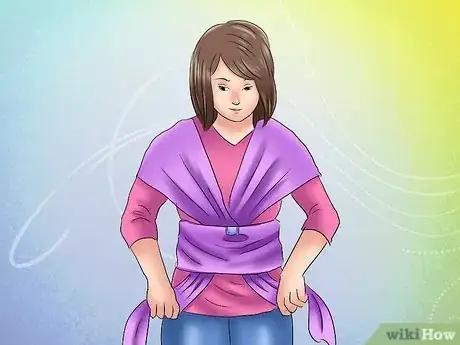
3Tuck the ends of the wrap under the piece around your waist. Tuck the two ends of the wrap underneath the piece of fabric around your waist (directly behind the tag), from top to bottom. Arrange the material so it fits snugly around your body.
-
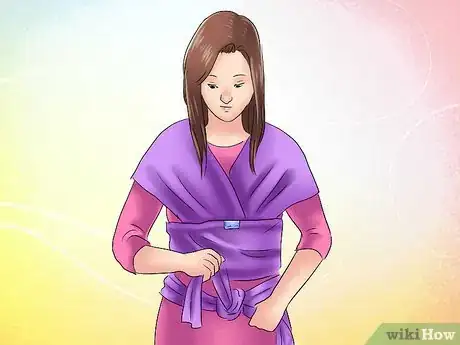
4Cross the ends in front of your stomach. Cross the ends of the wrap a second time, making an x shape in front of your stomach. Bring the ends around to your back then continue to wrap them all the way around the body, before tying the two ends together in front of your stomach.
-
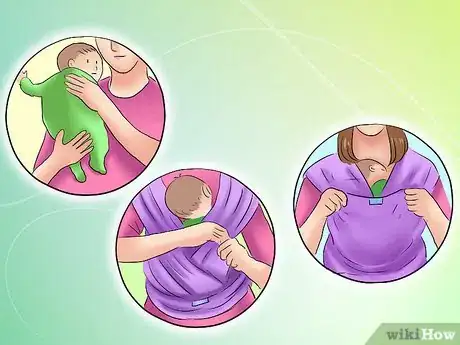
5Place the baby into the Moby wrap. Once the Moby wrap is secured around your body, you can place your baby into it. The most popular position is the cradle hold:
- Start by holding the baby upright on the shoulder opposite the first panel of fabric (the shoulder panel closest to the body). Then carefully place the baby into the first panel of fabric, in a seated position. Spread the fabric wide to cover the baby's bottom, back and shoulders. Continue to support the baby with your arm as you do this.
- Place the baby's legs into the second panel of fabric (the shoulder panel on the opposite side). Then find the third panel (the one that goes around your waist) and pull it up to cover the baby.
