X
wikiHow is a “wiki,” similar to Wikipedia, which means that many of our articles are co-written by multiple authors. To create this article, volunteer authors worked to edit and improve it over time.
This article has been viewed 116,351 times.
Learn more...
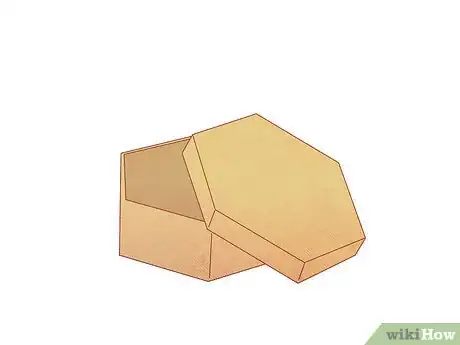
A custom hat box can be used for decoration or to hold and protect a hat. Hat boxes can be made in a variety of shapes (circular, hexagonal, octagonal). The instructions that follow will lead you, step by step, through the process to make each kind of hat box, based on shape. By making the bottom of the box and the top of the lid first, you will establish the shape of your hat box and maintain symmetry.
Steps
-
1Make the bottom of your hat box.
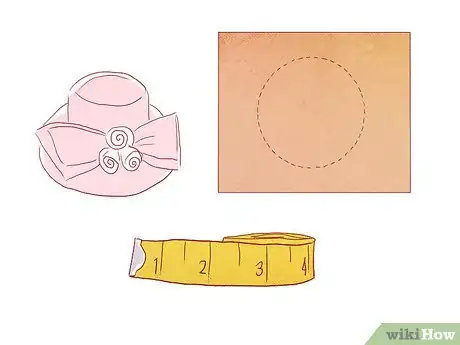
- Measure the diameter of the hat you plan to store in the hat box. Add 2 inches (5.08 centimeters) to that measurement. If you are not planning to store a hat in your hat box, simply choose an appropriate size.
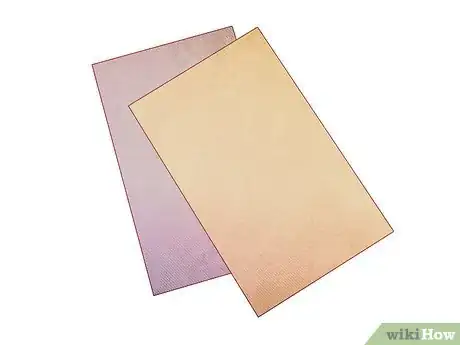
- Draw the bottom of your hat box, using your measurement, onto poster board with a pencil. Any symmetrical shape that is somewhat rounded will do (circle, octagon, hexagon, for example).
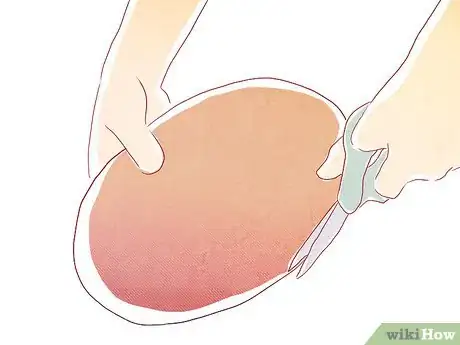
- Using a craft knife, score along the drawn line. To do this, trace the line with the blade of the knife, applying light pressure. Continue around a couple times or more, until the bottom of your hat box is cut out.
-
2Make the top of the lid of your hat box. This procedure will mirror the steps to make the bottom of your hat box. The only difference is that the top must be 1/8 of an inch (3.175 millimeters) larger.Advertisement
-
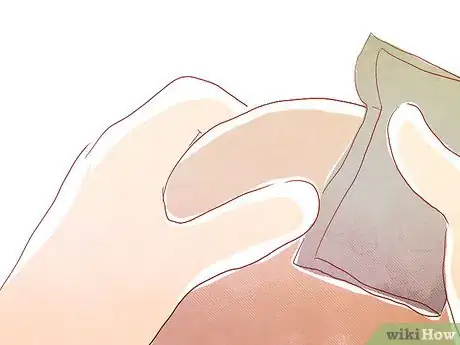
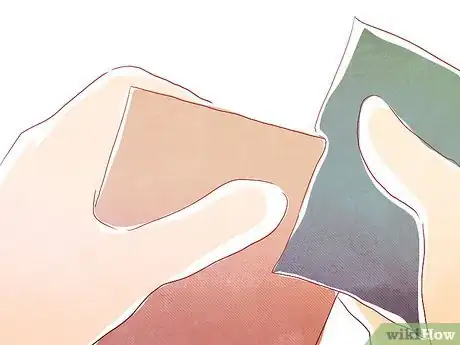
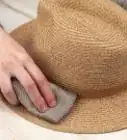
3Sand the edges of the top and bottom to smooth them. Use light sandpaper or a gentle emery board to avoid damaging the poster board.
-
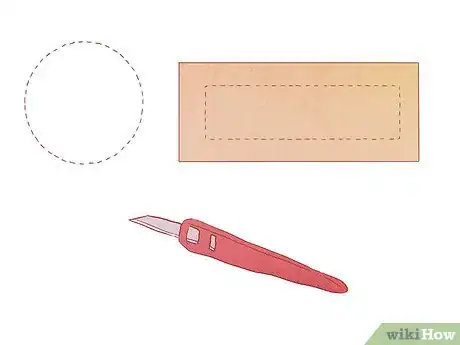
4Cut the middle of your hat box. For this you will need a long piece of poster board.
- Measure the circumference of the bottom of your hat box.
- Draw a line the same length as the circumference of your hat box bottom on the long poster board.
- Using a craft knife, score and cut the long poster board.
-
5Sand the edges of the long poster board. Make sure they are smooth.
-
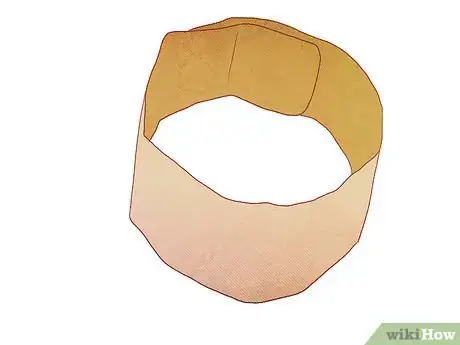
6Form a cylinder with the long poster board. Place a thin line of glue at the short edge, and glue both edges together.
-
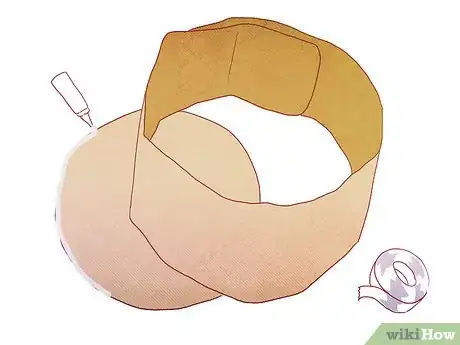
7Attach the poster board cylinder to the bottom to make a hat box.
- Draw a thin line of glue at the edge of your hat box bottom.
- Place your poster board cylinder upon the bottom, being sure that its edge sits on the glue.
- Using paper tape, secure the cylinder to your hat box bottom. Place the tape so that half of it wraps under the bottom of your hat box.
- Clamp the cylinder and hat box bottom together. Allow the glue to dry completely before moving on to the next step.
-
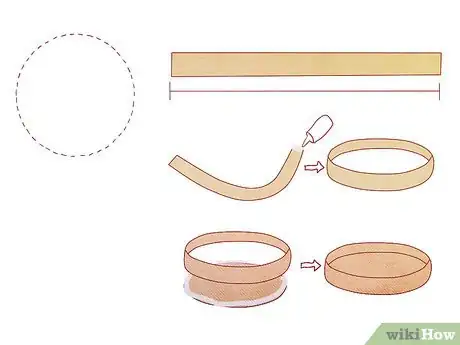
8Construct the rest of the top of your hat box.
- Cut a 2 1/2 inch (6.35 centimeters) piece of poster board. It should measure the same length as the piece you cut for your cylinder.
- Attach the 2 1/2 inch (6.35 centimeters) piece using the same process used to attach the cylinder to the hat box bottom.
Advertisement
Method 1
Method 1 of 1:
Hexagonal and Octagonal Hat Boxes
-
1Cut the middle of your hat box from a piece of poster board.
- Measure each side of the bottom of your hat box. Add these lengths together.
- Draw a line on the poster board. The line must be the same length as the total length of the sides of your hat box bottom .
-
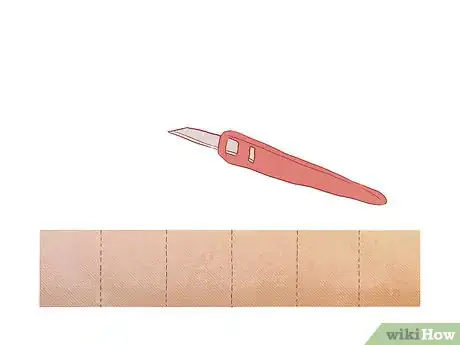
2Using a craft knife, score and cut the long poster board.
-
3Sand the edges of the long poster board. Make sure they are smooth.
-
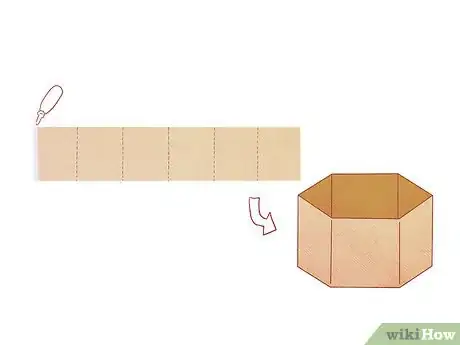
4Fold the poster board to conform to the shape of your hat box bottom.
-
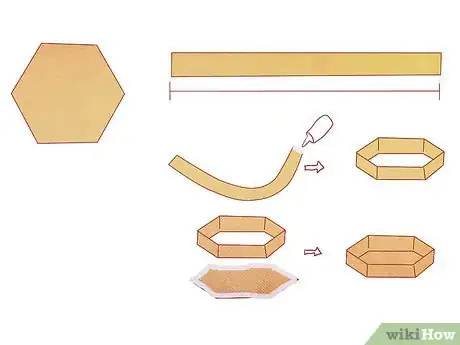
5Attach the long poster board to the hat box bottom.
- Draw a thin line of glue on the hat box bottom. Place small dots of glue at each corner.
- Place the long poster board on the hat box bottom. Secure with paper tape on each side.
- Clamp your hat box bottom to the long poster board. Allow to dry completely before continuing.
-
6Construct the remainder of the top of your hat box. Use the same methods described for the round hat box, making allowance for the hexagonal or octagonal shape.
-
7Finished.
Advertisement
Community Q&A
-
QuestionWhere can I find a paper pattern for making hat boxes?
 Community AnswerThe Silhouette website has a pattern for making hat boxes. You can adjust it up or down. I also Googled "hat box pattern," and there were a number of sites with patterns and instructions.
Advertisement
Things You'll Need
- Poster board
- Craft knife
- Ruler & String
- Pencil
- Glue
- Clamp
- Paper tape
- Light sandpaper or emery board
About This Article
Advertisement
