This article was co-authored by wikiHow staff writer, Travis Boylls. Travis Boylls is a Technology Writer and Editor for wikiHow. Travis has experience writing technology-related articles, providing software customer service, and in graphic design. He specializes in Windows, macOS, Android, iOS, and Linux platforms. He studied graphic design at Pikes Peak Community College.
The wikiHow Tech Team also followed the article's instructions and verified that they work.
This article has been viewed 200,068 times.
Learn more...
Have you wanted to make a group on Roblox, but don't know how? Groups are important; they can help you make friends, create group games, and sell merchandise. This wikiHow teaches you how to make groups on Roblox. All you need is 100 Robux.
Steps
-
1Make sure you have 100 Robux. This is mandatory, or else you won’t be able to create a group. You can buy Robux or purchase a subscription.
Tip: You do not need Premium to create a group. All you need is 100 Robux.
-
2Go to https://www.roblox.com/home in a web browser. You can use any web browser on PC or Mac.
- If you are not logged in Roblox automatically, enter the username and password associated with your Roblox account, and click Log In.
Advertisement -
3Click Groups. It's in the menu bar to the left. This displays all the groups you are part of.
-
4Click Create Group. It's in the upper-right corner of the page.
-
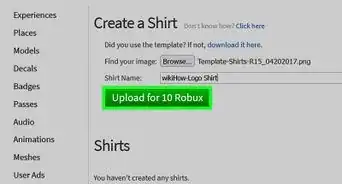
5Fill in the name. Use the bar at the top of the form to enter the name of your group. Pick a name that is descriptive and reflects what your group is about.
- A name cannot be longer than 50 characters.
-
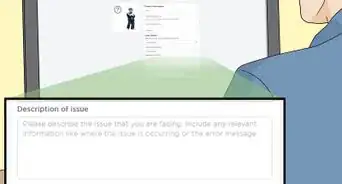
6Fill in the description. Use the large box to fill in the description of your group. Describe what you do in the group. Include a motto for your group. Find a description that entices players to join your group.
- If your group speaks a language other than English, be sure to include that in the description as well.
-
7Choose an emblem. Choose an emblem that is eye-catching and representative of your group. Use the following steps to select an emblem.
- Click Chose File below "Emblem".
- Click an image file on your computer.
- Click Open.
-
8Select "Anyone can join" or "Manual Approval." If you want to allow anyone to join, click the radio button next to "Anyone can join". If you want to control who joins your group, click the radio button next to "Manual Approval." This will require you to approve those who request to join.
- You can also click the checkbox next to "Players must have Premium" to require members to have a Premium membership.[1]
-
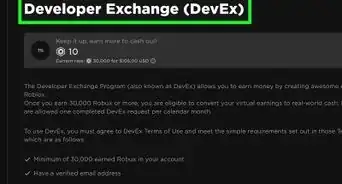
9Click Purchase. It's the green button at the bottom of the form. This will finalize your group.
- Note: Creating a group costs 100 Robux.[2]


Community Q&A
-
QuestionDo I still keep the group if my BC ends?
 Community AnswerYou do keep your group when your BC expires. Therefore you may have it forever.
 -
QuestionIs it possible to get a group for free?
 JessieCommunity AnswerOnly if you are in builders club. If you are, search for what you want, and if there is a group with 0 members and it's public, you can claim ownership.
 -
QuestionI have enough Robux to make a group, I wrote the title the description and did the settings step, but when I click purchase, nothing happens. What do I do?
 Community AnswerYou either do not have Builders club or it is a ROBLOX glitch. Email ROBLOX if it is a glitch. If not, buy Builders club.
Things You'll Need
- Premium Membership.
- 100 Robux


References
About This Article

1. Navigate to https://www.roblox.com/home.
2. Click Groups in the sidebar to the left.
3. Click Create Group in the upper-right corner.
4. Enter a name for your group.
5. Enter a description for your group.
6. Click Choose File and select an image for your emblem.
7. Select "Anyone can join" or "Manual Approval".
8. Click Purchase to create your group.