This article was co-authored by wikiHow Staff. Our trained team of editors and researchers validate articles for accuracy and comprehensiveness. wikiHow's Content Management Team carefully monitors the work from our editorial staff to ensure that each article is backed by trusted research and meets our high quality standards.
This article has been viewed 758,498 times.
Learn more...
One way to store or group files on a Mac is to create a Disk Image. A Disk Image is a file which has the properties of a separate hard drive or CD and allows for greater password protection and compression. It has a size limit and options for encryption to keep your files safe and secure. While there are a few applications that perform this task for you, it is recommended that you complete this process manually.
Steps
Creating a DMG File Manually
-
1Create a New Folder for your files. Place the files you would like in your disk image into this new folder for easy access later in the process.
-
2Right-click (or CTRL-Click) the folder and select "Get Info." Note the size of its contents so you can know how large you will need to make your DMG File.Advertisement
-
3Open "Disk Utility." Go to "Applications" and then "Utilities." "Disk Utility" will show up in the dropdown menu.
-
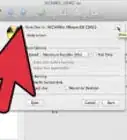
4Click the "New Image" icon to create a new disk image. You can also accomplish this by selecting "File," "New," and then Blank Disk Image." Enter a name for the Image and identify the size you would like for the DMG File. It only needs to be large enough to fit the files you are trying to store. Here you will have the option to encrypt the folder. If you do not wish to encrypt the folder, select "None."
-
5Select "Create." This will create the DMG File. You should be able to immediately see it appear on your desktop or in the left-hand column of your finder window. Once you have done so, exit out of Disk Utilities.
-
6Fill your newly created disk. You can do this by simply selected the files you want and dragging them to the DMG file.


Downloading a DMG Application
-
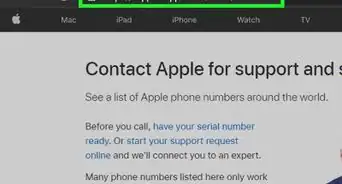
1Identify the application that's right for you. Manually creating DMG Files is extremely simple, but if you still feel that you would like to explore the option of downloading a DMG application, research the different apps out there and compare their ratings and customer reviews. There are a few options out there that have helped to make the process of creating a DMG File much simpler. If you choose to download a DMG Application, some popular options are iDMG and DropDMG. In this tutorial, DropDMG will be highlighted but the other apps will work similarly.
-
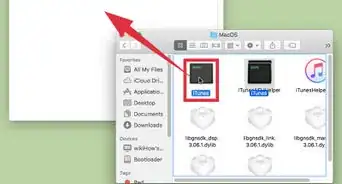
2Download and launch the app. Drag the application into your "Applications" folder and then double-click it. Once it has launched, press the eject icon next to the app.[1]
-
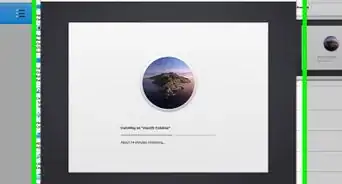
3Restart your machine. This will cause the changes to take effect.
-
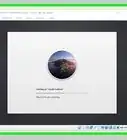
4Reopen the app. Once you have restarted your computer, you should be able to access the DMG application.
-
5Create your DMG File. DropDMG automatically converts files into disk images. All you have to do it drag and drop your files into the app and DropDMG will do the rest.[2]


References
About This Article

1. Place all files into one folder.
2. Right-click the folder.
3. Click Get Info and note the size.
4. Open Finder to Applications > Utilities.
5. Double-click Disk Utility.
6. Click New Image.
7. Enter the details.
8. Click Create.