This article was co-authored by wikiHow staff writer, Caroline Heiderscheit. Caroline Heiderscheit is a Staff Writer for wikiHow living in Santa Monica, CA. She has two years of experience working in content, including a year of editing work for first-time novelists. Caroline graduated from Stanford University in 2018 with degrees in American Studies and Creative Writing.
There are 9 references cited in this article, which can be found at the bottom of the page.
This article has been viewed 1,960 times.
Learn more...
Interested in making your own signature stone seal (also called an "embosser")? The process is way simpler than you'd think, and we'll walk you through it, step by step. Below, you'll learn how to print your design, carve the stone, and use your steal. For a complete guide to creating custom stone seal stamps, read on!
Steps
Creating an Ink Template on Your Stone
-
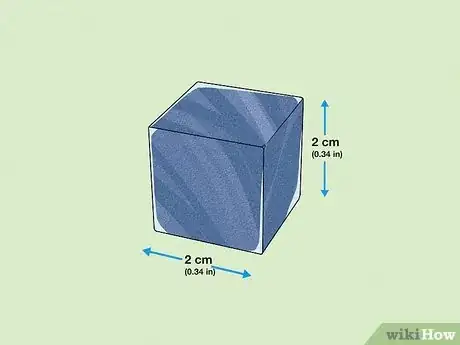
1Select a stone that’s 2 cm (.34 in) high and 2 cm (.34 in) wide. Find different designs, stone types, and sizes in specialty stores online. Stone seals are typically made from jade, Shoushan, and soapstone, but they're also commonly made out of other materials (wood, bone, ceramic, bamboo, etc.) as well.[1]
- Choose a stone that suits your preferences—but for stone seals, note that the 2 cm by 2 cm (.34 in by .34 in) size is most common.
- If you have aesthetic preferences, you can choose between solid or marbled stones.
- If you're a beginner, consider buying a set of stone seals. That way, if you make a mistake on your first few tries, you'll have more material to work with.
- Typically, custom and blank stones cost anywhere from $15-300. If you buy a stone with a design or figure carved into one side, it will be more expensive.
-
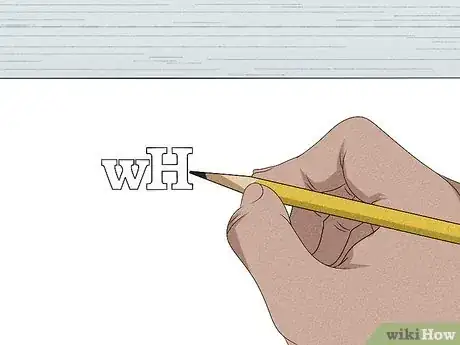
2Draw out your chosen design. After brainstorming designs for your seal, draw out your favorite image on any piece of paper. Make sure that your drawing is smaller in size than your stone's flat surface. If you want to be safe, try tracing the flat side of your seal and then drawing inside of that space. Once you have a design that you’re happy with, move on to the next step.
- For traditional Chinese seals, the design will typically feature Chinese characters, landscapes, figures, birds, or flowers.[2]
- Remember that this design will eventually be carved into your stone. Complex details might be hard to capture with your chisel, especially if you’re a beginner.
Advertisement -
3Sand the bottom of your stone seal with 80-grit sandpaper. Before applying your design to the seal, bring out some of your stone’s natural texture. Your store-bought stone is likely smoothed down. Applying pressure, push your stone in a straight, steady line over sandpaper. Turn your stone 90 degrees and repeat the process. When you start noticing natural roughness on your stone’s surface, you can stop.[3]
- This process should take just around a minute.
-
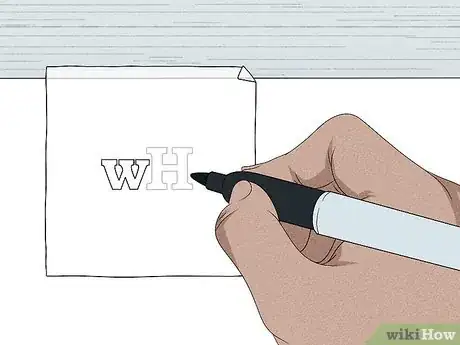
4Trace your design on a piece of transfer paper. Collect a piece of transfer paper (one that’s at least the size of your seal), and lay it over top of the design you drew. Using a thick ink pen, trace your chosen design onto your piece of transfer paper. This is the design you’ll use to guide your stone carving, so keep it as close to your preferences as possible.[4]
-
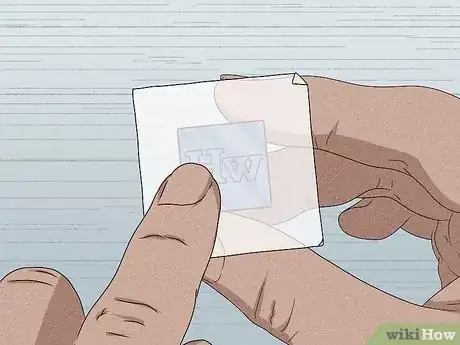
5Press your transfer paper onto the stone’s flat surface with the ink facing down. If your stone has a figure (like an animal, for example) carved into one side, make sure that the figure's face is upside down and facing you as you do this. Then, carefully line up your transfer paper so it’s centered over the stone’s flat surface and press it down.[5]
- This will stamp your ink design onto the stone's surface and create a template for you to trace with your chisel later on. Using your fingers, keep the transfer paper flat on the stone's surface.
- Finally, get your pointer finger wet and lightly tap the top of your seal. Get the paper damp, but not soaking wet. This will help the ink bleed through onto your stone.
- Using a different smooth stone (or another hard, even surface), gently rub over the transfer paper. By applying pressure across the entire surface, you’ll help print the ink onto the stone.
-
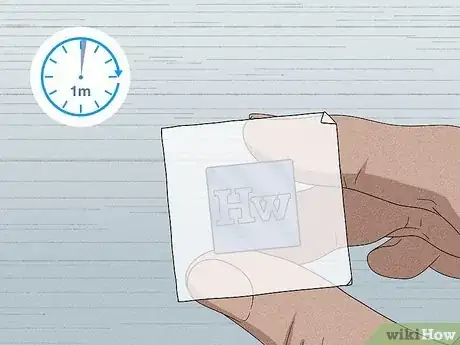
6Wait one minute and check to see if your design stuck on the stone. Now that you’ve dampened your paper on the seal, the ink should stick to your stone’s surface. Gently lift the corner of your paper, determining whether your ink design is left behind on the stone's surface. If it is, lift your paper off of the stone completely. If not, let the inked and paper sit on the stone a little longer, apply light pressure, and check again.[6]
Carving Your Seal
-
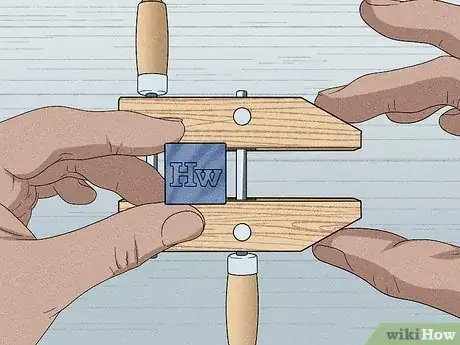
1Secure your stone in a grip or steady platform. Place your stone inside of a clamp and tighten it. When you’re applying pressure and carving, your stone could easily move around, leading to injury or unintentional marks on your stone’s surface. You only get one shot when carving your seal stone, so secure it first to give yourself the best chance at a great finished product.[7]
-
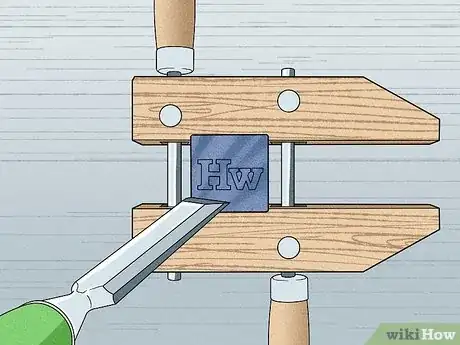
2Carve over your design. The ink lines on your stone’s surface will be your guide as you carve. Carve over the lines you drew to create a seal in your desired shape using a thick, steel masonry chisel. Use pressure to create an indent into the stone and push forward (away from you) not backwards (towards you).[8]
- The key to carving stone is to move slowly, especially around curves. To create bends in your design, make short, side-by-side indents into the stone instead of attempting to produce long, curved lines (as this could leave you with straighter lines than you planned, and an imperfect design).
-
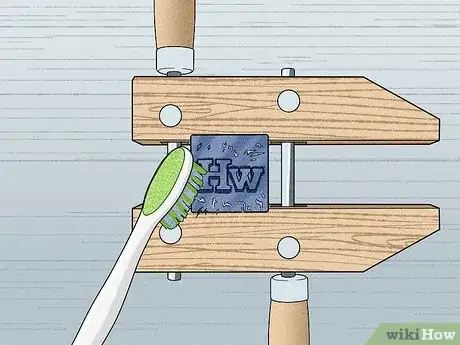
3Use a toothbrush to remove powder as you work. While you carve out stone from the surface of your seal, stone powder will start to settle on the surface. This can make it harder to see your outline and carve properly. Use a toothbrush to periodically wipe the stone powder away.[9]
- You can use your fingers as well, but it might be less effective than a brush.
-
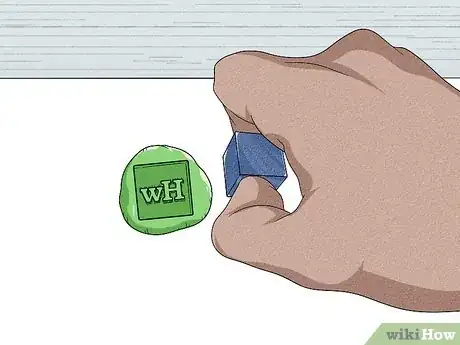
4Try out your stamp. Now that you’ve finished your stone seal, give it a spin! Grab your ink paste, press your seal into the paste, and push it onto your paper of choice. Check your design—how’d it turn out? You can always carve new lines to get closer to your preferred design. And if everything looks great, then you're all set to start signing, decorating, and creating amazing art![10]
- Feeling inspired? Try making a seal out of buttons, clay, hot glue, or wax next!
Things You'll Need
Printing a Design on Your Stone
- Pen or pencil
- Seal stone
- Ink pen
- Transfer paper
Carving Your Seal
- Stone clamp
- Thick chisel
- Toothbrush
- Ink paste
References
- ↑ https://www.chinahighlights.com/travelguide/culture/chinese-seals.htm
- ↑ https://www.chinahighlights.com/travelguide/culture/chinese-seals.htm
- ↑ https://youtu.be/3dRfHV_8wII?t=125
- ↑ https://youtu.be/HwS2RzTDHAw?t=293
- ↑ https://youtu.be/HwS2RzTDHAw?t=343
- ↑ https://youtu.be/Vosdn7Cq-TM?t=241
- ↑ http://www.ehsdb.com/hand-tools-safety.php
- ↑ https://youtu.be/3dRfHV_8wII?t=510
- ↑ https://youtu.be/3dRfHV_8wII?t=534
