This article was co-authored by Noël Reid-Killings. Noël Reid-Killings is a Professional Hair Stylist and the Owner of Noël New York Salon & Boutique. With over a decade of experience, Noël specializes in curating and customizing hair solutions for all hair types and textures. She has worked with countless A-list celebrities including Alicia Keys, Ciara, Yara Shahidi, and Simone Missick. Her work has been featured on makeover shows and in magazines including Essence, Sophisticates Black Hair, Teen Vogue, Elle, 21Ninety, WWD, POPSUGAR, Allure, The Cut, The Huffington Post, and Swaay.
There are 8 references cited in this article, which can be found at the bottom of the page.
This article has been viewed 568,409 times.
Straightening your hair with a flat iron or chemical straighteners can damage your hair over time. If you are tired of using these straighteners, there are other ways to straighten your hair. It may take a little more time and effort to straighten your hair without a flat iron or chemicals, but your hair may become healthier as a result.
Steps
Using Large Rollers
-
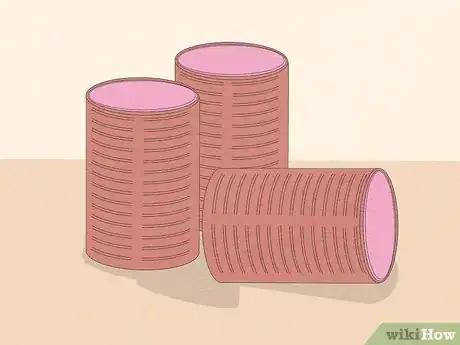
1Get some large foam or velcro rollers. You can straighten your hair just by putting in some large foam or velcro hair curlers. Choose rollers that are large enough for your hair to go around just 1.5 times for a large "C" curl.
- Your hair may not be pin straight if you have curly or textured hair, but it will look straighter.
- Get the largest curlers you can find. If possible, find some curlers that are about the same size as soda cans.[1]
- If you are not opposed to using heat on your hair, then using large hot curlers can speed up this process. Otherwise, go for some foam rollers and be aware that you will need to leave them in for quite a while.
-
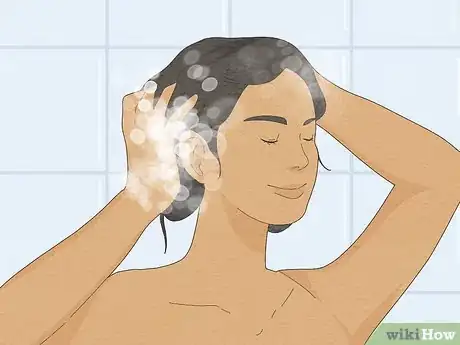
2Wash your hair. You will need to start with damp hair, so you may just want to shampoo and condition your hair before you begin. If you do not have time to wash your hair, then spritzing it with a bit of water will also make your hair damp.
- Make sure that your hair is damp throughout, not just in a couple of places.
- Remember that your hair should be damp, not dripping wet. If you decide to wash your hair, dry it with a towel when you are done and let it air dry for about 30 minutes before you put it into the rollers.
- If you don't have time to air dry it, you can use a hair dryer to get it about 80% dry.
Advertisement -
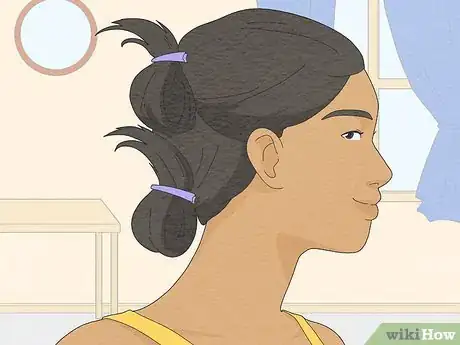
3Section off your hair. Using some hair clips, comb out your hair and divide it into two equal sections. One section should contain hair from the top of your head and one should contain hair from the back and lower sides of your head. Use a clip to secure the top section to the top of your head.
- Sectioning off your hair will allow you to put the bottom section of your hair into rollers first and then work on the top section of your hair.
- If you have extra thick hair, then you may need to divide your hair into three or four equal sections.
-
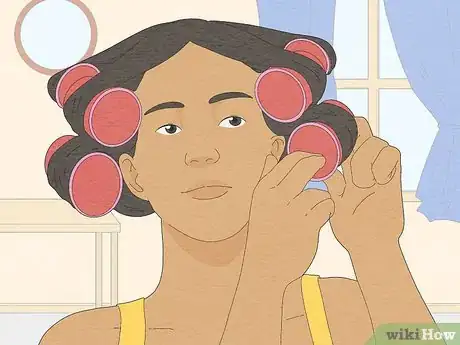
4Put the sections into rollers. Start on the bottom section of your hair first, and put your hair into rollers. As you work, divide your hair into smaller, even sections that are the same length and width of your rollers. Start with the ends of your hair and slowly roll the roller towards your head and then secure it. After you finish with one section, move on to the next and keep going until all of your hair is in rollers.[2] [3] [4]
-
5Remove the rollers after several hours. The rollers will need to stay in your hair until your hair dries, which can take several hours if you have long, thick hair. If you put the rollers in your hair at night, then you can just sleep in them. Otherwise, expect to have them in for at least a few hours.
Using a Blow Dryer
-
1Start with damp hair. It is best to start with damp hair. You can wash and condition your hair and then dry it with a towel. Or if you are in a hurry, just spritz your hair with some water and comb it in.
- Remember that your hair should be damp, but not dripping wet.
-
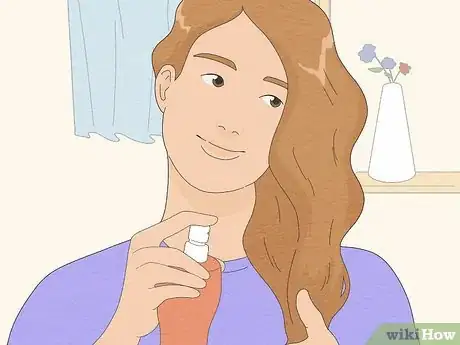
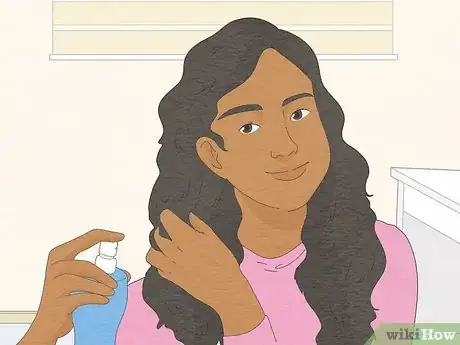
2Apply some anti-frizz serum. After washing and conditioning, apply a bit of anti-frizz serum or smoothing spray. This will help to ensure that your hair will stay smooth while you blow dry it.
- When choosing a smoothing product, find one that you can use without heat. Avoid products that are made for use with a flat iron or blow dryer set on hot.
- If you don’t have any anti-frizz serum, then you can just use a small amount of your normal conditioner on the ends of your hair.
-
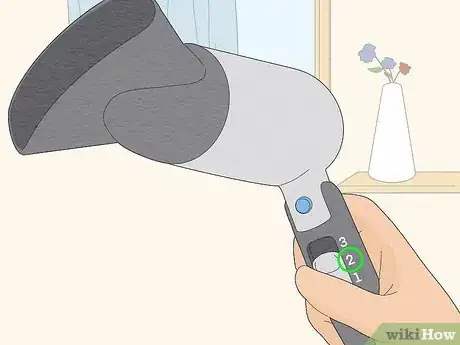
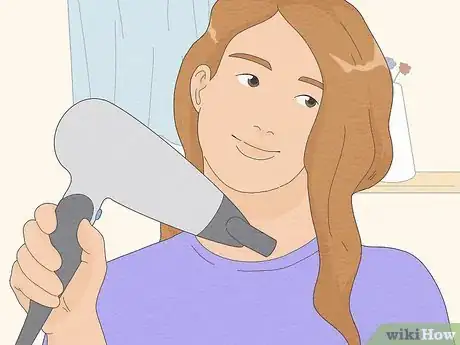
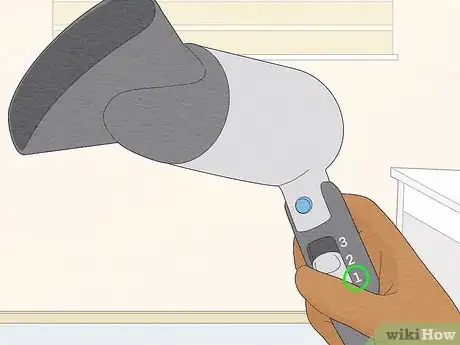
3Set your blow dryer to warm. You can dry your hair with your blow dryer using warm air instead of hot air if you are trying to minimize heat damage.[5] A warm setting will use a little bit of heat to straighten your hair with less risk of damage.
-
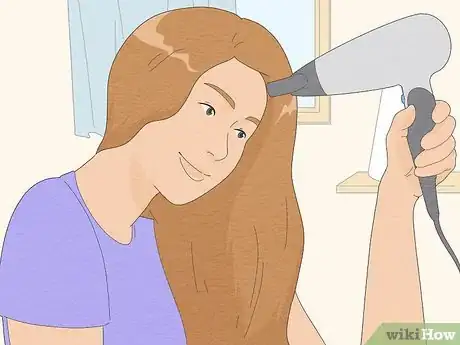
4Blow dry your hair in sections. Use a brush to pick up a small section at a time. Make sure that you hold the blow dryer above your head and point the blow dryer downward to keep the hair cuticles flat. Use your brush to pull through and straighten out your hair as the air hits it.
- When you reach the ends of each piece of your hair, hold it taut for a few seconds.
- Keep going until all of your hair is dry and straight.
-
5Finish your style with a blast of cool air. Set your hair dryer to "cool." Slowly work your way over your hair, blowing the cool air onto each section. This will close your cuticle and set your style.
- Most blow dryers have a cool air setting. The button may say "cool" or have a picture of a snowflake on it.[6]
Wrapping Your Hair
-
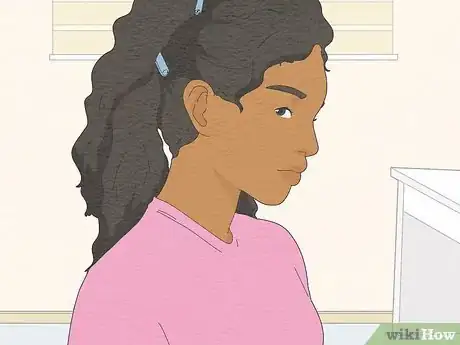
1Section your hair to make it easier to dry. Divide it into 4 quadrants by first creating a part down the middle, then dividing it ear-to-ear. You can then make smaller sub-sections that are about the size of your brush. This makes your hair dry more quickly and more evenly.
- You can use hair clips to hold the sections you aren't working with out of the way.
-
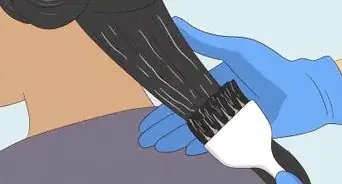
2Apply an anti-frizz serum or smoothing product over your hair. This will help create a softer, smoother texture once your style is complete. It will also provide light control.
- You may want to choose a product that's labeled for straightening.
- Look for a product that you can use without heat. Don't use a product that says it's for use with a flat iron.
-
3Dry your hair on a "cool" setting. Set your blow dryer on "cool," then dry your hair until it's almost dry. Work through each section of your hair, starting at the bottom and moving to the top.[7]
- It may take longer to dry your hair on the cool setting, so be patient.
- You can also let your hair air dry, but it might result in a frizzier result, depending on your hair type.
- You can also wait and dry your hair after you've wrapped it. However, it may take longer.
-
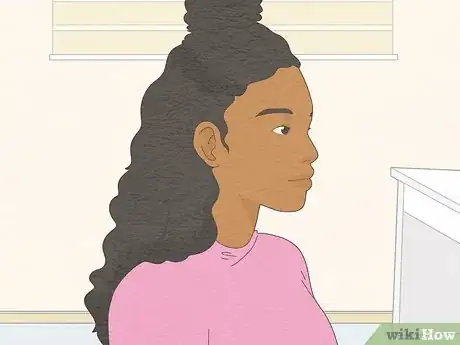
4Divide your hair into sections. First, pin back the hair at your crown, saving it for last. Then, create a part in your hair. You will have 3 sections of hair at this time.[8]
-
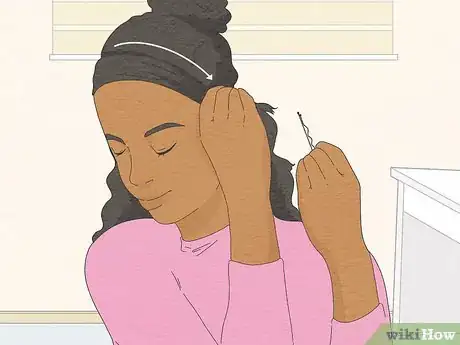
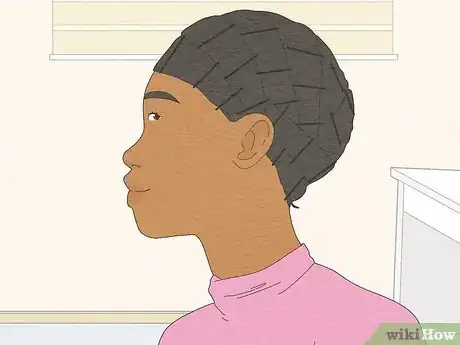
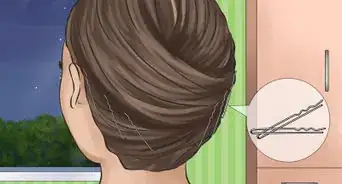
5Wrap the hair around your head.[9] Pull small sections of hair from the narrow side of your part, then wrap them in the direction of the rest of your hair so that all of your hair is going in the same direction. Each piece of hair should be wrapped around your head until you reach the end of that section.[10]
- Continue wrapping your hair until all of your hair is wrapped.
-
6Wrap the hair at your crown last. Unclip the hair and brush it smooth. Then blend that hair into the rest of your hair using your brush. Smooth it down as you wrap the hair around your head.[11]
- Your hair should be smoothed slick around the diameter of your head.
-
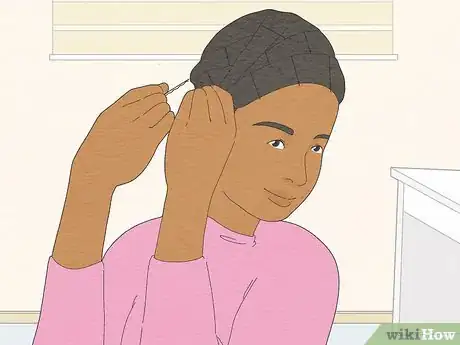
7Place a hair pin every 1 to 2 inches (2.5 to 5.1 cm) around your head.[12] This will hold the wrapped hair in place until your style is set. You can use hair clips or hair pins, depending on your preference.
- If you are sleeping on the wrapped hair, which is the easier method, you should use hair pins, as they are more comfortable.
-
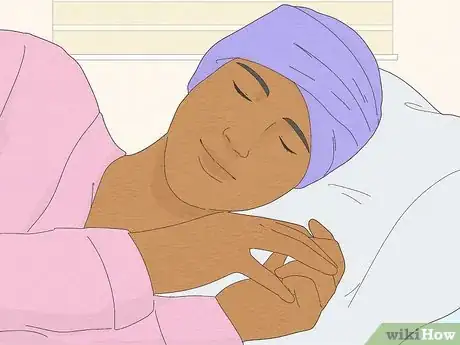
8Sleep with your hair wrapped. It will finish drying while you sleep, resulting in smooth, straight hair. If your hair is already dry when you go to bed, you can cover your hair with a silk scarf to prevent tangles and frizz.[13]
- You can also sleep on a silk pillow case.
- If you want a faster result, you can dry your hair with a blow dryer on a "cool" or "warm" setting.
-
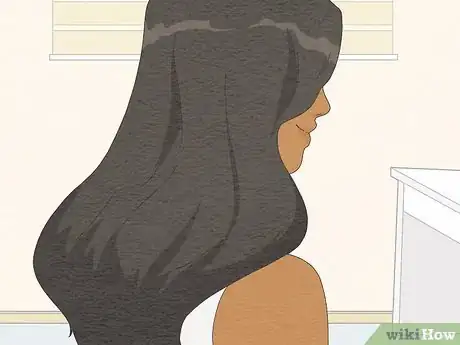
9Let down and brush your hair in the morning. Remove the pins and unwrap your hair. It should look straight and smooth. Run a brush through it to remove any tangles and smooth down flyaways.[14]
- If you are in a hurry, let down your hair after it's dry. It's best to blast it with your blow dryer to ensure the style has set.
- You can add more control by spritzing your brush with a light hold hair spray and then brushing through your hair.
Combing Your Hair to Straighten It
-
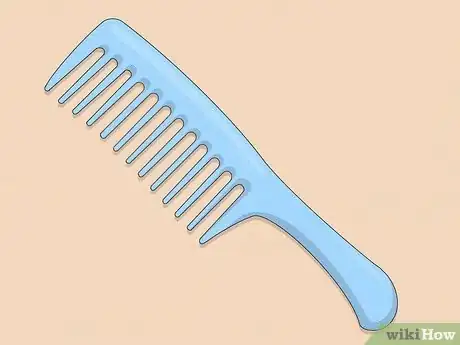
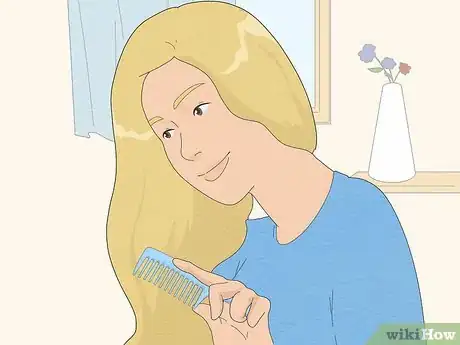
1Get a medium or fine-toothed comb. To comb your hair straight, you will need to use a medium or fine-toothed comb, depending on the thickness of your hair. This method is good if you will have some time to keep combing your hair until it dries.
- Keep in mind that this method will only work on straight or wavy hair.
- For example, if you are going to be riding in a car or bus for a while, then you might want to try combing your hair straight.
- You can also use a brush if you prefer, but it might result in wavier hair.[15]
-
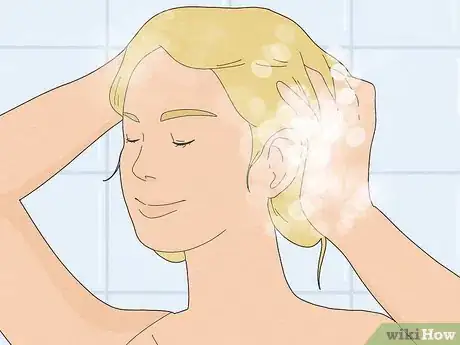
2Shampoo and condition your hair. You will need to start with damp hair, so you may want to wash your hair to get started. If you don’t have time to wash your hair, then just spritz on some water and comb it through.
- Make sure that your hair is damp, not dripping wet.
-
3Apply anti-frizz serum. Applying a bit of anti-frizz serum is optional, but it may help to make your hair even straighter and prevent it from becoming frizzy. You can also use some leave in conditioner or just a small amount of your regular conditioner applied to the ends of your hair.
-
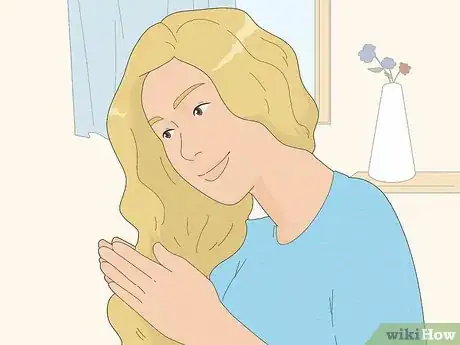
4Comb your hair. Use a comb to distribute the anti-frizz serum or conditioner and get rid of any tangles. To straighten your hair with comb, allow your hair to air dry and comb it every few minutes as it dries.
- As you comb your hair, start at the roots and move downwards. When you reach the end of your hair, hold each section taut for several seconds.[16]
- You can speed up this process by sitting in front of a fan, but you will have to comb your hair non-stop until it is dry if you use a fan.[17]
- Keep combing until your hair is completely dry and straight. Keep in mind that you may have some waves, but your hair should be much straighter than usual when you are finished.
Expert Q&A
Did you know you can get expert answers for this article?
Unlock expert answers by supporting wikiHow
-
QuestionWhat is the best temperature to flat iron natural hair?
 Laura MartinLaura Martin is a Licensed Cosmetologist in Georgia. She has been a hair stylist since 2007 and a cosmetology teacher since 2013.
Licensed Cosmetologist
-
QuestionWhat will happen if you straighten your hair when it's wet?
 Laura MartinLaura Martin is a Licensed Cosmetologist in Georgia. She has been a hair stylist since 2007 and a cosmetology teacher since 2013.
Licensed Cosmetologist
-
QuestionWhat strengthens hair follicles?
 Laura MartinLaura Martin is a Licensed Cosmetologist in Georgia. She has been a hair stylist since 2007 and a cosmetology teacher since 2013.
Licensed Cosmetologist
References
- ↑ http://www.treehugger.com/organic-beauty/6-ways-straighten-your-hair-naturally.html
- ↑ http://beautyhigh.com/straightening-your-hair/#ixzz3RecJ6cVa
- ↑ http://www.fustany.com/en/beauty/hair/how-to-straighten-your-hair-without-using-heat
- ↑ http://www.treehugger.com/organic-beauty/6-ways-straighten-your-hair-naturally.html
- ↑ http://www.bustle.com/articles/69690-how-to-straighten-your-hair-without-heat-5-easy-steps-that-will-change-your-straight-hair
- ↑ http://www.bustle.com/articles/69690-how-to-straighten-your-hair-without-heat-5-easy-steps-that-will-change-your-straight-hair
- ↑ https://www.elle.com/beauty/hair/how-to/a39788/how-to-straighten-hair-without-heat/
- ↑ https://www.elle.com/beauty/hair/how-to/a39788/how-to-straighten-hair-without-heat/
- ↑ Noël Reid-Killings. Celebrity Hair Stylist. Expert Interview. 25 November 2020.
- ↑ https://www.elle.com/beauty/hair/how-to/a39788/how-to-straighten-hair-without-heat/
- ↑ https://www.elle.com/beauty/hair/how-to/a39788/how-to-straighten-hair-without-heat/
- ↑ Noël Reid-Killings. Celebrity Hair Stylist. Expert Interview. 25 November 2020.
- ↑ https://www.elle.com/beauty/hair/how-to/a39788/how-to-straighten-hair-without-heat/
- ↑ https://www.elle.com/beauty/hair/how-to/a39788/how-to-straighten-hair-without-heat/
- ↑ http://www.treehugger.com/organic-beauty/6-ways-straighten-your-hair-naturally.html
- ↑ http://hirabeautytips.com/5-ways-to-straighten-your-hair-without-heat/
- ↑ http://www.treehugger.com/organic-beauty/6-ways-straighten-your-hair-naturally.html
- ↑ Noël Reid-Killings. Celebrity Hair Stylist. Expert Interview. 25 November 2020.
- Videos provided by AndreasChoice
About This Article
To make your hair straighter without a straightener, try combing and air drying it. Start with damp hair and apply some anti-frizz serum if you have any. Comb your hair every few minutes to keep it straight while it dries naturally. For a quicker method, use a hair dryer and anti-frizz serum. First, apply the serum to your damp hair. Then, blow dry your hair on a warm setting. This will avoid adding frizz to your hair. Use a brush to straighten out your hair as you blow dry it. When your hair is almost dry, set your hair dryer to its cool setting for a minute, which will help close your cuticles and keep your hair straight. For more tips from our Beauty co-author, including how to straighten your hair using rollers, read on!
