X
wikiHow is a “wiki,” similar to Wikipedia, which means that many of our articles are co-written by multiple authors. To create this article, volunteer authors worked to edit and improve it over time.
This article has been viewed 62,664 times.
Learn more...
To frame a painted canvas, the canvas must first be stretched over and attached to stretcher bars. You can buy stretcher bars in an art supply or crafts store. You also can make your own stretcher bars using lengths of wood, a saw and a staple gun. Use these tips to make stretcher bars.
Steps
-
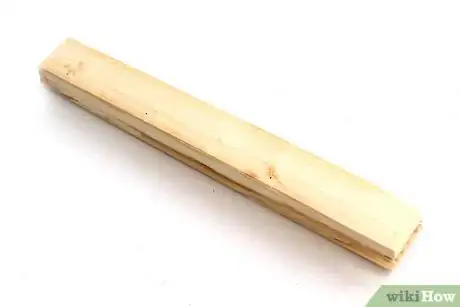
1Choose the wood. Select the type of wood you desire. Stretcher bars are often made with pine. The sides should measure 1 by 2 inches (2.5 by 5.1 cm).
-
2Determine the dimensions of the stretcher bars. Decide how long and wide you want your displayed canvas to be. These measurements will form the length and width of the stretcher bars. Your canvas will stretch over and around the backs of the stretcher bars when attaching to them, so the length and width of the entire canvas will be significantly greater than the length and width of the stretcher bars.[1]Advertisement
-
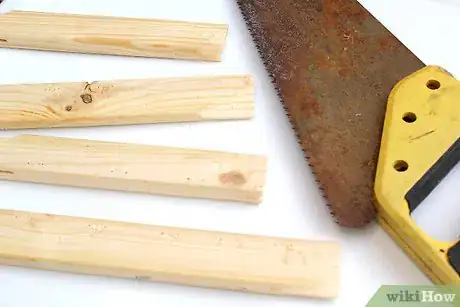
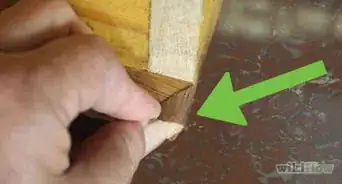
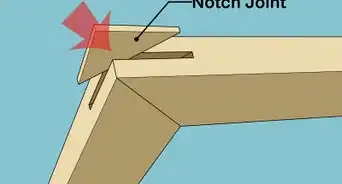
3Cut the wood. Use a hand saw to cut the 4 stretcher bars to the required lengths.[2]
- Place a stretcher bar into the miter block.
- Use a hand saw to trim the end of the bar to a 45-degree angle.
- Repeat the process with the other 3 bars.
-
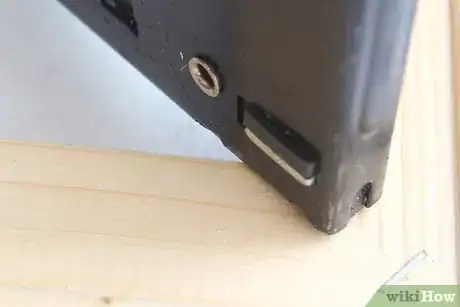
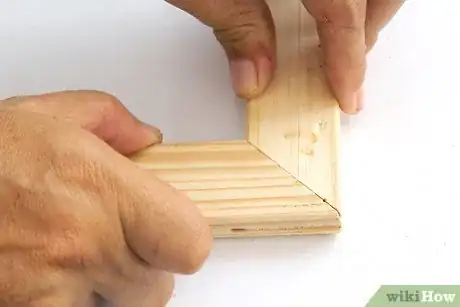
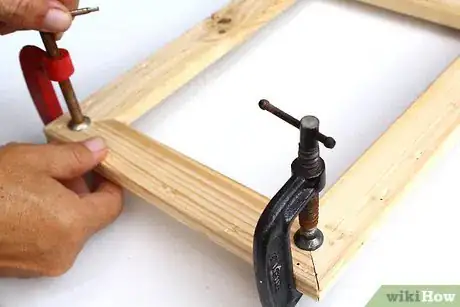
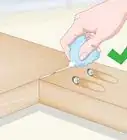
4Staple the corners together.
- Lay the stretcher bars face down on a flat surface.
- Bring together the corner of the top stretcher bar with the corner of one of the side stretcher bars.
- Use a staple gun to place 3 staples over the line where the corners come together.
- Bring the corner of the second side stretcher bar to meet the unattached corner of the top stretcher bar.
- Use a staple gun to place 3 staples over the line where the corners come together.
- Position the bottom stretcher bar so that the corners of both sides of the bar meet the corners of the left and right side bars of the stretcher.
- Use a staple gun to place 3 staples over the lines where the corners come together.
- Ensure that the staples on each corner are placed in a position perpendicular to the line where the stretcher bars come together.
- Flip the stretcher bar frame over.
- Use a staple gun to place 3 staples over each of the lines where the corners of the stretcher bars come together.
-
5Cut the trim pieces.[3]
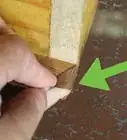
- Align a length of quarter-round trim along the outside edge of the top stretcher bar. The flat side of the trim should align with the edge of the stretcher bar.
- Mark the trim with a pencil where you will need to cut it at 45-degree angles to match the cut of the top stretcher bar.
- Repeat aligning and marking the 3 other pieces of trim with the other 3 corresponding stretcher bars.
- Place the length of trim in a miter box.
- Use a hand saw to cut along the marked lines at the ends of the trim.
- Use the miter box and hand saw to cut the rest of the lengths of trim where you marked them.
-
6Attach the trim.
- Align the flat outward edge of the top piece of trim with the outward edge of the top stretcher bar. The curved edge of the trim should face the inside of the stretcher frame.
- Hammer headless nails into the trim and stretcher bar. Space the nails at 4-inch (10.2-cm) intervals. Ensure that your nails are not longer than the total width of the stretcher bar and trim.
- Attach the other 3 pieces of trim to the other 3 stretcher bars. Ensure that the curved edge of each piece of trim faces the inside of the stretcher frame.
-
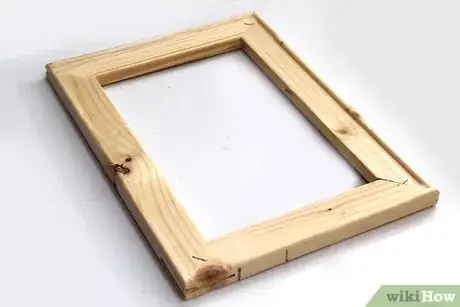
7Finished.
Advertisement
Things You'll Need
- 4 pieces of 1-by-2-inch (2.5-by-5.1 cm) wood
- Hand saw
- Miter block
- Staple gun
- 4 pieces of quarter-round trim
- Pencil
- Hammer
- Headless nails
References
- ↑ https://www.youtube.com/watch?v=3XigDYvK-1Y
- ↑ https://www.youtube.com/watch?v=XbzFDbv6Lss
- ↑ https://www.youtube.com/watch?v=VIW5BUaGWmo
- http://emptyeasel.com/2006/12/29/how-to-make-your-own-stretched-canvases-for-painting/
- http://emptyeasel.com/2007/07/06/how-to-stretch-canvas-a-tutorial-with-step-by-step-instructions/
About This Article
Advertisement






Medical Disclaimer
The content of this article is not intended to be a substitute for professional medical advice, examination, diagnosis, or treatment. You should always contact your doctor or other qualified healthcare professional before starting, changing, or stopping any kind of health treatment.
Read More...