This article was co-authored by wikiHow staff writer, Dan Hickey. Dan Hickey is a Writer and Humorist based in Chicago, Illinois. He has published pieces on a variety of online satire sites and has been a member of the wikiHow team since 2022. A former teaching artist at a community music school, Dan enjoys helping people learn new skills they never thought they could master. He graduated with a BM in Clarinet Performance from DePauw University in 2015 and an MM from DePaul University in 2017.
There are 12 references cited in this article, which can be found at the bottom of the page.
This article has been viewed 1,691 times.
Learn more...
Bronze seems like an ordinary, everyday metal to us now, but when it was first mixed by humans around 3000 BC, it changed the history of mankind forever. The first bronze was made by mixing copper with a small amount of tin, and this alloy became the first metal to be widely forged in Europe, Asia, and the Middle East for tools, weapons, and art.[1] Today, aluminum bronze (copper mixed with aluminum instead of tin) is preferred for its golden luster, incredible strength, and resistance to corrosion. In this article, we’ll walk you through how to make your very own aluminum bronze alloy from scratch and cast it into a mold of your choice. A lot has changed since the Bronze Age, but the way we make bronze itself is just as straightforward as it was back then—let’s get to it!
Things You Should Know
- Set up a crucible or forge in a well-ventilated space (preferably outside). Wear long sleeves, goggles, a face shield, a safety apron, and heat-resistant gloves.
- Weigh out a 9:1 ratio of copper to aluminum. Heat the metal to 1,038 °C (1,900 °F) in the forge or crucible and stir the molten metal with a graphite stir rod.
- Pour the molten metal into your cast or mold and wait at least 20 minutes for it to harden. Open the mold and quench the bronze in water to fully cool it.
Steps
Preparing Your Space
-
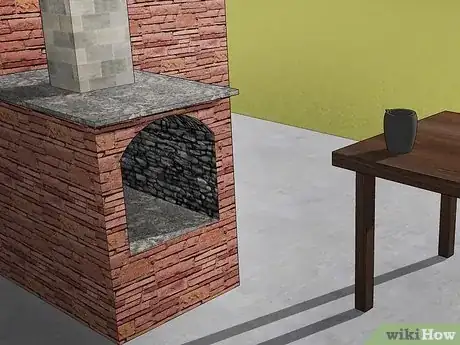
1Set up your crucible or forge in a clean, well-ventilated space. Clear your space of any unnecessary objects and secure your pets so they don’t run into your space and hurt themselves (or you!). Let your family, colleagues, or anyone in the area know to stay away while you’re working.[2]
- If possible, work outside. The best spaces for forging are well-ventilated with plenty of room to move around.
- If you’re embracing the DIY aspect of metalworking, try making your own forge at home.
- Your industrial-grade-rated crucible or forge is the vessel you will be using to melt your aluminum and copper to create aluminum bronze.
-
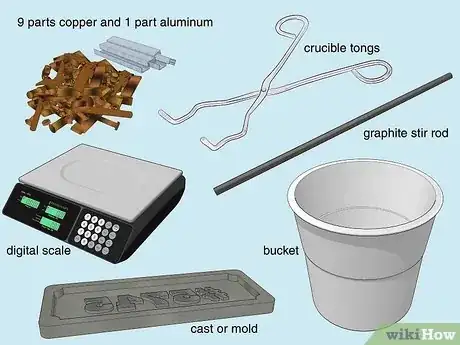
2Lay out all of your supplies for quick, easy access while you work. Since you’re dealing with dangerous molten metal and heat, make sure you can easily grab what you need so you can keep your attention on the forge. Try setting up a work table nearby to keep everything organized.[3] You’ll need:
- 9 parts copper and 1 part aluminum (use scrap metal or purchase metal sheets or bars online or at home improvement stores)
- Industrial-grade rated crucible tongs to move your crucible and aluminum bronze
- A graphite stir rod to mix your aluminum and copper together
- A digital scale to weigh your aluminum and copper
- Your chosen cast or mold to shape your bronze creation
- A large bucket to fully submerge and harden your aluminum bronze in
Advertisement -
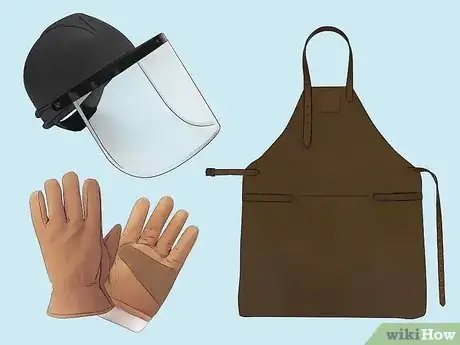
3Wear long sleeves, closed-toe shoes, and metalworking safety gear. Put on industrial safety goggles and a face shield to protect your face from heat or accidental splatter of molten metal. Wear a protective metalworking apron over your clothes and thick, heat-resistant gloves, too.[4]
- Your entire body should be covered from head to foot to protect you from molten materials.
Melting Aluminum and Copper
-
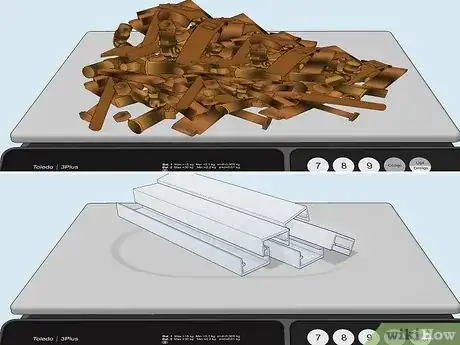
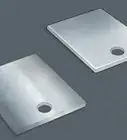
1Weigh out a 9:1 ratio of aluminum to copper with your digital scale. Aluminum bronze is approximately 90% copper and 10% aluminum by weight. Use old scrap metal pieces or bars and sheets of pure copper or aluminum to make your bronze.[5]
- Keep the 9:1 ratio of aluminum to copper whether you’re forging a large quantity of bronze, or just a little bit.
- You may need to cut your aluminum or copper pieces to get the right weight ratio.
- Do not “preheat” your furnace while you get your metal ready. It increases the likelihood of you burning yourself accidentally.
-
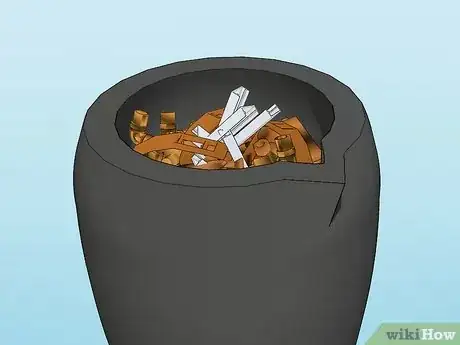
2Place the aluminum and copper metals into your crucible. Use your crucible tongs to carefully lift and move your weighed metal pieces. Keep all of your safety gear on no matter what temperature the crucible, forge, or metal pieces are—you can never be too careful when you’re working with heat and metal![6]
-
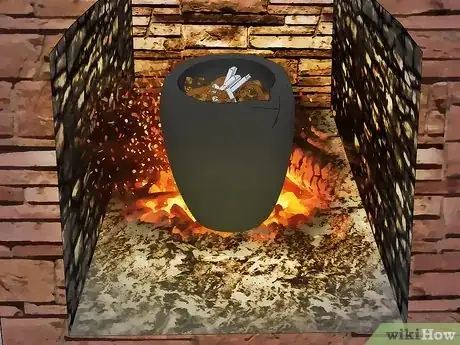
3Move the crucible in or above the furnace to melt the metals together. Crank up the heat to 1,038 °C (1,900 °F)—the melting point for aluminum bronze. As the metal pieces melt, use your graphite rod to stir the melting metal together into an evenly mixed “soup.”[7]
- If your furnace doesn’t have a temperature gauge, use an immersion probe for molten metal to test the temperature.
- The exact amount of time it will take to fully melt the metal depends on the quantity you’re melting and the power of your furnace.
- The metals are melted and blended when the mixture looks uniform and reaches a dull red to bright white glow.[8]
-
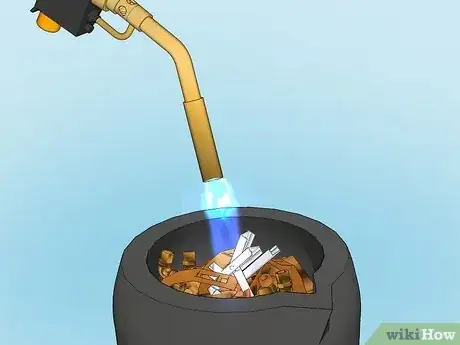
4Heat the crucible with a blowtorch for small-scale forging. If you only need to make a small amount of bronze, use a blowtorch to blast the crucible until the metal parts melt together at 1,038 °C (1,900 °F) instead of a full furnace or forge.[9] Blow torches don’t have a temperature gauge, so heat the crucible until the metal is uniformly glowing red or you’ve reached the melting point according to an immersion probe.[10]
- Practice using a blowtorch to make sure you’re comfortable with it before you use it for forging.
Casting Your Bronze
-
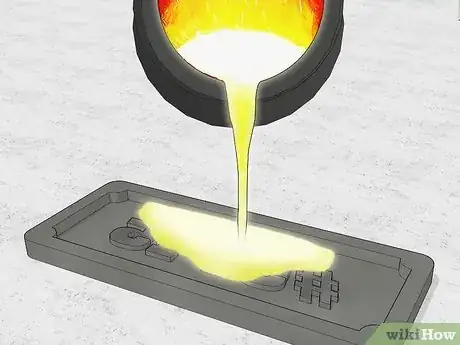
1Pour the molten metal from the crucible over your cast or mold. Use your crucible tongs to remove the crucible from the heat, then carefully move over to your mold. Slowly tilt the crucible with the tongs until the molten metal flows out in a slow, even, and controlled stream.[11]
- Double check that all of your safety gear is firmly fitted to your face and body. Molten metal is incredibly hot and dangerous.
- Work slowly and steadily to avoid accidental splashes of hot metal.
-
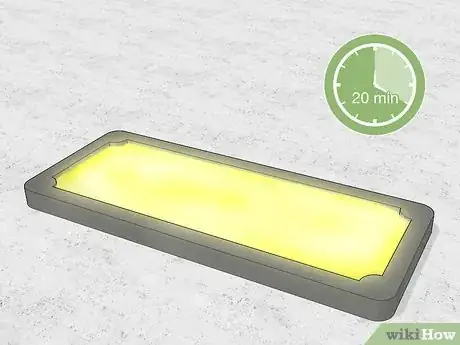
2Wait 20 minutes for your aluminum bronze to harden before removing it. Make sure your aluminum bronze has significantly cooled and hardened before dumping it out of your mold. Wait 30 minutes or more for extra large or thick molds.[12]
- If your mold does not have a designated stand or surface to cool on, lay it on a pile of stones or bricks with your tongs while you wait.
-
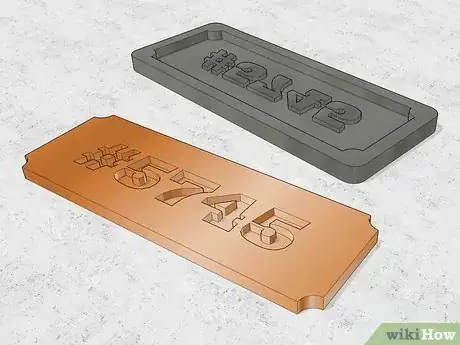
3Open or break your mold to remove the cooled bronze. Pull apart, unclasp, or undo the mechanism that holds the mold together to expose your (still fairly hot!) bronze casting. If your mold was meant to be used once, chip or break it away and discard the pieces.[13]
- Handle the fresh bronze with tongs only. It may look cool on the outside, but the interior can be as hot as 600 °C (1,112 °F).
-
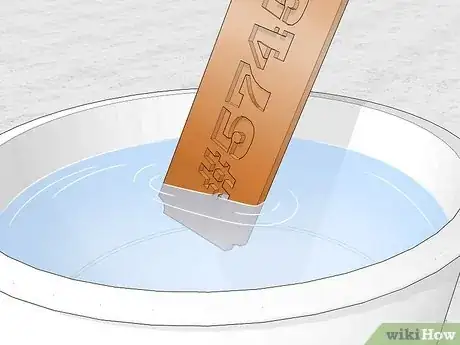
4Submerge your aluminum bronze in a bucket of water to fully cool it. Grab your bronze with your tongs and slowly lower it in the water. The water will steam and bubble at first—wait until the bubbling has completely stopped to remove your bronze. Once the bubbles are gone, it’s time to admire your gleaming new metal![14]
- The process of submerging your bronze into the water is called quenching, and it’s the last step of traditional bronze casting.
Warnings
- Working with molten metals is extremely dangerous and requires proper training and safety precautions. Please do not melt metals if you can not ensure a safe work environment free from distractions and hazards.⧼thumbs_response⧽
- When hot, metals can cause third-degree burns and significant bodily harm if handled incorrectly. Even if it looks cool to the touch, the metal can still have an internal temperature high enough to burn you.⧼thumbs_response⧽
Things You’ll Need
- Copper bars or scrap metal
- Aluminum bars or scrap metal
- Crucible or metal forge
- Digital scale
- Industrial-grade-rated crucible tongs
- Industrial-grade-rated graphite stir rod
- Mold or cast of your choice
- Safety goggles
- Face shield
- Safety apron
- Heat-resistant gloves
- Bucket for quenching
References
- ↑ https://www.britannica.com/event/Bronze-Age
- ↑ https://www.ganoksin.com/article/hammering-and-forging-safety-gudelines/
- ↑ https://www.backyardmetalcasting.com/faq.html
- ↑ https://www.thecrucible.org/guides/blacksmithing/blacksmithing-forge/
- ↑ https://www.sciencedirect.com/topics/materials-science/aluminum-bronze
- ↑ https://www.thecrucible.org/what-is-a-crucible/
- ↑ https://www.metalsupermarkets.com/melting-points-of-metals/
- ↑ https://blacksmithcode.com/how-to-measure-temperature-of-metal/
- ↑ https://www.metalsupermarkets.com/melting-points-of-metals/
- ↑ https://blacksmithcode.com/how-to-measure-temperature-of-metal/
- ↑ https://industrytoday.com/everything-you-need-to-know-about-bronze-casting/
- ↑ https://www.nationalbronze.com/News/important-features-of-aluminum-bronzes/
- ↑ https://www.thecrucible.org/guides/metalworking/bronze-casting/
- ↑ https://www.nationalbronze.com/News/important-features-of-aluminum-bronzes/
