This article was co-authored by wikiHow Staff. Our trained team of editors and researchers validate articles for accuracy and comprehensiveness. wikiHow's Content Management Team carefully monitors the work from our editorial staff to ensure that each article is backed by trusted research and meets our high quality standards.
This article has been viewed 14,569 times.
Learn more...
Want to create a self-running PowerPoint presentation for your kiosk, trade-show, performance, or event? It's easy to adjust the options in PowerPoint to make your presentation play back in a continuous loop. When you turn on Slide Show Loop in PowerPoint, your presentation will start over again every time it ends, which means you won't need to be present to restart it. This wikiHow article will show you how to make your PowerPoint presentation loop indefinitely.
Steps
On Windows
-
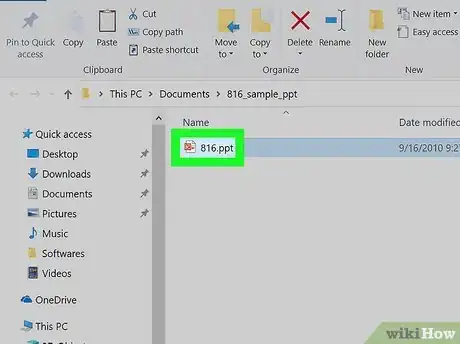
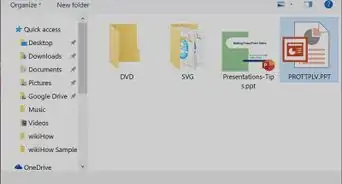
1Open your PowerPoint presentation. Go to the location of the PowerPoint file you want to loop, then double-click the file to open it in PowerPoint.
- If you haven't yet created your presentation, make one and save it as a file before proceeding.
-
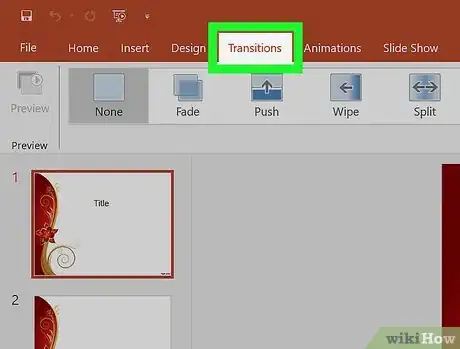
2Click the Transitions tab. It's at the top of the PowerPoint window. the Transitions toolbar will open.Advertisement
-
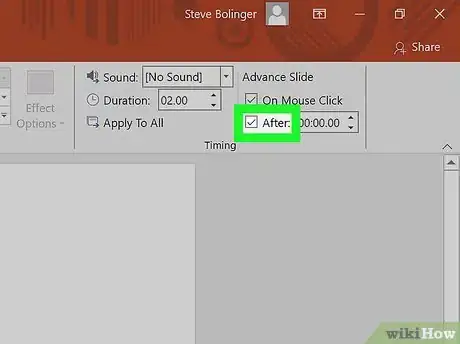
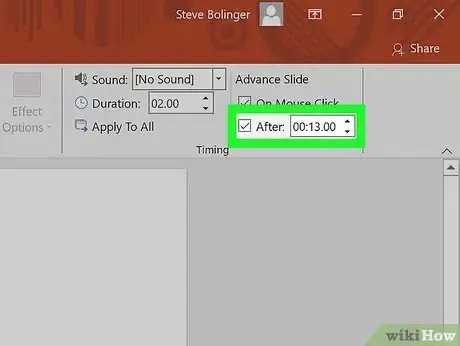
3Check the "After" box. It's on the right side of the toolbar. This feature ensures that your slide will transition to the next one after a set amount of time.
-
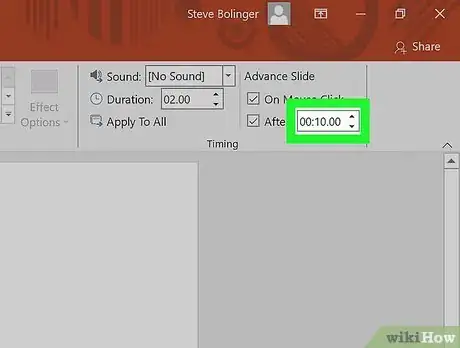
4Adjust the amount of time the slide takes. Using MM:SS.HSHS format, type the number of minutes, seconds, and hundredths of seconds for which you want your current slide to display into the text box that's to the right of the "After:" heading.
- For example, to change the amount of time spent on each slide to 10 seconds, you would change the 00:00.00 text box to read 00:10.00.
-
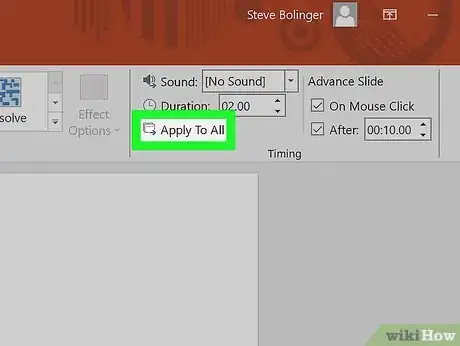
5Click Apply to All. It's under the "Duration" text box. This will apply the specified number of seconds to each slide in your PowerPoint.
-
6Set a specific time for different slides if necessary. If you want to set a time which differs from the rest of the slides, select the slide in question, then change the slide's "After" text box value to the time you want to use.
-
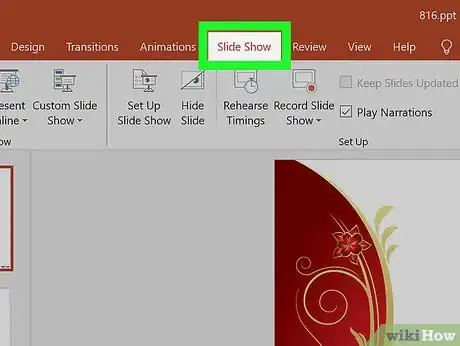
7Click the Slide Show tab. You'll find this at the top of the window.
-
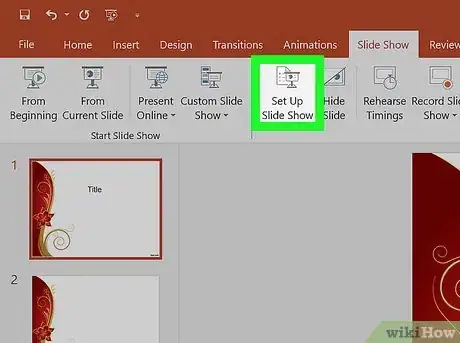
8Click Set Up Slide Show. It's in the middle of the Slide Show toolbar. Doing so opens a new window.
-
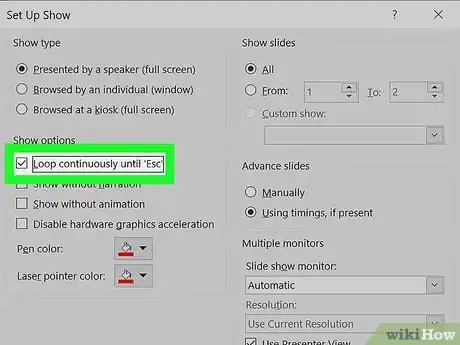
9Check the "Loop continuously until 'Esc'" box. This option is in the middle of the pop-up window. Checking this box allows your PowerPoint presentation to loop indefinitely.
-
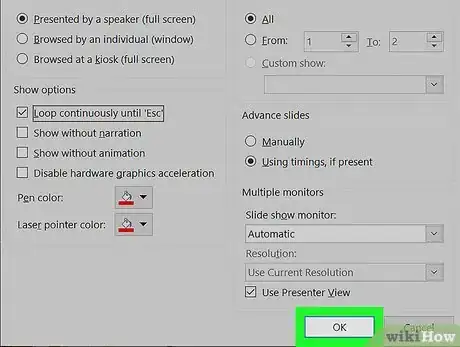
10Click OK. It's at the bottom of the window.
-
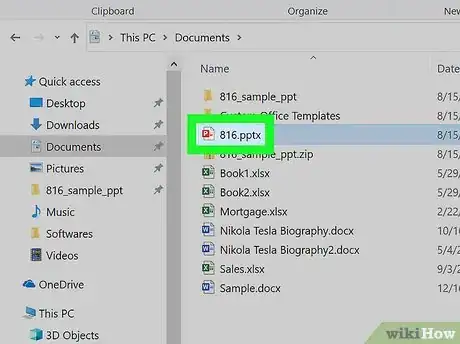
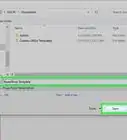
11Save your PowerPoint as a "Show" file. While you can simply save your changes to the existing PowerPoint presentation by pressing Ctrl+S, saving the PowerPoint as a Show file will launch the slide show as soon as you double-click the file:
- Click File in the upper-left side of the window.
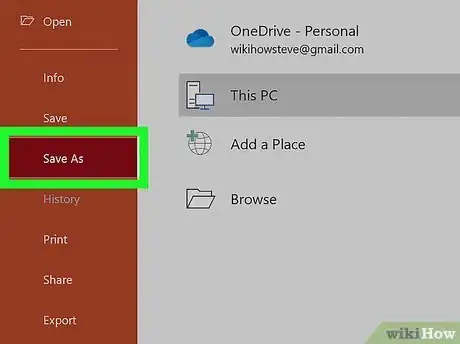
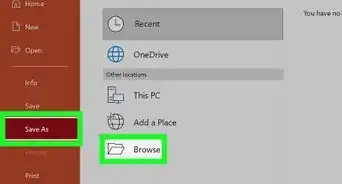
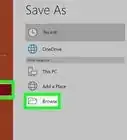
- Click Save As on the left side of the page.
- Double-click the This PC tab in the middle of the page.
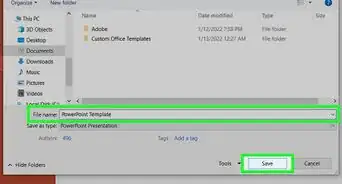
- Click the "Save as type" drop-down box, then click PowerPoint Show in the drop-down menu.
- Enter a file name and select a save location.
- Click Save.
-
12Test your PowerPoint. Double-click the Show file you just created (or, if you didn't create a show file, click the T-shaped "Slide Show" icon at the bottom of the PowerPoint window), then watch as the presentation automatically cycles through your slides.
- If you're unhappy with a slide's display time, you can change the time by opening the presentation, going back to the Transitions tab, and adjusting the "After" text box.
- You can open a Show file in PowerPoint by dragging the Show file into the PowerPoint window.
On Mac
-
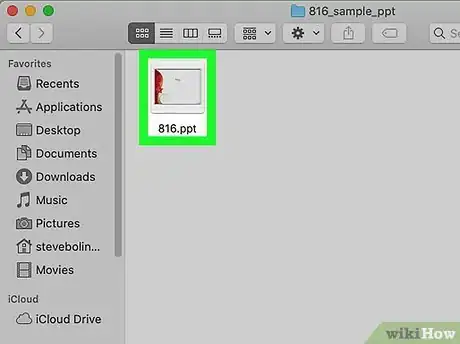
1Open your PowerPoint presentation. Go to the location of the PowerPoint file you want to loop, then double-click the file to open it in PowerPoint.
-
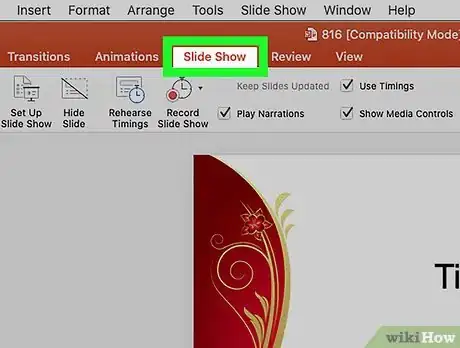
2Click the Slide Show tab. It's in the orange bar at the top of the PowerPoint window. Doing so opens the Slide Show toolbar.
-
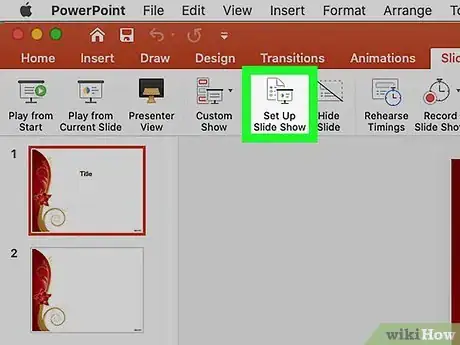
3Click Set Up Slide Show. This is in the Slide Show toolbar. A window will open.
-
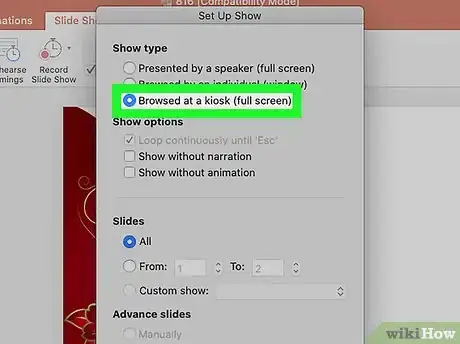
4Check the "Browsed at a kiosk (full screen)" box. You'll find this option in the "Show type" section of the window. Checking this box allows your PowerPoint presentation to loop indefinitely.[1]
-
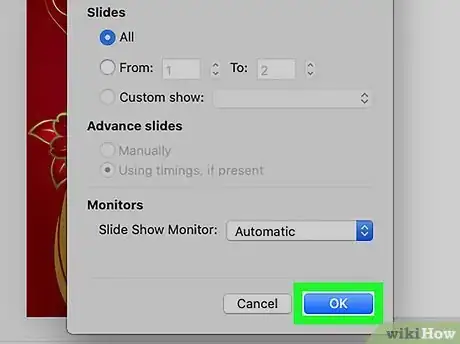
5Click OK. It's at the bottom of the window.
-
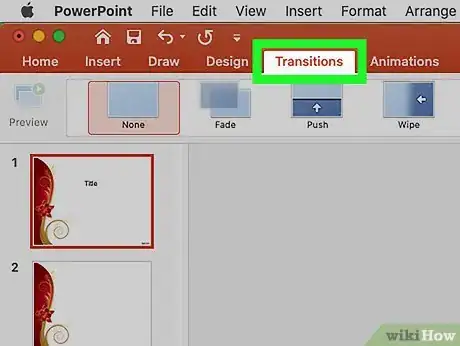
6Click the Transitions tab. This is at the top of the PowerPoint window. The Transitions toolbar will appear.
-
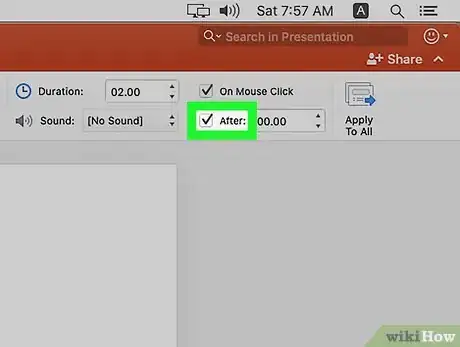
7Check the "After" box. You'll find this checkbox on the right side of the toolbar.
-
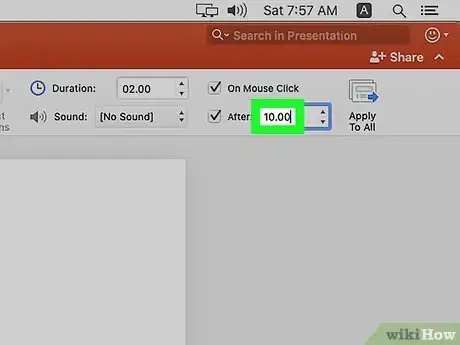
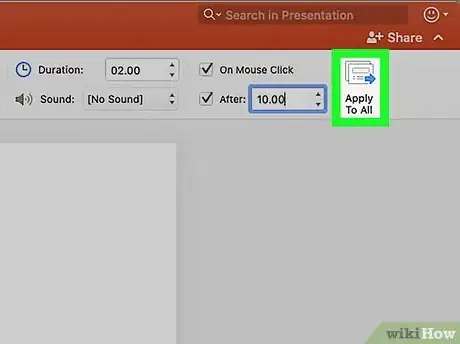
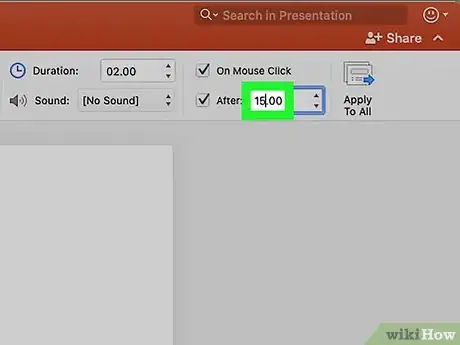
8Adjust the amount of time the slide takes. Type the number of seconds for which you want your current slide to display into the text box that's to the right of the "After:" heading.
- For example, to change the amount of time spent on each slide to 10 seconds, you would type 10.00 into the text box.
-
9Click Apply to All. It's on the right side of the toolbar. This will apply the specified number of seconds to each slide in your PowerPoint.
-
10Set a specific time for different slides if necessary. If you want to set a time which differs from the rest of the slides, select the slide in question, then change the slide's "After" text box value to the time you want to use.
-
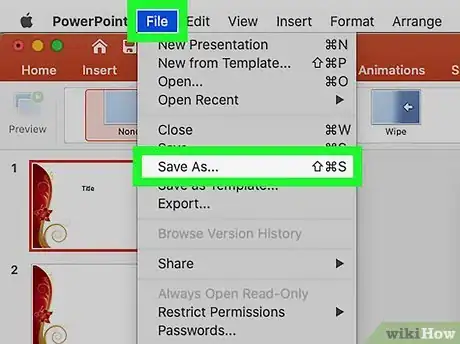
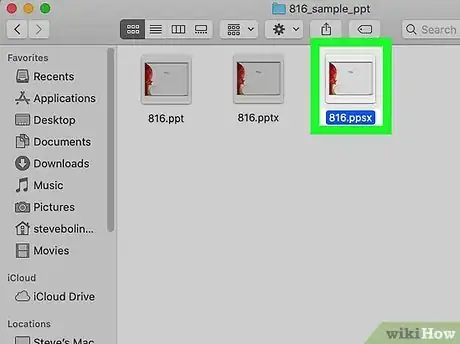
11Save your PowerPoint as a "Show" file. While you can simply save your changes to the existing PowerPoint presentation by pressing ⌘ Command+S, saving the PowerPoint as a Show file will launch the slide show as soon as you double-click the file:[2]
- Click File.
- Click Save As....
- Click the "Format" drop-down box.
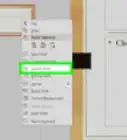
- Click PowerPoint Show (.ppsx) in the drop-down menu.
- Enter a file name and select a save location.
- Click Save.
-
12Test your PowerPoint. Double-click the Show file you just created (or, if you didn't create a show file, click the T-shaped "Slide Show" icon at the bottom of the PowerPoint window), then watch as the presentation automatically cycles through your slides.
- If you're unhappy with a slide's display time, you can change the time by opening the presentation, going back to the Transitions tab, and adjusting the "After" text box.
- You can open a Show file in PowerPoint by dragging the Show file into the PowerPoint window.
