X
This article was co-authored by wikiHow staff writer, Jack Lloyd. Jack Lloyd is a Technology Writer and Editor for wikiHow. He has over two years of experience writing and editing technology-related articles. He is technology enthusiast and an English teacher.
This article has been viewed 87,366 times.
Learn more...
You can create memorable, effective flash cards in Microsoft PowerPoint by using simple "title/body text" slides and the "Fade In" animation. PowerPoint flash cards provide a quick and easy way to create a free, effective study tool.
Steps
Part 1
Part 1 of 2:
Creating a Presentation
-
1Compile your desired flash card content. Try to outline your content before making the actual flash cards. This will streamline your creation process later.
- For example, if you're making flash cards for a science test, you might want terms and their definitions.
- If you plan on using pictures in your flash cards, download or locate them now.
-
2Open PowerPoint. You can make simple flash cards on any version of PowerPoint.[1]Advertisement
-
3Click "New Blank Presentation" from the option list. A blank presentation presents you with the most potential for custom formatting.
-
4Click the "Insert" tab. From here, you can add slides and pictures.[2]
-
5Click on "New Slide", then select "title and content". With this template, you can place your "question" part of the flash card as the title, and answer as the body text.
-
6Click on your new slide in the left-hand pane. This will make the slide available for editing in the main window.


Advertisement
Part 2
Part 2 of 2:
Designing the Flash Cards
-
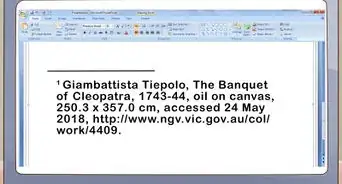
1Create your question in the "Click to add title" box. For example, you might write "What is the study of living organisms?"
-
2Create your "answer" in the "Click to add text" box. For example, you might write "Biology".
-
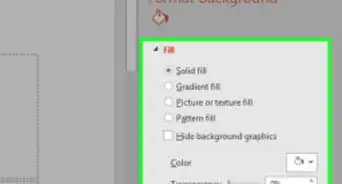
3Click on the "Home" tab. You can edit the text style and font from here.
-
4Change the font and text size of the "question" and "answer". The goal is to make them match in size and appearance. Formatting your text to match will make it less distracting, allowing you to focus on the content.
-
5Select your "answer", then click on the "Animations" tab. From here, you can edit your slide transitions.
-
6Click "Fade In". This transition means that your "answer" will fade into view when you click the mouse button during the slideshow.
-
7Click "Effect Options", then click "By Object". This action ensures that all of your body text (your "answer") will fade in at once. You will also want to select this option for photos.
- For multi-part answers, you should select "By Paragraph" instead, and then make each section of the answer a new line.
-
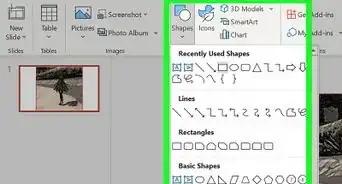
8Click the "Insert" tab, then click on "Picture" to add pictures to your flash cards. Pictures make your presentation content easier to remember.
-
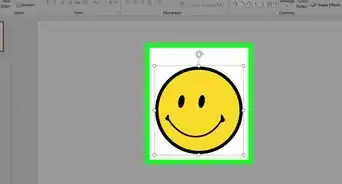
9Choose your pictures, then click "OK". Although your default location for uploading from is your desktop, you can browse other folders for photos.
- You may have to re-size your photo. You can do this by clicking and dragging one of the corners of the photo.
-
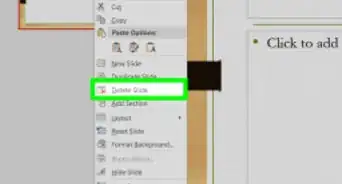
10Click on the "Insert" tab, then click on "New Slide". Go through the process of creating the rest of your flash cards in this manner.
-
11Click on the "Slide Show" tab. You can edit your Slide Show preferences in this menu.
-
12Click "From Beginning" to start your show. This will start your slide show from the first slide.
-
13Confirm that your flash cards work. When your first flash card appears in the slide show, you should only see the title ("question") until you click your mouse.


Advertisement
Warnings
- Don't forget to save your work! You can do this by clicking "File", then "Save".⧼thumbs_response⧽
Advertisement


References
About This Article
Jack Lloyd
wikiHow Technology Writer
This article was co-authored by wikiHow staff writer, Jack Lloyd. Jack Lloyd is a Technology Writer and Editor for wikiHow. He has over two years of experience writing and editing technology-related articles. He is technology enthusiast and an English teacher. This article has been viewed 87,366 times.
How helpful is this?
Co-authors: 12
Updated: July 28, 2022
Views: 87,366
Categories: PowerPoint Presentations
Advertisement