This article was co-authored by Eric Shipe. Eric Shipe is a Kitchen and Bath Designer and the Owner of Bath + Kitchen based in Washington DC. Eric and his team specialize in cabinetry, design, and remodels. They serve homeowners, interior designers, architects, and contractors with a refined process, creative ideas, 4K photo-realistic renderings, and 360 Panoramic views. Bath + Kitchen was featured in Best of Houzz 2017-2020. Eric holds a BA in Economics and Business Administration from Ursinus College.
There are 7 references cited in this article, which can be found at the bottom of the page.
This article has been viewed 18,244 times.
A walk-in shower seat is just the thing to help stabilize those who are unsteady in the shower. However, these require proper installation to be safe. Prep for installation by checking for proper wall support in your shower and marking where you’ll install the seat. Put in the seat by drilling holes for mountings and assembling the seat. Maintain the seat by checking its stability regularly and replacing any worn-out parts.
Steps
Prepping for Installation
-
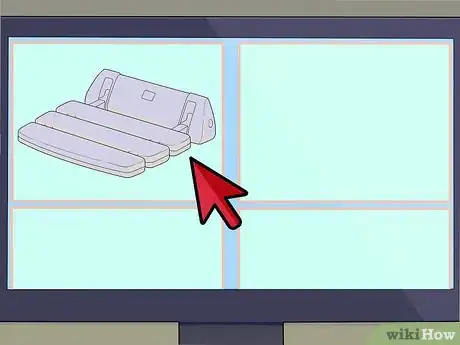
1Choose a suitable seat for your shower. You’ll have to account for the size of your shower when shopping for a seat. Some seats may be intended for smaller spaces than others.[1] Shower seats can be bought at most hardware stores, home centers, and through online sellers.[2]
- If you have difficulty deciding on the right shower seat for your situation, consult a medical professional, like your primary care physician.
- In narrow showers, prioritize a chair model that folds up against the wall. This will make it easier for others who don’t need the seat to use the shower as well.[3]
-
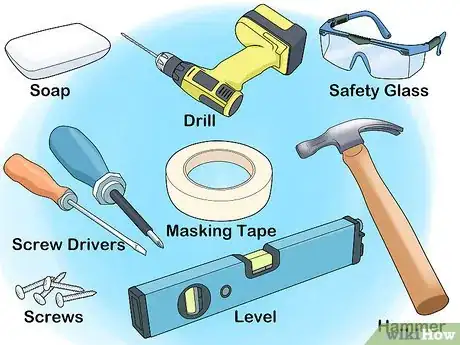
2Gather your supplies. Most of these supplies can be found in the home or purchased from a local hardware store or home center. If you have to drill holes into tile to install your shower seat, prioritize tile drill bits, as these better prevent cracking and chipping. You’ll need:
- Bar of soap (or soap pen)
- Cleaning supplies (for cleaning the wall where the seat will be installed)
- Drill (and drill bits)
- Fasteners (like screws; these may come with your shower seat)
- Hammer
- Masking tape
- Measuring tape (or measuring stick)
- Level
- Safety glasses
- Screwdriver
- Shower seat
- Stud finder
Advertisement -
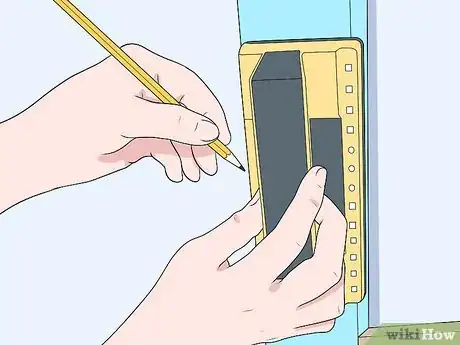
3Check your shower for proper support. Generally, the instructions for your shower seat should indicate the number of studs (supports) required for installation. In most cases, a stud on each end of the seat will provide the best stability. Use a stud finder to locate the studs in your shower.[4]
- If your shower does not have suitable studs, installing a shower seat may not be possible without reinforcing the wall. In these instances, a standalone shower bench may be the best substitute.
- Seats installed in a corner between walls may provide enough additional support for your seat if there isn’t sufficient stud support.[5]
-
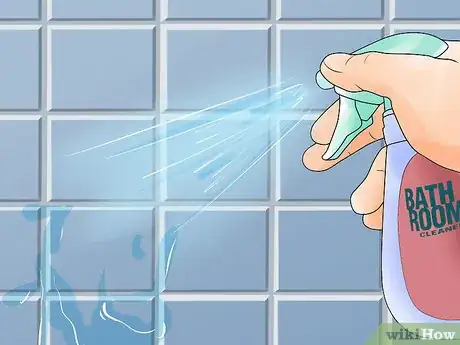
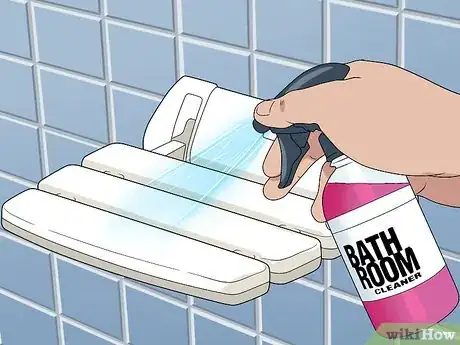
4Clean the area where you’ll install the seat. Buildup accumulates on your shower walls over time. This can negatively impact the installation of the seat. Clean your shower with a suitable cleaner thoroughly until all dirt is removed. Dry the area with a clean cloth afterward.
- Buildup can make it difficult to see where you’ve marked drill holes. Mis-drilled holes can harm the overall appearance of your shower.
- Film or slime, especially, should be completely removed. This can make tools slip when installing the chair and could result in damage to your shower.
-
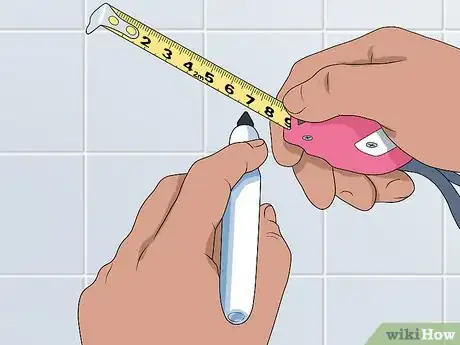
5Mark where you’ll attach the seat. The instructions of your seat should clearly indicate the lengths between wall mountings. Use a tape measure and mark where you’ll attach the seat to the wall with a bar of soap or a soap pen, which will wash away after the chair is installed.[6] Situate mountings so they fasten to the wall on a stud, unless otherwise indicated.[7]
- After you’ve marked all the wall mountings, check these marks with a level. Adjust marks as necessary. Failing to do so could result in a seat that slopes.
Putting in a Shower Seat
-
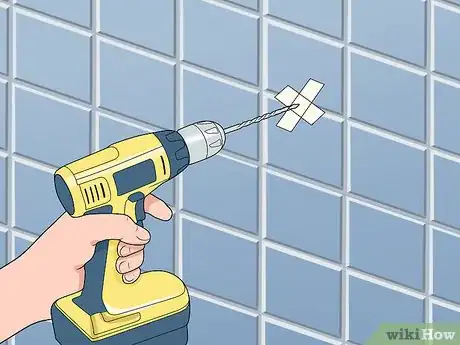
1Drill holes for the wall mountings. Place an X of masking tape over your wall mounting marks so the mark is directly beneath where the X crosses. Situate your drill bit over the crossed part of the X and tap it lightly with a hammer until a small dent is made in the tile at the mark. Put on safety glasses. Insert the bit into your drill, then use low speed and moderate pressure to drill through the tile.
- Applying too much pressure or drilling too fast can cause the tile to crack or chip. However, in many cases, these imperfections can be repaired.[8]
- Sprinkle a small amount of water at the drilling location while drilling. Doing so will reduce heat and friction, which can cause damage.[9]
- Depending on your shower, you may have to drill into concrete or some other material that requires specialized drilling techniques.
-
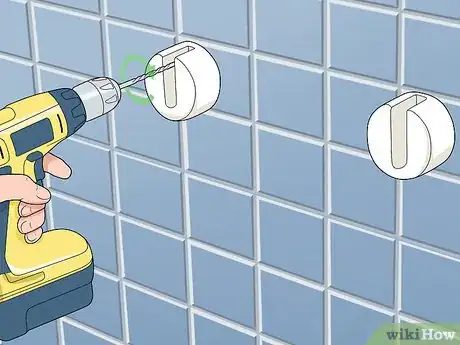
2Fasten the mountings to the wall. Remove the masking tape from the wall. Each shower seat will be different, but in most cases, next you’ll attach wall mountings or brackets. The frame of the seat will connect to these. For best results, follow the directions that came with your seat.[10]
- Some shower seats may come with pre-packed fasteners that may need to be installed with other tools, like a hex key (Allen wrench).
-
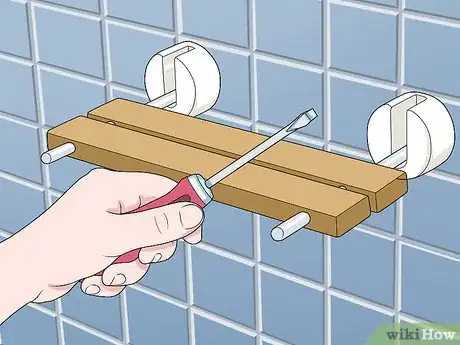
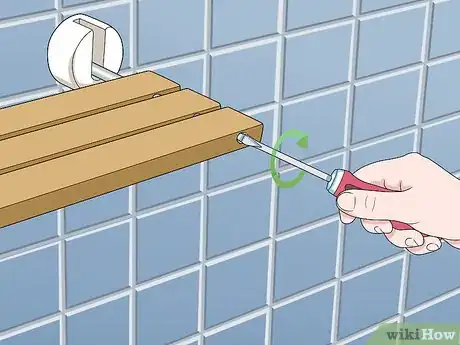
3Connect the frame of the seat to the wall mountings. In many cases, you’ll have to attach the frame of the seat to the wall mountings before putting in the actual seat. Use a screwdriver and appropriate fasteners (like screws) to connect the frame to the all mountings. You may have to fasten several separate pieces together to complete the frame.[11]
- The frame should be sturdily attached to all mountings. Connecting parts of the frame should also be well fastened.[12]
-
4Assemble the seat, if necessary. In some situations, your seat may be a single piece that simply attaches to the wall mountings along with the frame. If not, you’ll likely have to attach the seat to the frame with screws. Use your screwdriver to attach the seat firmly to the frame.[13]
-
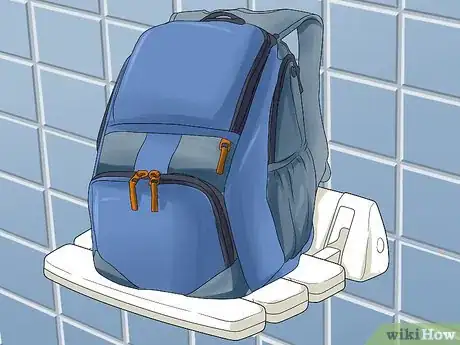
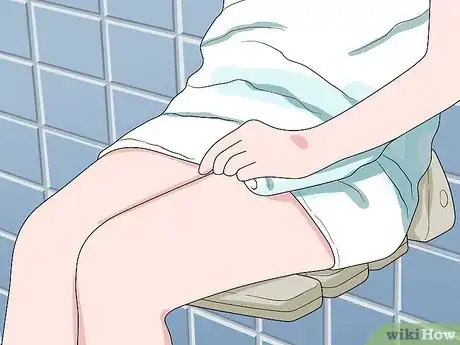
5Verify the stability of the seat. While the shower is off, test the seat with a heavy object, like a backpack full of books. After passing that test, sit in the seat yourself. Move around on it as you would naturally to evaluate its stability. If the seat is sturdy, your shower seat has been successfully installed.
- If you question the seat’s stability at any point, stop immediately. Improperly fastened seats can rip free of your shower wall and cause costly damage.
- When a seat’s stability is questionable, check your studs again. You might have missed a stud and need to drill another hole.
- Supplemental brackets and supports can be purchased at your local hardware stores and used to improve the stability of your seat.[14]
Maintaining a Shower Seat
-
1Check the stability of the seat routinely. Sit and move around in the chair once a month. Over time, the materials the chair is made of may come loose or degrade. Pay close attention to wall mountings. Water can seep into fastener holes and make the chair unstable.
- Compare the stability of the chair to how it was when new. If your chair’s stability has noticeably decreased, you may need to buy and install a new chair.
-
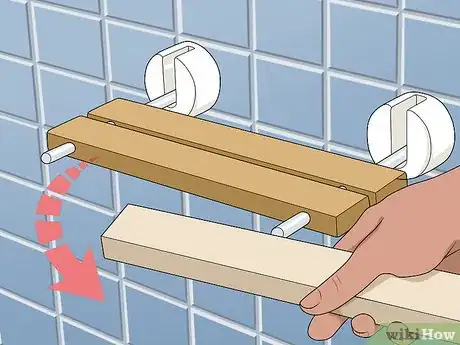
2Replace worn out parts. Even hardware that’s intended for use around moisture, like the kind used in shower chairs, can break down over time and become unsafe. Many seats are made out of plastic parts. Stress from use can wear-out the plastic. Brittle, discolored, or thinned plastic may be a sign you need to replace a part.[15]
- Many replacement parts can be bought at your local hardware store or home center, though specialty parts may need to be ordered through the manufacturer.
- If you need to order parts from a manufacturer, check the manual that came with your seat to find information about replacements.
-
3Clean the seat regularly. Shower seats have many nooks and crannies in which soap scum and other buildup can accumulate. Bacteria and mold that grow in these conditions can cause your seat to wear out more quickly. Use a suitable bathroom cleaner to remove buildup or grime from your chair once a week.
Expert Q&A
-
QuestionWhat is the standard height for a shower seat?
 Eric ShipeEric Shipe is a Kitchen and Bath Designer and the Owner of Bath + Kitchen based in Washington DC. Eric and his team specialize in cabinetry, design, and remodels. They serve homeowners, interior designers, architects, and contractors with a refined process, creative ideas, 4K photo-realistic renderings, and 360 Panoramic views. Bath + Kitchen was featured in Best of Houzz 2017-2020. Eric holds a BA in Economics and Business Administration from Ursinus College.
Home Improvement Specialist Typically, shower benches should measure 17-19 in (42.3 - 48.3 cm) off the finished shower floor.
 -
QuestionWhere should you place a shower seat?
 Eric ShipeEric Shipe is a Kitchen and Bath Designer and the Owner of Bath + Kitchen based in Washington DC. Eric and his team specialize in cabinetry, design, and remodels. They serve homeowners, interior designers, architects, and contractors with a refined process, creative ideas, 4K photo-realistic renderings, and 360 Panoramic views. Bath + Kitchen was featured in Best of Houzz 2017-2020. Eric holds a BA in Economics and Business Administration from Ursinus College.
Home Improvement Specialist Choose between having the seat near the controls or opposite the shower head. You can position your shower seat near the shower controls, but not directly under the stream of water. In fact, many people prefer to place opposite from the shower head.
 -
QuestionHow do you install a flexible shower seat?
 Eric ShipeEric Shipe is a Kitchen and Bath Designer and the Owner of Bath + Kitchen based in Washington DC. Eric and his team specialize in cabinetry, design, and remodels. They serve homeowners, interior designers, architects, and contractors with a refined process, creative ideas, 4K photo-realistic renderings, and 360 Panoramic views. Bath + Kitchen was featured in Best of Houzz 2017-2020. Eric holds a BA in Economics and Business Administration from Ursinus College.
Home Improvement Specialist Choose a movable bench that can be placed where needed, as opposed to a built-in seat.
Warnings
- Improperly installed shower chairs may tear free from the wall of your shower unexpectedly. This can cause serious personal injury or damage to your home.⧼thumbs_response⧽
Things You'll Need
- Bar of soap (or soap pen)
- Cleaning supplies (for cleaning the wall where the seat will be installed)
- Drill (and drill bits, tile bits preferred)
- Fasteners (like screws; these may come with your shower seat)
- Hammer
- Level
- Masking tape
- Measuring tape (or measuring stick)
- Safety glasses
- Screwdriver
- Shower seat
- Stud finder
References
- ↑ Eric Shipe. Home Improvement Specialist. Expert Interview. 11 June 2021.
- ↑ https://www.ncsu.edu/ncsu/design/cud/pubs_p/docs/Curbless.pdf
- ↑ https://www.grabbarspecialists.com/seat-installation.php
- ↑ https://www.ncsu.edu/ncsu/design/cud/pubs_p/docs/Curbless.pdf
- ↑ http://www.goofproofshowers.com/pdf/installation/LO%20RES%20SPANISH%20AND%20english%20goofproof%20instr.pdf
- ↑ Eric Shipe. Home Improvement Specialist. Expert Interview. 11 June 2021.
- ↑ https://www.grabbarspecialists.com/seat-installation.php
- ↑ http://homerepairgeek.com/home-flooring/repair-cracked-tile.html
- ↑ http://www.doityourself.com/stry/drillingintotilewall
- ↑ https://www.ncsu.edu/ncsu/design/cud/pubs_p/docs/Curbless.pdf
- ↑ http://www.bobrick.com/Documents/5181-69_ii.pdf
- ↑ https://www.ncsu.edu/ncsu/design/cud/pubs_p/docs/Curbless.pdf
- ↑ http://www.bobrick.com/Documents/5181-69_ii.pdf
- ↑ https://www.ncsu.edu/ncsu/design/cud/pubs_p/docs/Curbless.pdf
- ↑ https://www.ncsu.edu/ncsu/design/cud/pubs_p/docs/Curbless.pdf
