This article was co-authored by wikiHow Staff. Our trained team of editors and researchers validate articles for accuracy and comprehensiveness. wikiHow's Content Management Team carefully monitors the work from our editorial staff to ensure that each article is backed by trusted research and meets our high quality standards.
There are 7 references cited in this article, which can be found at the bottom of the page.
This article has been viewed 17,098 times.
Learn more...
Bearing Buddy is a system of trailer bearing protectors designed to replace your standard bearing dust caps and keep moisture and dirt out of your bearings. They are especially useful for boat trailers or any other type of trailer that is prone to accumulating water in the bearings, which can corrode and damage them over time. Like other types of bearing dust caps, all you have to do to install your new Bearing Buddy protectors is hammer them into place over the bearings.
Steps
Removing the Existing Dust Caps
-
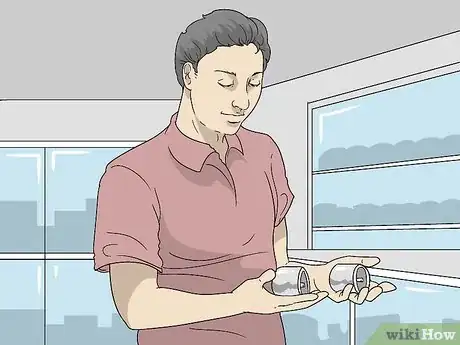
1Buy the right size of Bearing Buddy caps before you remove the dust caps. Add a decimal after the first digit of the Bearing Buddy model number to know what the diameter is in inches. Purchase the model number that corresponds to the diameter of your wheel bearings.[1]
- For example, Bearing Buddy model number 1938 is designed for use with bearing hubs that have a diameter of 1.928 in (4.90 cm).
- You can choose between chrome and stainless steel Bearing Buddy protectors. Note that stainless steel is recommended for wheels that will have contact with salt water.
-
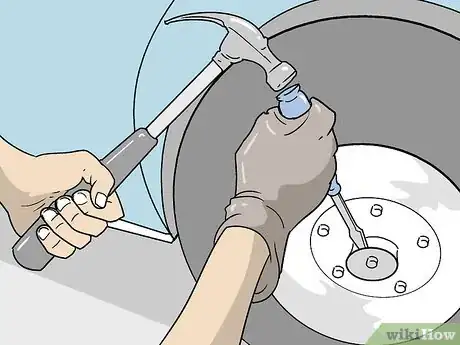
2Tap a flat-head screwdriver under the lip of the bearing caps using a hammer. The bearings and caps are in the exact center of your wheels. Place the edge of the screwdriver’s flat head against the crack where the bearing’s dust cap meets the bearing itself. Hit the back of the screwdriver with a hammer until it wedges between the bearing cap and the bearing.[2]
- You don’t have to jack up the wheel or take the wheel off to install a Bearing Buddy protector because all you are doing is replacing the bearing dust cap, which can be removed with the wheel resting on the ground.
- Note that you must repeat this process for each wheel that you want to install a Bearing Buddy on.
Tip: If you’re regreasing your trailer wheel bearings, it could be a good time to install new Bearing Buddy protectors as well. Bearing Buddy caps will keep all the new grease clean and inside the bearings.
Advertisement -
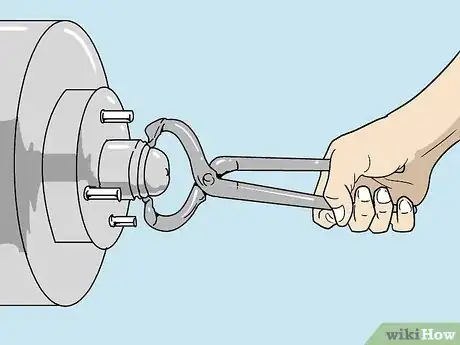
3Pry off the dust caps by using the screwdriver like a lever. Work the screwdriver around the dust cap, pushing and pulling it like a lever as you go. Keep prying away at the cap until it loosens all the way and pops off. Keep the dust caps you remove if you think you might need them in the future or recycle them.[3]
- All standard bearing caps just pop on and off, so you don’t need any special tools to remove them. However, there are special pliers called dust cap pliers that you could use if you have them available.
-
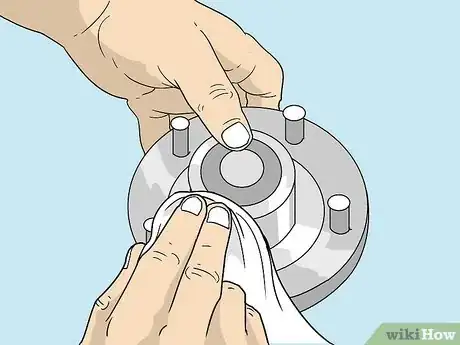
4Wipe down the bearing hubs with a rag to clean off any dirt. Rub any dirty grease and other grime off the exposed surfaces of the bearing hub. This will clean it up and let you examine it to make sure it’s in good shape before you install a Bearing Buddy protector.[4]
-
5Inspect your bearings and replace them if they are rusty, damaged, or pitted. Proceed to install your new Bearing Buddy caps if the bearings look like smooth, undamaged metal. Stop and replace the bearings before you go any further if you see any rust or corroded pits in the metal.[5]
- Bearing Buddy protectors are designed to keep out moisture and dirt that can corrode and damage your bearings. If you do end up replacing your bearings before you install the new caps, the Bearing Buddy caps should prevent the need to do so any time again in the near future.
Attaching Bearing Buddy Protectors
-
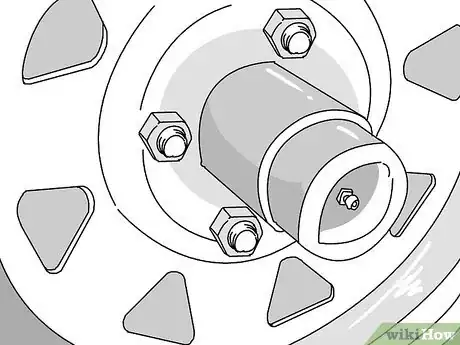
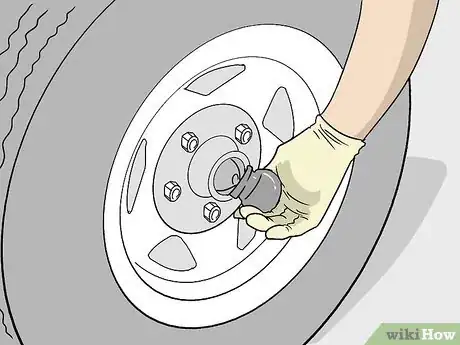
1Hold a Bearing Buddy over a wheel’s bearing. Orient the Bearing Buddy protector so that the more hollow side faces the bearing and the side with the nozzle in the center faces outwards. Line the Bearing Buddy up with the wheel bearing and hold it in place against the bearing.[6]
- Note that this process must be done once for each wheel bearing that you want to attach a Bearing Buddy to.
-
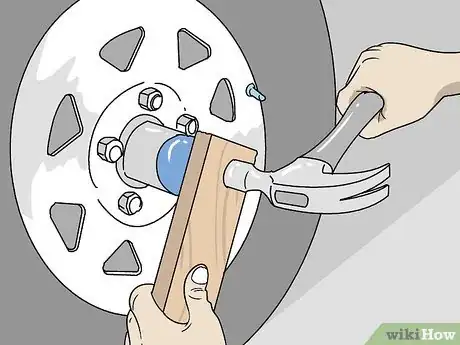
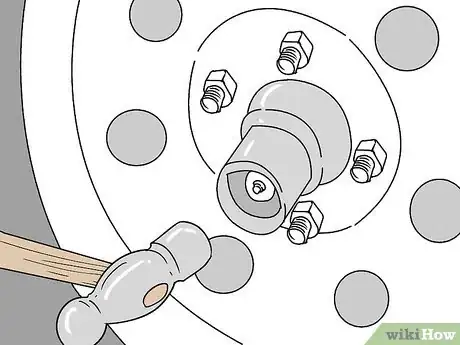
2Hammer the Bearing Buddy into place with a rubber mallet. Whack the Bearing Buddy around all sides until it sits flush over the bearing. A rubber mallet will prevent any damage to the Bearing Buddy.[7]
- If you don’t have a rubber mallet, you can place a flat piece of scrap wood flush against the Bearing Buddy and hit the surface of the wood with a normal hammer to push the Bearing Buddy into place.
Warning: If you can’t hammer a Bearing Buddy securely into place or it fits too loosely, don’t try to force it. You could end up damaging the bearing. Double-check the diameter of your wheel bearings with a tape measure and make sure you have the right size of Bearing Buddy caps.
-
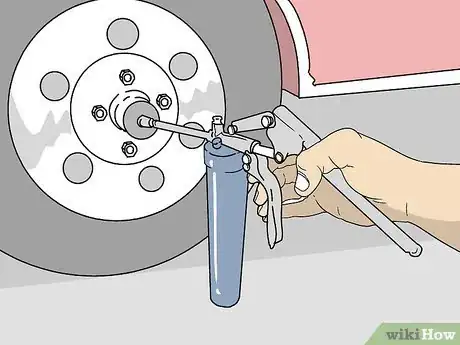
3Fill the Bearing Buddy with bearing grease using a grease gun. Push the nozzle of the grease gun securely over the nozzle in the middle of the Bearing Buddy. Squeeze the grease gun’s handle to shoot grease into the bearing until you see the lubricant oozing out around the nozzle of the Bearing Buddy.[8]
- Bearing Buddy caps have something called a weep hole, which prevents you from overfilling them with grease by letting it ooze out.
-
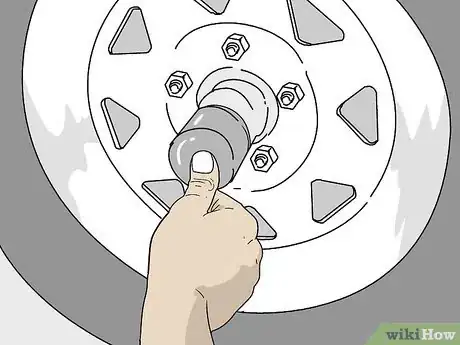
4Place the rubber Bearing Buddy cover over the metal cap. Push the black rubber sealing cover all the way onto the metal Bearing Buddy cap. Press down firmly in the center of the rubber cover to force out any air bubbles.[9]
- The rubber cap will seal the Bearing Buddy to block out dirt and water, as well as keep all the grease safely packed inside.
-
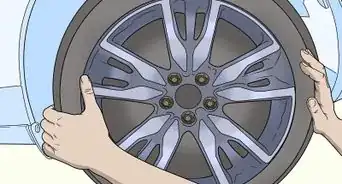
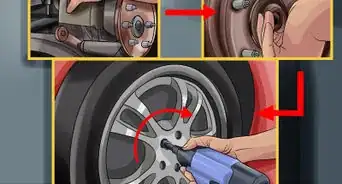
5Repeat the entire process for each wheel. Remove the existing dust caps from each wheel on your trailer, wipe the bearings clean, and inspect them for rust and damage. Hammer the Bearing Buddy protectors into place over the bearings, fill them with grease, and cover them with the protective rubber caps.[10]
- Note that even if you only have 1 corroded or damaged bearing, you should always replace all of them so that they are in equal condition.
Things You’ll Need
- Bearing Buddy
- Hammer
- Flat-head screwdriver
- Rag
- Rubber mallet
- Grease gun
- Bearing grease
References
- ↑ https://www.bearingbuddy.com/shop-protector-chrome
- ↑ https://www.boatus.com/magazine/trailering/2015/april/how-to-change-and-repack-wheel-bearings.asp
- ↑ https://www.boatus.com/magazine/trailering/2015/april/how-to-change-and-repack-wheel-bearings.asp
- ↑ https://www.bearingbuddy.com/installation
- ↑ https://www.bearingbuddy.com/installation
- ↑ https://www.youtube.com/watch?v=J0xvs5FT9HI&feature=youtu.be&t=100
- ↑ https://www.youtube.com/watch?v=J0xvs5FT9HI&feature=youtu.be&t=130
- ↑ https://www.youtube.com/watch?v=J0xvs5FT9HI&feature=youtu.be&t=140
- ↑ https://www.youtube.com/watch?v=tX_G-Dy-t1E&feature=youtu.be&t=185
