This article was co-authored by David Julien. David Julien is a DIY Specialist and the Principal Owner at Nice DIY based in Quebec, Canada. David specializes in creating plans to make unique, affordable, and modern home furnishings. He holds a BA in Graphic Design from the University of Quebec Outaouais. Nice DIY uses sustainable and high-quality materials to create products that are simple to make for everyone.
There are 8 references cited in this article, which can be found at the bottom of the page.
This article has been viewed 90,519 times.
You have a beautiful mirror you want to hang up on the wall, but there's one problem: it's heavy. Like really heavy. Fortunately, it's totally possible to hang a heavy mirror with wire so it's secure and safe. Check out the steps below to learn what kind of hardware you should use, how to find a secure spot on your wall, and how to hang your mirror so it's safe and sound.
Steps
Attaching Wire to Your Mirror
-
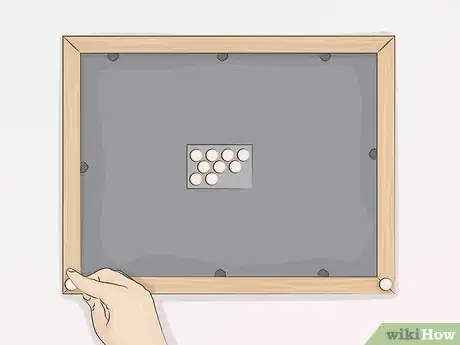
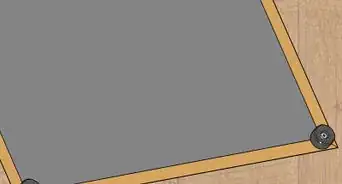
1Affix felt pads to the bottom of your mirror’s backside. Flip your mirror over so the backside is facing up. Then put felt pads on the bottom corners. These pads will prevent the frame from scraping against your wall, and will help air circulate between it and the wall.[1]
- You can find these felt pads at most large retailers that sell home supply goods.
-
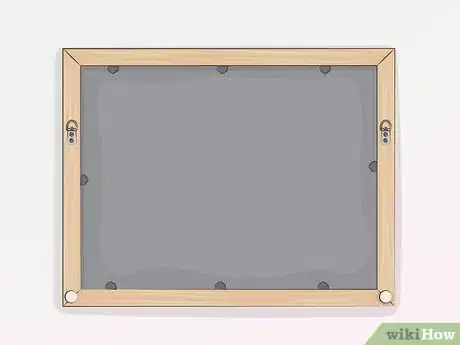
2Choose D-rings to attach wire to the back of your mirror. D-rings are a better option than eye screws because they will lie flat against the back of your mirror’s frame. This will allow your mirror to hang up right against the surface of the wall.[2]
- D-rings come in different sizes, so you’ll want to make sure that you choose D-rings that can bear the weight of your mirror.
- You can buy D-rings at any home improvement store.
Advertisement -
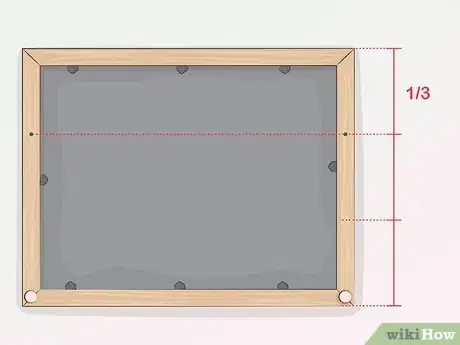
3Measure the placement of the D-rings. First, use a tape measure to measure the length of the mirror. Then measure a third of this distance from the top of the mirror. Mark this point in the middle of each side. This will be where you will attach the D-rings.[3]
-
4Attach the D-rings with screws. Screw 1 D-ring into each side where you made a mark in the previous step. You should screw them in so that the eye of the D-ring is on top.[4]
-
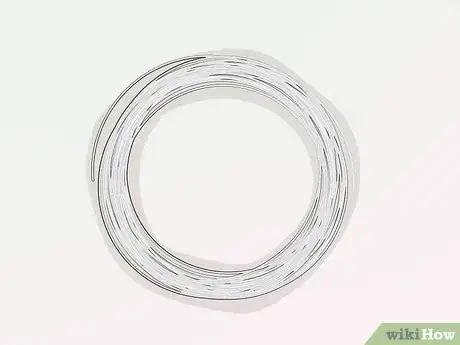
5Use hanging wire designed to hang mirrors and picture frames. Hanging wire designed to hang picture frames and mirrors to a wall is the best type of wire to hang your mirror. Floral wire, electrical wire, string, and other type of wire are not as secure and can fail.[5]
- Your wire should be around 10 centimetres (3.9 in) longer than the width of your mirror’s frame.
-
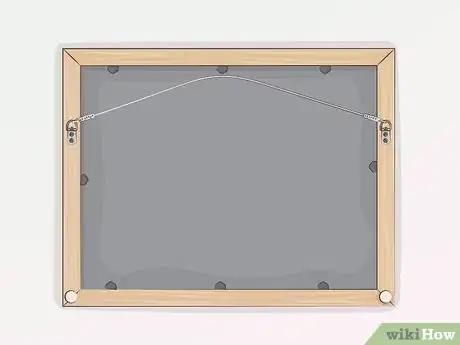
6String wire through your rings. Once you’ve screwed in D-rings to the back of your mirror’s frame, run the hanging wire through the two rings. Then tightly secure the ends of the wire to the D-rings.[6]
- Make sure the wire is taut when you pull on it.
- When you pull on it, the wire should also not rise above the top of the frame.
Positioning Your Mirror
-
1Determine what type of material your wall is made of. If you live in a house that was built in the 1940s or before, your walls are probably made of plaster and lath. If your house was built more recently, however, your walls are likely made of drywall. It is important to find out what your wall is made of before you hang your mirror because using a drywall hanger on plaster can damage a plaster and lath wall’s surface.[7]
- Plaster and lath is harder, thicker, and more brittle than drywall.
- If you’re unsure what type of wall you have, try to push a pushpin into the wall. A pushpin will go right into drywall but not plaster.[8]
-
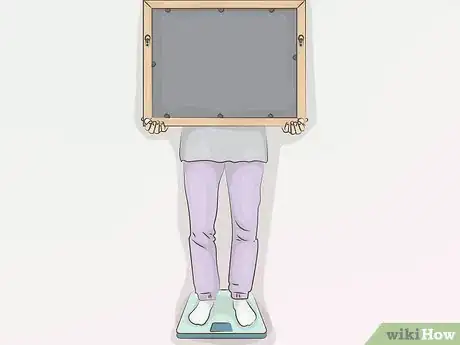
2Weigh your mirror so you know what type of fastener you’ll need. All fasteners have a maximum weight rating. Some fasteners are designed to hold heavy mirrors and picture frames and some are not. You can use a bathroom scale to weigh your mirror.[9]
- If you’re using a bathroom scale, weigh yourself first and then weigh yourself as you’re holding the mirror. The difference will be the weight of your mirror.
-
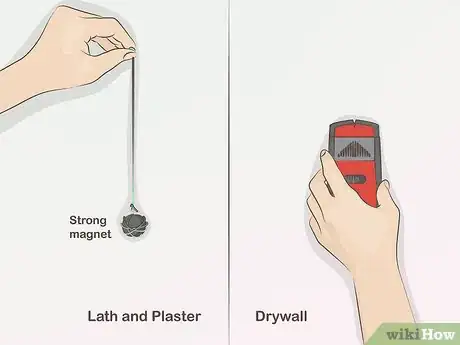
3Find a stud in your wall if you’re hanging a heavy mirror. If you’re hanging a heavier mirror, you’ll want to find a stud in your wall to support it. If you have a wall made of drywall, you can use a stud finder to locate a stud in your wall. A stud finder, however, won’t work for a plaster and lath wall. To find a stud behind a plaster and lath wall, tie some string around a strong magnet. Then, holding the top end of the string, slowly move the magnet horizontally across the wall. The magnet should stick to the wall when it moves across a stud.[10]
- The magnet you use will have to be strong, so simple magnets from your refrigerator probably won’t work.
- If you can't hang the mirror from a stud, drill pilot holes and install anchors in the wall.[11]
-
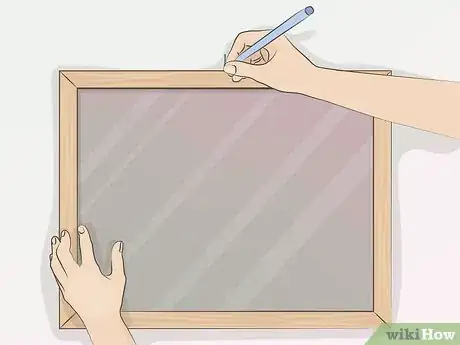
4Mark where you want the top edge of the mirror on the wall. Lift your mirror up on your wall where you want it to hang. Then, use a pencil to make a short line where the center of the top edge of the mirror is on the wall.[12]
- If you’re hanging a heavier mirror, have someone help you get the mirror into position.
-
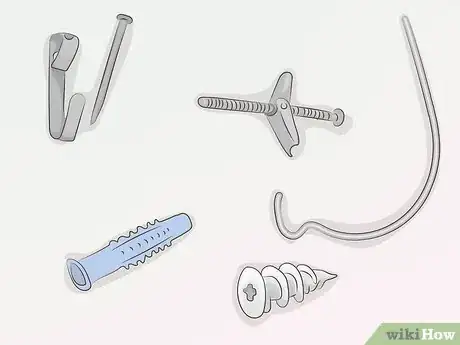
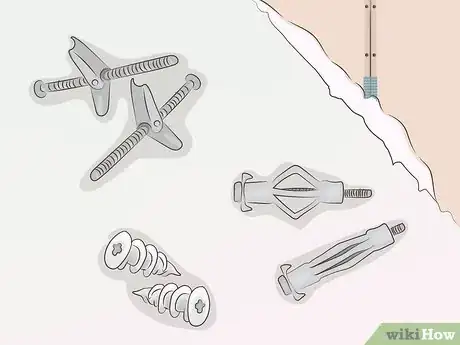
5Choose a fastener with a weight rating above your mirror’s weight. Many different fasteners exist, and they all have different maximum weight ratings, or the maximum weight they can hold up. These include screw-in drywall anchors, expanding plastic sleeves, picture frame hangers and nails, tap-in expanding anchors, toggle bolts, and anchor wire (monkey hooks).[13]
- Hardware weight limits should be listed on the packages they come in.[14]
-
6Prevent the mirror from going askew by using two fasteners. When hanging a mirror with wire, it is a good idea to use two fasteners instead of just one. Using two will prevent your mirror from moving in place and becoming lopsided.[15]
- Using two fasteners will also reduce the likelihood that your mirror will fall.
-
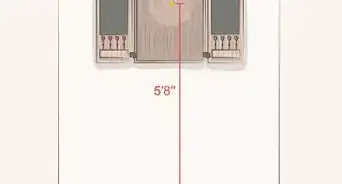
7Measure down from the top of the frame before installing the fasteners. Hold the mirror up by the center of the wire. Then, measure down from the top of the mirror to the highest point of the wire. Use your tape measure to measure down that exact same length from the mark you made on the wall. This will be the height your fasteners need to go—make another mark here.[16]
- Measure out horizontally from the second mark to make sure your fasteners are evenly spaced.
-
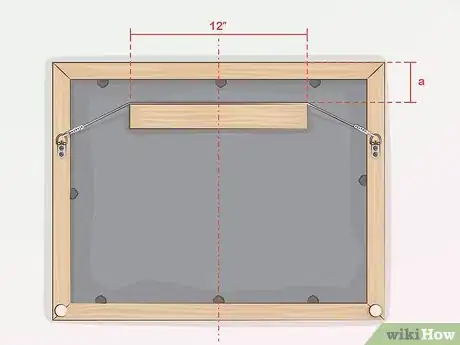
8Determine the position of the two fasteners with a block of wood. Take a small piece of wood approximately 12 inches (30 cm) long and mark its center. Center it under the top of the mirror and hold it up tight under the wire until the wire is taut. Use a tape measure to measure the distance from the top of the mirror to the top of the piece of wood. Then measure that same distance down from the mark you made on the wall and make a mark.[17]
- This second mark indicates the future position of your hanging wire.
-
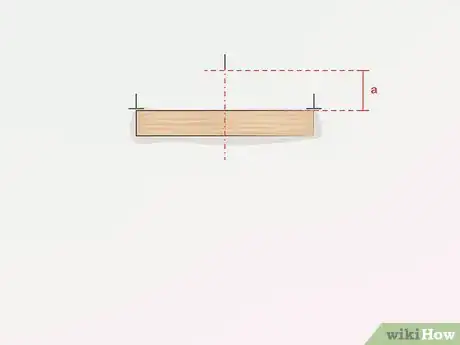
9Make sure the mirror will be perfectly level with torpedo level. Now, take the piece of wood and align its center with the second mark you made on the wall. Use a torpedo level to make sure the piece of wood is level. Then, use a pencil and mark on the wall the location of the upper right- and left-hand corners of the piece of wood.[18]
- These marks will be where you put in your hooks.
Hanging a Mirror on Drywall
-
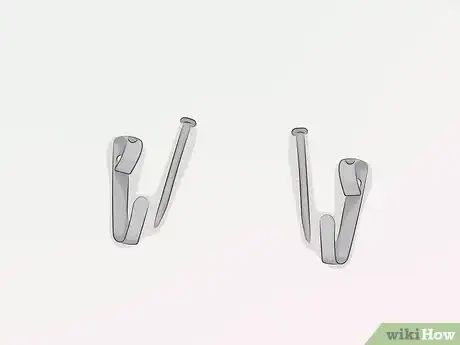
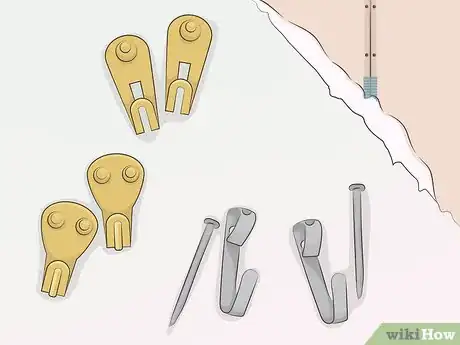
1Go with picture hangers if you’re hanging a mirror on drywall. If you’re hanging your mirror on drywall, using picture hanger hooks and small nails is probably the best option. Picture hangers will hold up most light to medium mirrors, and they are also easy to install and remove.[19]
- Picture hangers come in a variety of sizes and have different weight limits, so make sure the weight limit listed on the hardware packaging is higher than the weight of your mirror.
-
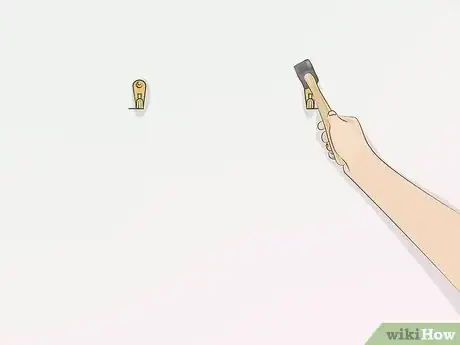
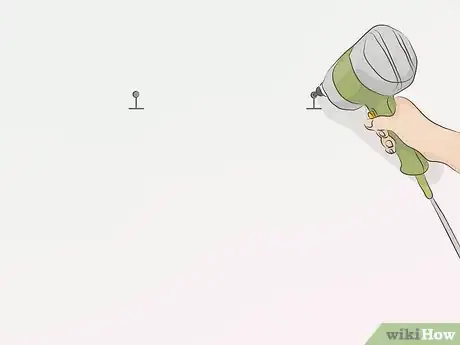
2Hammer in your hangers with small nails. Once you’ve marked where you want your hooks to hold up the wire, simply use a hammer and nail to tap in a picture hanger on each corner mark. Tap the nail gently so that you don’t accidentally damage your wall.[20]
- Once you’ve tapped in your two picture hangers, step back and make sure they look level from a distance.
-
3Use a toggle bolt, molly bolt, or threaded anchor for heavier mirrors. These specialty types of hardware can bear a lot more weight than a standard picture hanger. There are a lot of different models and brands, so take care in choosing one that is appropriate for your mirror and wall.[21]
- If you’re working with a very heavy mirror, you must screw it directly into a wall stud.
Working with a Plaster Wall
-
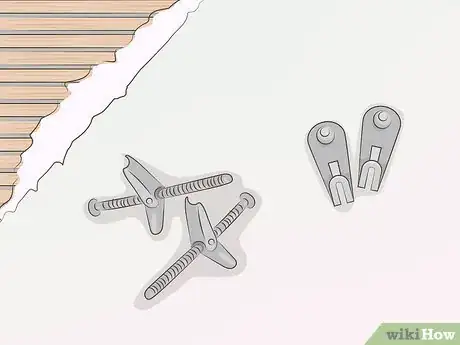
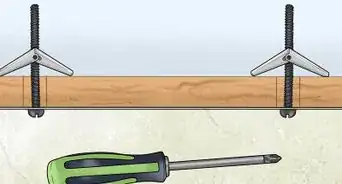
1Use a toggle bolt with a picture-hanging hook for a plaster wall. A toggle bolt has a spring-loaded nut that squeezes through a hole in the front of your wall and then springs open on the other side of the wall when you push it through the hole. It will allow you to hang a mirror or picture frame on your plaster wall without damaging the wall’s surface.[22]
-
2Drill holes into the plaster wall where you made your marks. Use an electric drill to drill holes through the plaster. These holes will need to be wide enough for the toggle bolt to fit through.[23]
- Always remember to use caution when operating an electric drill or other power tool.
-
3Thread a machine screw through the toggle bolt nut. Once you’ve drilled holes into your wall, screw your toggle bolt nut onto a machine screw.[24]
-
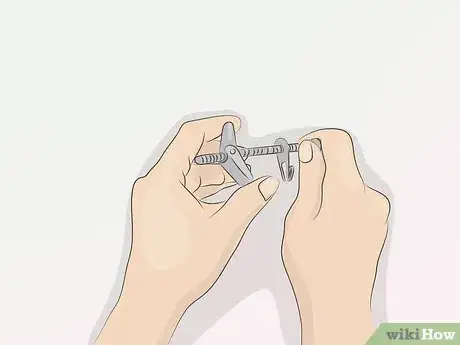
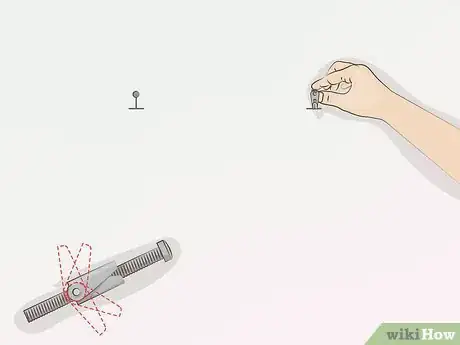
4Pinch the wings of the toggle bolt closed and squeeze it through the hole. Once the bolt’s through, pull it back to make sure the spring has opened. Then, tighten it against the wall with a screwdriver.[25]
Expert Q&A
Did you know you can get expert answers for this article?
Unlock expert answers by supporting wikiHow
-
QuestionHow do you hang a heavy mirror?
 David JulienDavid Julien is a DIY Specialist and the Principal Owner at Nice DIY based in Quebec, Canada. David specializes in creating plans to make unique, affordable, and modern home furnishings. He holds a BA in Graphic Design from the University of Quebec Outaouais. Nice DIY uses sustainable and high-quality materials to create products that are simple to make for everyone.
DIY Specialist
References
- ↑ https://www.theguardian.com/lifeandstyle/2014/oct/12/how-to-hang-a-picture
- ↑ https://www.nwfsc.edu/wp-content/uploads/2018/02/A-Guide-to-Preparing-Art-for-Exhibition.pdf
- ↑ https://www.theguardian.com/lifeandstyle/2014/oct/12/how-to-hang-a-picture
- ↑ https://www.nwfsc.edu/wp-content/uploads/2018/02/A-Guide-to-Preparing-Art-for-Exhibition.pdf
- ↑ https://www.nwfsc.edu/wp-content/uploads/2018/02/A-Guide-to-Preparing-Art-for-Exhibition.pdf
- ↑ https://www.nwfsc.edu/wp-content/uploads/2018/02/A-Guide-to-Preparing-Art-for-Exhibition.pdf
- ↑ https://www.thisoldhouse.com/how-to/how-to-hang-heavy-mirror
- ↑ https://www.popularmechanics.com/home/interior-projects/g15857034/how-to-hang-things-on-the-wall/
- ↑ https://www.thisoldhouse.com/how-to/how-to-hang-heavy-mirror
- ↑ https://thecraftsmanblog.com/how-to-find-studs-in-a-plaster-wall/
- ↑ David Julien. DIY Specialist. Expert Interview. 20 January 2021.
- ↑ David Julien. DIY Specialist. Expert Interview. 20 January 2021.
- ↑ https://www.rent.com/blog/wall-hanging-without-stud/
- ↑ https://www.lowes.com/n/how-to/how-to-hang-heavy-mirrors
- ↑ https://www.thisoldhouse.com/how-to/how-to-hang-heavy-mirror
- ↑ David Julien. DIY Specialist. Expert Interview. 20 January 2021.
- ↑ https://www.thisoldhouse.com/how-to/how-to-hang-heavy-mirror
- ↑ https://www.thisoldhouse.com/how-to/how-to-hang-heavy-mirror
- ↑ https://www.thisoldhouse.com/how-to/how-to-hang-heavy-mirror
- ↑ https://www.thisoldhouse.com/how-to/how-to-hang-heavy-mirror
- ↑ https://www.thisoldhouse.com/how-to/how-to-hang-heavy-mirror
- ↑ https://www.thisoldhouse.com/how-to/how-to-hang-heavy-mirror
- ↑ https://www.thisoldhouse.com/how-to/how-to-hang-heavy-mirror
- ↑ https://www.thisoldhouse.com/how-to/how-to-hang-heavy-mirror
- ↑ https://www.thisoldhouse.com/how-to/how-to-hang-heavy-mirror
