This article was co-authored by Jason Phillip. Jason Phillip is a handyman specializing in mounting and hanging objects onto walls. With over five years of experience professionally mounting and installing objects through his company, Jason's Handyman Services, Jason's work includes working with mounting window AC units, designing art gallery walls, installing kitchen cabinets, and replacing light fixtures on drywall, brick, and plaster. He has been rated a "Top Pro" every year since 2016 by Thumbtack for being one of the highest-rated, most popular professionals on Thumbtack.
There are 10 references cited in this article, which can be found at the bottom of the page.
This article has been viewed 231,827 times.
A sawtooth picture hanger is a great way to hang pictures that weigh less than 20 pounds (9.1 kg). It gets attached directly to the back of the frame, and from there you can place a nail in the wall and hang the picture from the sawtooth hanger with ease. Many picture frames come with sawtooth hangers already installed, but if you need to do it yourself, it should only take a couple of minutes.
Steps
Attaching the Hanger to the Picture
-
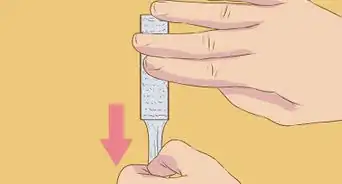
1Check that your sawtooth hanger can support the weight of the picture. Sawtooth hangers are made to support 20 pounds (9.1 kg) of weight at the most. Anything heavier than that will need to be hung by a different means. To easily weigh the picture, hold it as you step onto a scale and then subtract your weight from the total.[1]
- For heavier pictures, you'll want to use a wire installed across the back of the frame.[2]
-
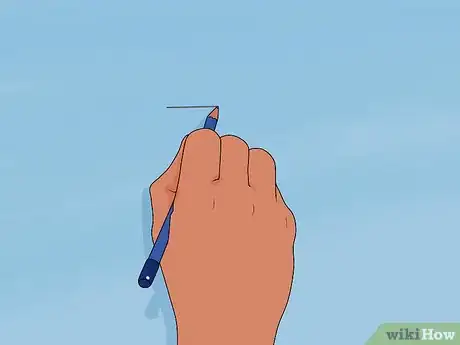
2Measure the frame's width and mark the center point. Use a tape measure and a pencil or pen to make the mark. This will help you properly situate the sawtooth hanger once you're ready to install it.[3]
- If you don't have a tape measure, you could also use a yardstick or something similar to get the measurement so that the weight is distributed more evenly.
Advertisement -
3Use 2 sawtooth hangers if the frame is longer than 2 feet (24 in). This will help keep it level and make it less likely that it'll get bumped out of place over time. If you're doing this, position the sawtooth hangers about 6 inches (15 cm) in from each side.[4]
- This isn't a requirement, but it will make your frame more stable when it's finally hanging up.
-
4Center the sawtooth hanger and mark the nail holes with a pencil. Position the sawtooth hanger overtop of the mark you made in the exact center of the frame. Hold it down in place and make a visible mark through each nail hole so that you'll be able to quickly find your place again in case you accidentally drop the hanger.[5]
- A lot of sawtooth hangers have a mark in the very center to make it easier to line it up on the back of the frame.
-
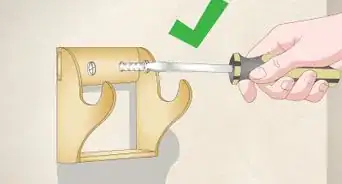
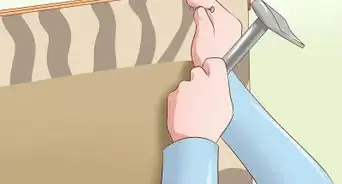
5Secure the sawtooth hanger into place with 2 small nails. Take a nail, line it up with the hole in the hanger, and gently hammer it into place. Hammer as straight as you can so that the nail doesn't go in at an angle. Repeat this action on the opposite side. The nail will be really short so it doesn't go through the front of the frame, so be careful to not catch your fingers with the hammer.[6]
- Some sawtooth kits come with nails, and some come with screws. Use whatever came with your kit to ensure the hanger is properly attached. If it came with screws, you'll need to use a screwdriver rather than a hammer.
- The sawtooth hanger needs to be attached to the frame. Even if there is sturdy canvas paper covering the back of the picture, chances are the hanger will just rip through it once you place the picture up on the wall.
Hanging the Picture on the Wall
-
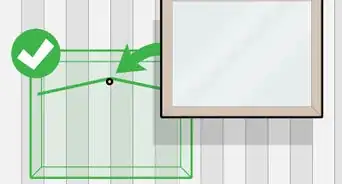
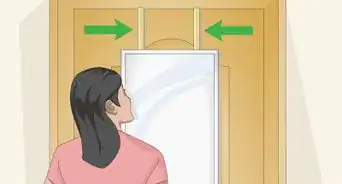
1Choose where you want to hang your picture. The general rule of thumb is that the center of the picture should rest about 57 to 60 inches (140 to 150 cm) from the floor, but you can put it wherever you think it would look best. It may be helpful to have another person hold the picture up while you look at it from the other side of the room to make sure it's positioned the way you want it.[7]
- Because your picture is so light, you don't need to worry about finding a stud to tap in to.
-
2Mark where the top of the frame will rest with pencil or painter's tape. Hold the picture back up to the wall, and mark where the top of the frame rests. A pencil, so you can erase the mark, or a piece of painter's tape, which will easily peel off the wall, are the best options to use for this part. Try your best to make the mark in the center of the frame; if someone is helping you, they could hold the frame as you measure and mark the exact center.[8]
- Because the sawtooth hanger is located on the frame, you don't need to measure down to meet the hook like you would with other types of hanging implements.
-
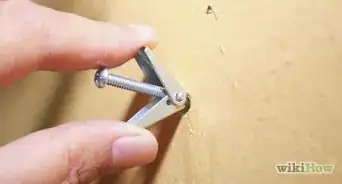
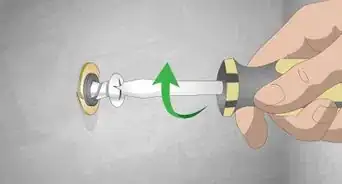
3Hammer a small nail into the wall just below the mark you made. A 1.5 in (3.8 cm) to 2 in (5.1 cm) nail will be enough to support your picture. Hammer the nail down into the wall at a 45-degree angle to provide the most support for the picture. Don't forget to erase your mark or remove the tape after you've hammered the nail into the wall.[9]
- Some sawtooth kits come with small hooks that go on the nail. This hook latches into the sawtooth hanger, rather than just hanging the picture from the nail.
- You could also use a screw driven straight into the wall for the same effect.[10]
-
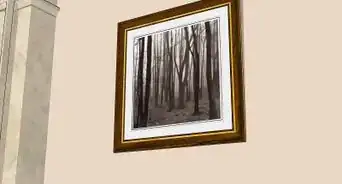
4Hang up the picture and check that it is level.[11] Carefully position the sawtooth hanger across from the nail and lower it into place until you feel it snag on the nail. Stand back and check to see if it looks level. Because there are multiple “teeth” in the sawtooth hanger, you might need to move the picture slightly so that it's hanging perfectly straight.[12]
- If you're having trouble gauging whether or not the picture is straight, use a level to check it. Many smartphones now have “level” apps so you might not even need an additional tool.
-
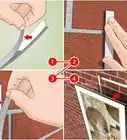
5Install rubber bumpers behind the frame if it scrapes the wall. This is optional and won't be needed for every frame. Sometimes, depending on the weight of the frame, the bottom edges might scrape against the wall, causing small marks to appear or even chipping the paint. If this is the case, you can put 1 small rubber bumper beneath each bottom corner of the frame. That way, it won't leave marks when it hits the wall.[13]
- Find rubber bumpers online or at your local home improvement store.
Expert Q&A
Did you know you can get expert answers for this article?
Unlock expert answers by supporting wikiHow
-
QuestionWhat should I hang a sawtooth hanger from?
 Jason PhillipJason Phillip is a handyman specializing in mounting and hanging objects onto walls. With over five years of experience professionally mounting and installing objects through his company, Jason's Handyman Services, Jason's work includes working with mounting window AC units, designing art gallery walls, installing kitchen cabinets, and replacing light fixtures on drywall, brick, and plaster. He has been rated a "Top Pro" every year since 2016 by Thumbtack for being one of the highest-rated, most popular professionals on Thumbtack.
Handyman
-
QuestionHow do you hang a heavy picture frame?
 Jason PhillipJason Phillip is a handyman specializing in mounting and hanging objects onto walls. With over five years of experience professionally mounting and installing objects through his company, Jason's Handyman Services, Jason's work includes working with mounting window AC units, designing art gallery walls, installing kitchen cabinets, and replacing light fixtures on drywall, brick, and plaster. He has been rated a "Top Pro" every year since 2016 by Thumbtack for being one of the highest-rated, most popular professionals on Thumbtack.
Handyman
Things You'll Need
- Hammer
- Tape measure
- Pencil or pen
- Screws or nails
- Sawtooth hanger
- Painter's tape (optional)
- Nails
- Level
- Rubber bumpers (optional)
References
- ↑ https://youtu.be/EdDtfxgBTy0?t=15
- ↑ Jason Phillip. Handyman. Expert Interview. 2 July 2020.
- ↑ https://youtu.be/AjcZyKQWDwI?t=57
- ↑ https://youtu.be/jDF7dNDHXbQ?t=14
- ↑ https://youtu.be/AjcZyKQWDwI?t=78
- ↑ https://youtu.be/AjcZyKQWDwI?t=91
- ↑ https://youtu.be/_ugKARUatkM?t=20
- ↑ https://youtu.be/_ugKARUatkM?t=31
- ↑ https://youtu.be/_ugKARUatkM?t=100
- ↑ Jason Phillip. Handyman. Expert Interview. 2 July 2020.
- ↑ Jason Phillip. Handyman. Expert Interview. 2 July 2020.
- ↑ https://www.popularmechanics.com/home/interior-projects/how-to/a3122/the-proper-way-to-hang-a-picture-10792209/#
- ↑ https://www.popularmechanics.com/home/interior-projects/how-to/a3122/the-proper-way-to-hang-a-picture-10792209/#


