This article was co-authored by Lauren Kurtz. Lauren Kurtz is a Naturalist and Horticultural Specialist. Lauren has worked for Aurora, Colorado managing the Water-Wise Garden at Aurora Municipal Center for the Water Conservation Department. She earned a BA in Environmental and Sustainability Studies from Western Michigan University in 2014.
This article has been viewed 89,848 times.
Sugar snap peas are a pea lover’s dream. Unlike other varieties, which have to be shelled in order to extract the tender peas, sugar snaps can be devoured pod and all. They’re also a cinch to grow, making them a favorite among horticulturalists, cooks, and casual gardeners alike. Simply plant the pea seeds somewhere mild and shady and make sure they receive regular water. In 2-3 months, you’ll have a crop of crunchy, delectable peas that can be snacked on raw or added to your favorite wholesome recipes.
Steps
Choosing a Planting Location
-
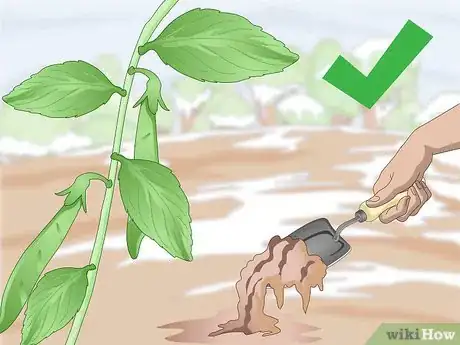
1Sow your snap peas at the end of the cold season. Sugar snap peas flourish in cooler temperatures. You can put your seeds in the ground as early as the final frost of winter, just before the onset of spring. Even young plants will be hearty enough to survive one or two minor frosts in the interim.[1]
- The ideal ground temperature for sugar snap peas is around 45 °F (7 °C), but you're free to begin planting as soon as the soil has thawed enough to dig.
- Due to their preference for temperate conditions, pea plants won't do as well in warm, humid climates.
-
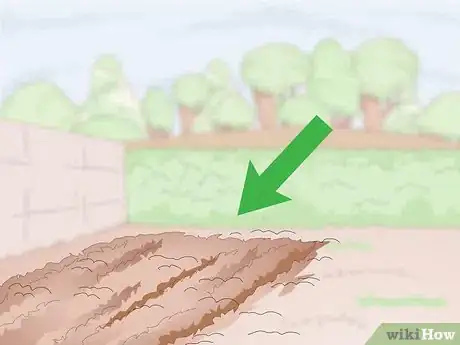
2Find a plot of healthy soil. Set aside an open space in one corner of your garden where the growing snap peas can get plenty of indirect sunlight. The soil you use for planting should be nice and dark, with a high nutrient content. It also needs to be loose enough to encourage proper drainage and runoff after a heavy rain or weekly watering.
- Use a hand aerator or similar tool to punch a series of holes in the topsoil around the pea plant. These openings will ventilate the soil.
Advertisement -
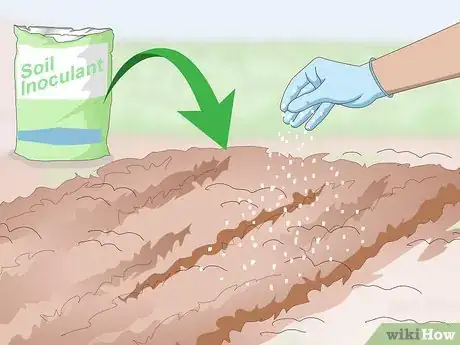
3Add an inoculant to the soil to promote healthy growth. Extremely cold, nutrient-poor soil may not have the nitrogen that sugar snaps need to grow to a healthy size. You can remedy this by sprinkling a natural inoculant into the soil prior to planting. One of these compounds may also help if you notice your plants are developing at an unusually slow rate.[2]
- Alternatively, the seeds themselves can be dusted with an inoculant before they go into the ground.
- Inoculants are purely organic additives that can enhance a struggling plant’s ability to absorb nitrogen from the soil. They can ordinarily be found wherever gardening supplies are sold.
-
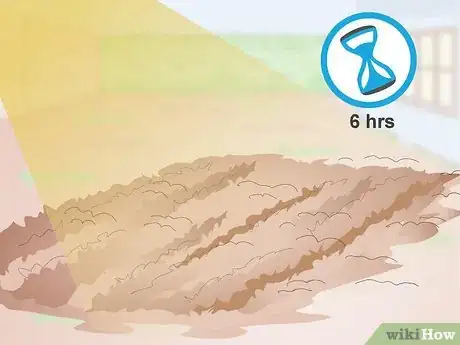
4Make sure the peas get enough sunlight. Ideally, your plants should be situated somewhere where they can get about 6 hours of sun exposure per day. However, they’ll also do just fine in partial shade. [3]
- Too much sunlight can warm the soil around the plant, resulting in unfavorable growing conditions.
- If you’ve planted your snap peas in a separate container, you’ll have the advantage of being able to move them around to areas with more or less light as needed.[4]
Planting the Peas
-
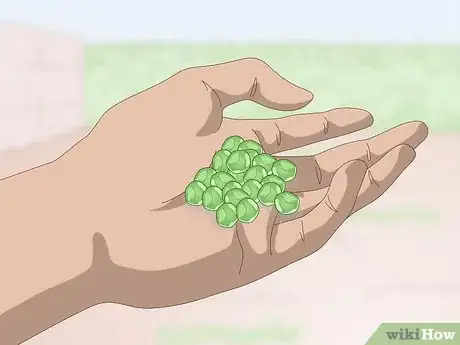
1Get your hands on some sugar snap pea seeds. There are several different varieties of sugar snap peas, including bushing types (such as Sugar Bons, Sugar Anne, and Sugar Lace), which grow in low, leafy clusters, and larger vining types (like Sugar Daddies and the original Sugar Snap), which send up vertical stalks. Any of these species can easily be cultivated at home using the same basic cultivation methods.[5]
- Look for sugar snap pea cultivars at your local gardening center, greenhouse, or plant nursery.
- If garden space is at a premium, you might fare better with a vining type. Since these grow more upright, they’ll take up less overall space.
-
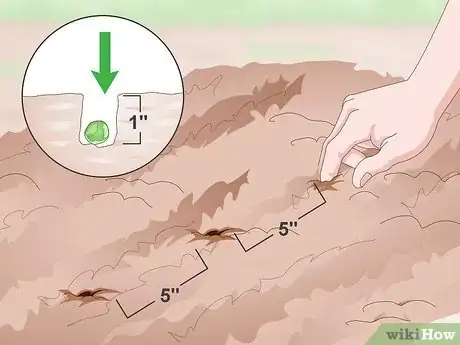
2Plant the seeds in 1 inch (2.5 cm) of soil. Dig a shallow hole and drop in a small handful of seeds, keeping each seed about 5 inches (13 cm) apart. Press the seeds gently into the soil with the tip of your finger. Replace the soil and tamp it down lightly to compact it.[6]
- Use plant markers to keep track of multiple pea plants.
-
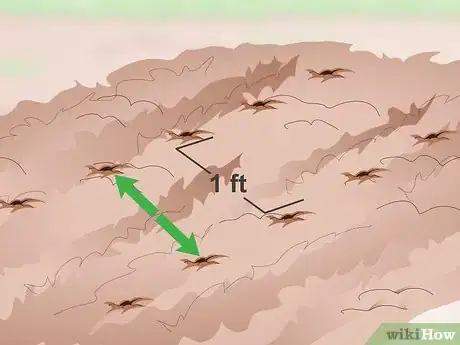
3Space each row of plants roughly a foot apart. Bushing sugar snaps will require a little breathing room, as they tend to spread out once they’ve sprouted from the soil. With vining species, you’ll be able to get away with grouping them more closely (within half a foot, or roughly 15cm)—their vertical structure means the roots won’t choke one another as they grow.[7]
- You also have the option of planting your peas in a standalone pot. Just make sure the container is at least 12 inches (30 cm) wide by 12 inches (30 cm) deep to accommodate the expanding root system.
-
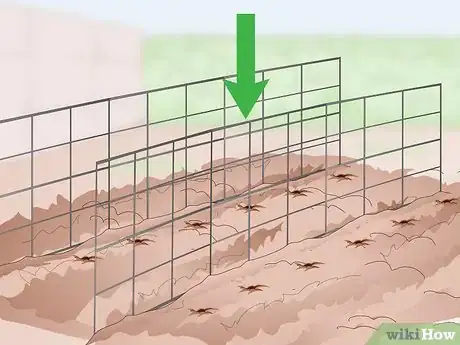
4Use trellises to support vining varieties. Without a support structure, larger plants can get top heavy and fall over, stunting their growth and creating gardening complications. A simple trellis can give the probing vines something solid to cling to and allow them to reach their full potential.
- Premade trellises can be purchased at most gardening centers and home improvement stores. They’ll usually be large enough to support several plants at once.
- Even something as simple as a tall stake or lattice will improve your vining snap peas’ chances during the critical early stages of growth.
-
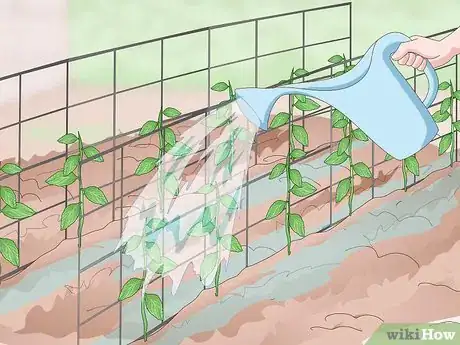
5Water your pea plants regularly, but not too much. For the most part, sugar snap peas are a remarkably low maintenance crop, and can get by just fine on the moisture they receive from occasional rainfall. If you live in a hot, dry area, a weekly watering should be enough to quench the thirsty roots. When irrigating your plants, use just enough water to thoroughly wet the uppermost layer of soil without allowing it to get too soggy.[8]
- Snap peas don’t need as much water as other types of edible crops. Your main goal should simply be to keep the soil from drying out.
- Avoid overwatering your snap peas. Doing so can stall growth or cause more serious issues like root-rot, which could kill the plants.[9]
Protecting and Harvesting the Peas
-
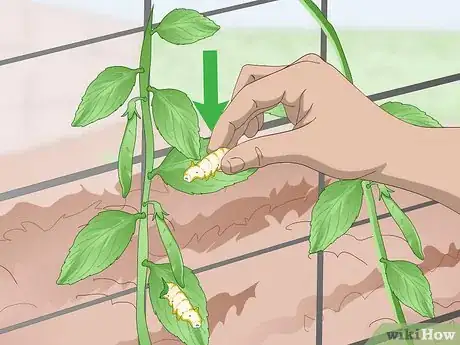
1Remove pests by hand. A few different critters like to feed on the leaves and pods of flowering pea plants, including pea moth caterpillars, slugs, and cucumber beetles. Should you happen to spot any of these invaders on your snap peas, simply pick them off by hand. Natural insecticides like pyrethrum (preparations of pyrethrins) can also be used to control infestations without harming your plants.[10]
- If you’d rather not treat your plants with insecticides, try mixing fresh water with a little vegetable oil and a few drops of mild liquid detergent in a spray bottle and blast bugs whenever they pop up.[11]
-
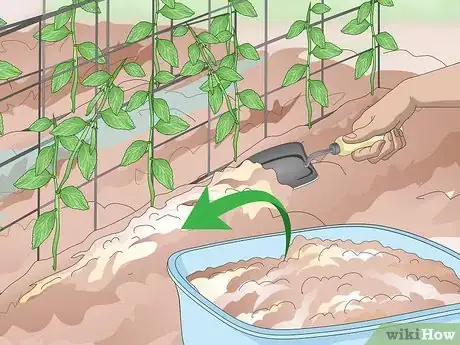
2Use compost to prevent diseases. While sugar snap peas are robust plants, some species are susceptible to infections like Fusarium wilt, along with rot, blights, and mildew. Covering the soil with a thick layer of organic matter and aerating it regularly should be enough to keep these conditions from occurring.[12]
- Consider producing your own compost using a mixture of organic waste materials like leftover fruits and vegetables, coffee grounds, eggshells, leaves, and shredded newspaper.
- To ward off moisture-related rot and mildew, water your peas in the first part of the day so they have a chance to dry thoroughly before the temperature drops.
-
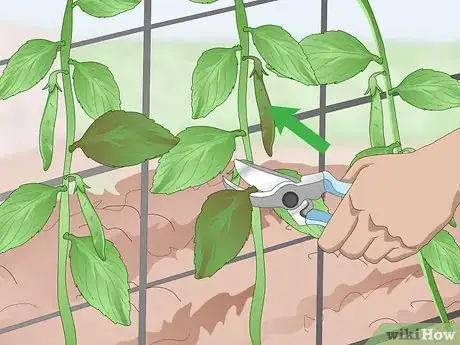
3Prune your pea plants as needed. Be sure to remove drooping, shriveled, or overly-ripe snap peas as soon as you notice them. This will both keep the plant healthy and free up room for new pods, resulting in a more productive harvest.[13]
- Get in the habit of inspecting your plants every few days to check for dead and dying offshoots.
-
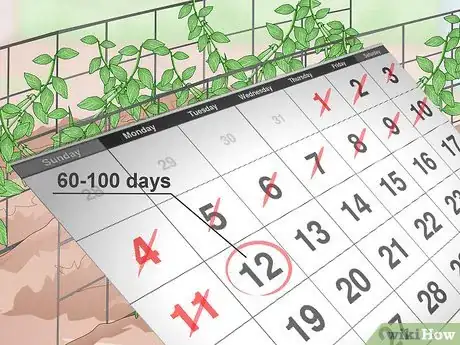
4Plan on harvesting your snap peas after 60-100 days. Most of the time, it takes somewhere in the neighborhood of 2-3 months for both bushing and vining varieties of snap peas to being producing edible pods. However, it's alright to begin picking them at any point, provided that the pods are fully formed. Younger plants will be delicate and tender, while more mature ones will fatten up and offer the satisfying crunch for which they're known and loved.[14]
- Exact cultivation times may differ, depending on your climate and planting conditions. It's not uncommon for sugar snap peas to grow up to a foot per week.
- When it comes to determining when your snap peas are at their peak, it's better to rely on your own judgment rather than a prescribed number.
-
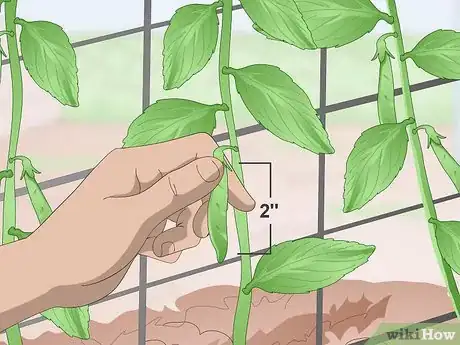
5Pick your snap peas when they reach their full size. Once the pods have grown fat and firm, pluck them from the vine by hand. A fully-grown snap pea will be somewhere between 1–2 inches (2.5–5.1 cm) long, with plump, round peas that are visible from outside the shell.[15]
- Vining plants tend to yield more pods on average than smaller bushing ones.
-
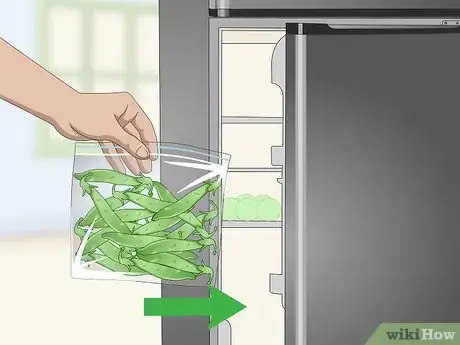
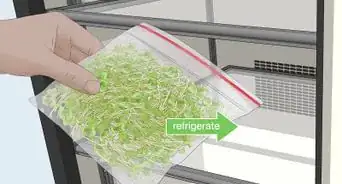
6Store the snap peas in the refrigerator. Place the pods you’ve gathered in a paper or plastic bag and stash them away in the crisper drawer or on one of the bottom shelves. When kept cool, they can last for up to two weeks. However, they’ll be best when prepared—either cooked or eaten raw—right away.[16]
- Avoid storing your snap peas at room temperature. Warm surroundings will cause their natural sugars to break down quickly, leaving them limp and flavorless.
- Try freezing the peas in airtight Ziploc bag instead to enjoy them in the coming weeks.
Community Q&A
-
QuestionWhy has my plant not flowered yet?
 ChrisTop AnswererIf your sugar snap pea plant has grown but not shown any signs of flowering, it's a sign that they have too much nitrogen in the soil. You should balance out the nitrogen with phosphorous, which can be found in bone meal.
 -
QuestionHow many pods might you expect per plant?
 ChrisTop AnswererIt's not easy to tell how many pea pods you'll be able to harvest. However, if your plant isn't fruiting enough, you can pinch back the growing tip to encourage it to fruit more.
 -
QuestionCan you plant in the fall?
 ChrisTop AnswererYou should aim to plant your sugar snap peas right after the last frost. This should happen right before spring starts.
Warnings
- If you wait too long to pick your peas, they'll have a duller flavor and less of their signature crunch.⧼thumbs_response⧽
- Snap peas have delicate root systems that don’t reach very deep beneath the surface of the soil, so be careful when tilling or aerating around your plants.⧼thumbs_response⧽
Things You'll Need
- Sugar snap pea seeds
- Nitrogen-fixing inoculant
- Organic compost
- Pyrethrin or other natural insecticide
- Trellis or tall gardening stakes
- Hand trowel
- Hand aerator
- Refrigerator (for storage)
References
- ↑ https://agrilifeextension.tamu.edu/browse/featured-solutions/gardening-landscaping/sugar-snap-peas/
- ↑ http://www.betterhensandgardens.com/growing-sugar-snap-peas/
- ↑ https://www.harvesttotable.com/how_to_grow_peas_garden_englis/
- ↑ http://www.gardeningblog.net/how-to-grow/sugar-snap-peas/
- ↑ http://www.betterhensandgardens.com/growing-sugar-snap-peas/
- ↑ http://www.betterhensandgardens.com/growing-sugar-snap-peas/
- ↑ http://www.gardeningblog.net/how-to-grow/sugar-snap-peas/
- ↑ http://www.gardeningblog.net/how-to-grow/sugar-snap-peas/
- ↑ https://agrilifeextension.tamu.edu/browse/featured-solutions/gardening-landscaping/sugar-snap-peas/
- ↑ http://www.gardeningblog.net/how-to-grow/sugar-snap-peas/
- ↑ https://www.treehugger.com/lawn-garden/8-natural-homemade-insecticides-save-your-garden-without-killing-earth.html
- ↑ https://agrilifeextension.tamu.edu/browse/featured-solutions/gardening-landscaping/sugar-snap-peas/
- ↑ https://agrilifeextension.tamu.edu/browse/featured-solutions/gardening-landscaping/sugar-snap-peas/
- ↑ http://www.gardeningblog.net/how-to-grow/sugar-snap-peas/
- ↑ http://www.betterhensandgardens.com/growing-sugar-snap-peas/
- ↑ http://www.gardeningblog.net/how-to-grow/sugar-snap-peas/
About This Article
Sugar snap peas are fully edible pea pods that you can easily grow in a few months. You’ll want to sow your snap peas at the end of the cold season as early as the final frost of winter. Plant the seeds 1-inch-deep and about a foot apart in healthy soil. It’s best to plant them somewhere they’ll get about 6 hours of sunlight a day, although they should survive in partial shade too. You shouldn’t need to water your peas unless you live in a hot, dry area, since they’ll survive off rain water. If you have a vining variety, you'll also need to provide a trellis or stakes for them to climb once they're a few inches high. For more tips from our Gardening co-author, including how to harvest your sugar snap peas, read on!
