This article was co-authored by wikiHow staff writer, Eric McClure. Eric McClure is an editing fellow at wikiHow where he has been editing, researching, and creating content since 2019. A former educator and poet, his work has appeared in Carcinogenic Poetry, Shot Glass Journal, Prairie Margins, and The Rusty Nail. His digital chapbook, The Internet, was also published in TL;DR Magazine. He was the winner of the Paul Carroll award for outstanding achievement in creative writing in 2014, and he was a featured reader at the Poetry Foundation’s Open Door Reading Series in 2015. Eric holds a BA in English from the University of Illinois at Chicago, and an MEd in secondary education from DePaul University.
There are 12 references cited in this article, which can be found at the bottom of the page.
This article has been viewed 45,095 times.
Learn more...
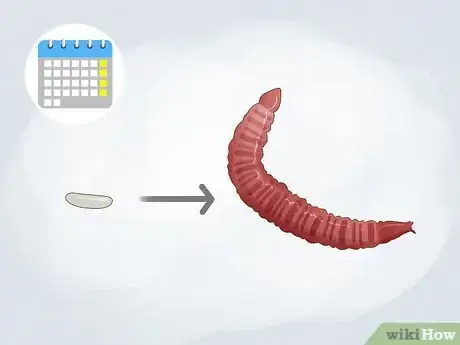
Bloodworms, also known as bristle worms, aren’t technically worms—they’re the larvae of midge flies. These bloodworms are carnivorous and can grow up to 14 inches (36 cm) in length. They’re a little more intimidating than the average earthworm, but they make great fishing bait, fish food, and plant food if you have a carnivorous plant in your home.[1] If you decide to grow bloodworms, be careful. These worms will bite, they’re poisonous, and they turn into aggressive flies after 10-30 days if you don’t use or kill them. If you are bit, you probably won’t need to go to the hospital, but some people are allergic and it’s impossible to know ahead of time so just be careful.[2]
Steps
Setting up the Habitat
-
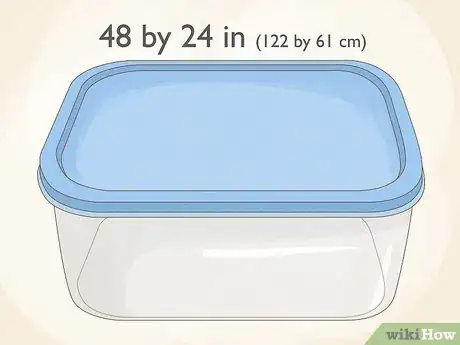
1Get a leak-proof aquarium or plastic bin to store your worms. Your worms will need sunlight but you also have to keep a lid on them, which makes an aquarium the ideal option. However, you can definitely use a clear plastic bin if you prefer. If you only have a solid-colored plastic bin, you’ll need to use a clear lid or wrap the top with plastic wrap every time you check on your worms.[3]
- The size of your bin doesn’t matter all that much, but the bigger the better. You can grow 50-100 worms in a regular 48 by 24 in (122 by 61 cm) aquarium.
Tip: If it is freezing out or the temperature where you live drops below 32 °F (0 °C) at night, you won’t be able to grow bloodworms. They’re pretty easy to grow in basically any other environment, though.
-
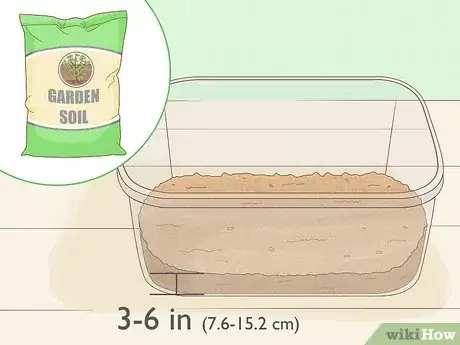
2Pour a 3–6 in (7.6–15.2 cm) layer of garden soil into the habitat. Bloodworms are notoriously resilient. You can basically use any of the soil in your yard. Grab a shovel and dig up some grass-free soil. Remove any visible bugs or pieces of litter and dump it in your habitat. Smooth the soil out with your hand to make it even and flat.[4]
- Bloodworms will dig as deep as they possibly can. The more soil you add, the harder they’ll be to retrieve when it comes time to gather them. However, the worms do need soil to eat, sleep, and grow.
Advertisement -
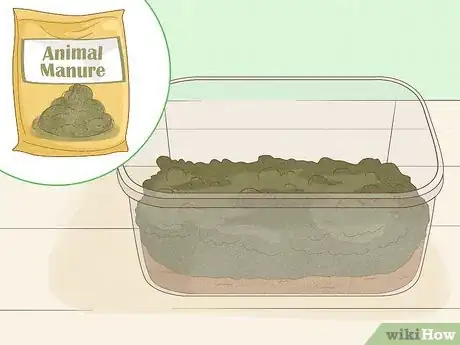
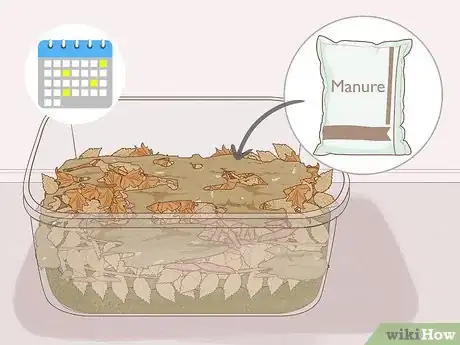
3Add some animal manure to the soil to give the worms something to eat. You don’t need to be too scientific; your worms don’t need a ton of manure but the dangers of overfeeding are pretty minimal. Gather or purchase any farm animal-based manure and add roughly 1 oz (28 g) of animal manure for every 2 lb (0.91 kg) of soil.[5]
- Chicken and cow waste are ideal, but you can use basically any animal manure.
- Do not use dog or cat feces. Your worms will die if you use them as a manure to feed your worms.
-
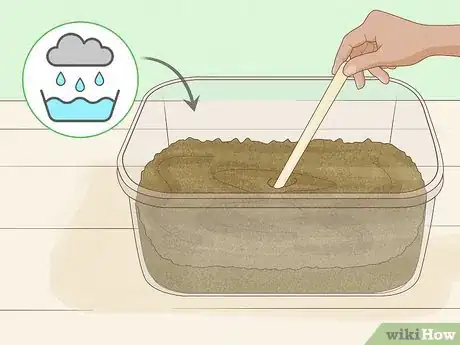
4Pour rainwater on the soil and mix it around to make a thick paste. Either wait for it to rain or grab a bucket you left out and pour a little bit of water into the soil. Keep pouring until the water level reaches just below the top of the soil. Grab a big spoon or garden tool and mix the soil, manure, and water around until it forms a thick, watery paste.[6]
- Tap water kills the bloodworms. They actually feed and grow off of some of the microscopic bacteria found in rainwater.
- You can use pondwater or creek water instead if you live near a natural body of water.
-
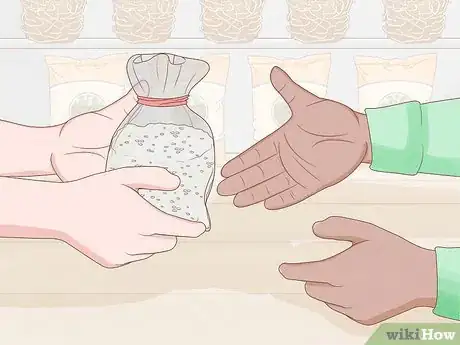
5Buy or find midge fly eggs to grow your worms. If you live in a coastal area and want to collect the worms yourself, look for small, pale dots collected on the underside of leaves near bodies of water. Alternatively, you can just buy the eggs from a worm dealer in your area. Anyone that sells bloodworm bait has a steady supply of midge fly eggs to sell.[7]
- You can certainly harvest the worms yourself by finding large numbers of worms near coastlines, but the bloodworms grow into flies when they mature. You may need to use the worms relatively quickly if you find them since it’ll be hard to tell how long you have until they turn into midge flies.[8]
- The midge fly eggs are also known as chironomid eggs. These are the same thing.
Hatching and Protecting Your Worms
-
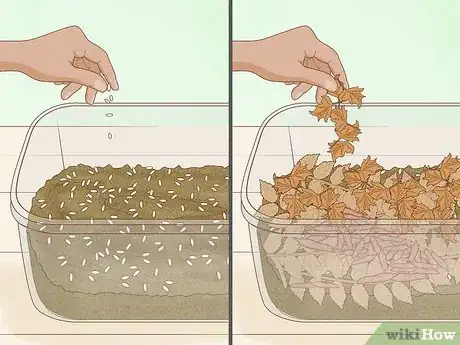
1Add your eggs to the soil and pour some dead leaves on top. Once you have or find your eggs, set them down on the surface of your wet mud. Crumple up a handful of dead leaves and scatter them gently over the eggs. The eggs begin growing in 5-10 days and will start eating the leaves and manure.[9]
- You do not need to do anything else other than leave the bin out in the sun while you’re waiting for them to grow.
- Do not use any green leaves or grass. The worms may die if that’s all they have access to.
-
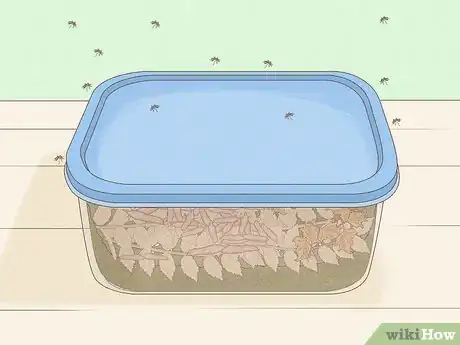
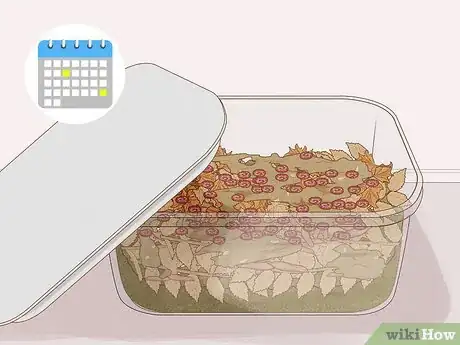
2Keep your habitat covered to keep mosquitos out. Mosquitos are especially fond of bloodworm eggs and larvae. They eat the eggs and they’ll suck on any hatched larvae. If you aren’t feeding or checking on your worms, always keep the lid on to keep them safe. If you don’t have a lid, cover the opening of the container with plastic wrap.[10]
- If mosquitos get into the tank, it’s basically game over and you’ll have to start over with a new tank.
-
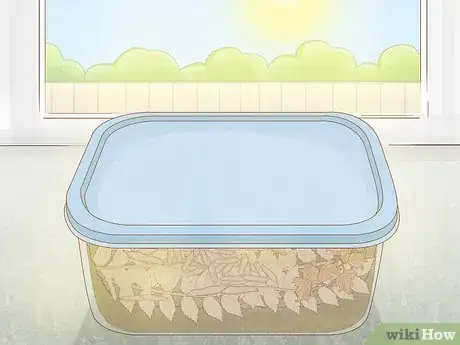
3Make sure your tank gets plenty of sun and the eggs don’t freeze. To keep the eggs happy, give them plenty of sun and make sure they don’t freeze. If the weather gets too cold one night, you can take them inside to keep the eggs from freezing.[11]
-
4Wait a week or so for the eggs to hatch. The eggs hatch in a week or so and you’ll see small, pink worms crawling around in the soil. Continue to leave the habitat out in the sun after the eggs hatch and keep the lid on to keep mosquitos out.[12]
Tip: It’s actually fine if the weather drops to 35–40 °F (2–4 °C) at this point. The cold weather keeps the worms from growing and maturing too quickly.
-
5Feed the worms a little manure and a few dead leaves once a week. Once a week, drop in a handful of manure and dead leaves. The worms continue to grow as you feed them, but they don’t require a ton of food to thrive.[13]
- It’s exceptionally easy to take care of the worms at this point. They’re pretty resilient and they don’t require a lot of work on your end.
-
6Check the habitat daily to monitor the bloodworms’ growth. Bloodworms grow and mature into midge flies 10-30 days after hatching, so monitor their growth and color carefully. Look out for worms that are turning from a bright pink to a deep red to catch them and use them before they hatch. Check in on the worms daily to see if they’re turning a deep red color or changing shape.[14]
- The worms curl up into loops or figure-8s when they’re still larvae. When they’re become pupae, they curl into a straighter hook-like shape.
- This is why it’s kind of tricky to grow bloodworms—you can’t breed them and they eventually turn into obnoxious flies.
Handling and Storing the Worms
-
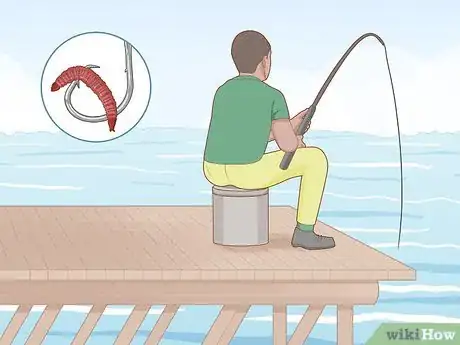
1Use the worms as bait or fish food before they grow into midge flies. Regardless of the reason for growing the worms, you must get rid of them before they turn into midge flies. The bloodworms go from a light pink to a deep red 5-10 days before they’re about to evolve into pupae. So go fishing or feed your plants or fish once they change color.[15]
- Midge flies bite, lay a lot of eggs, and tend to be pretty insufferable. You really don’t want to let the bloodworms grow into midge flies!
-
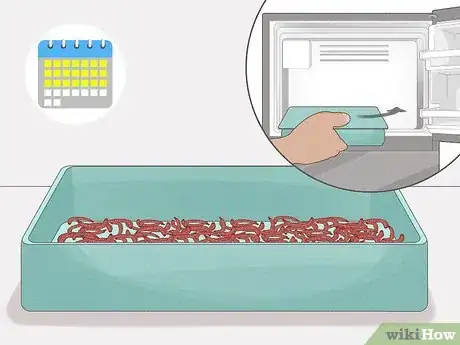
2Store mature bloodworms in the fridge once they turn deep red. If the bloodworms turn red well before you have an opportunity to use them, you can delay the midge fly evolution by packaging the worms in a plastic bag and storing them in your fridge. Use a scooper to filter the mud out and place the worms inside of an airtight bag. Since the worms bite, do not touch them directly to transfer them. Instead, use a stick, spoon, or fork to scoop them up.[16]
- This will buy you roughly 2-3 weeks. If you wake up one day and find flies in the bag, you’ll have to throw them out, though.
Tip: A cat litter scooper is perfect for this since you can shake the soil out of the scoop once you get the worms.
-
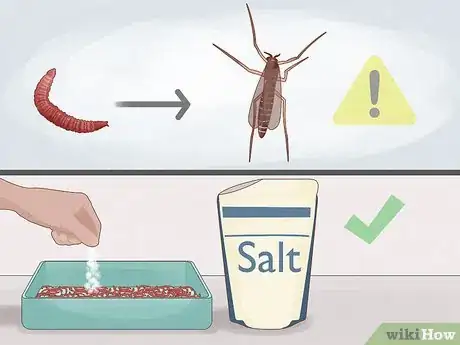
3Pour salt on the worms to keep them from turning into midge flies if they’re bait. You can keep the worms from turning into midge flies for even longer by adding salt to the worms, but you can’t do this if you’re going to feed your pet fish or plants. It’s totally fine if you’re growing them as fishing bait, though. Once the worms are in the plastic bag, sprinkle enough table salt into the bag to cover the worms in a thin layer. This will give you an additional 1-2 weeks.[17]
- Some of the worms may die, but it won’t matter if you’re using them as bait and you keep them refrigerated. Just don’t let them turn rancid or decay in the bag.
-
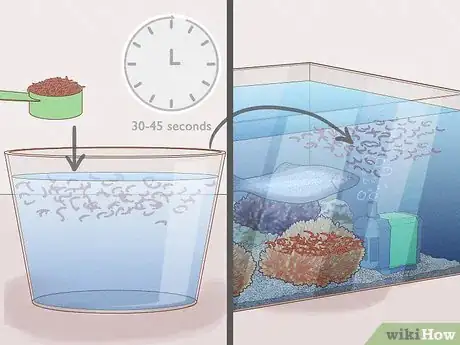
4Rinse the worms in dechlorinated water to give them to pets or plants. If you’re feeding the bloodworms to a carnivorous plant or pet fish, you need to rinse the worms off to remove any bacteria or germs. Fill a small bucket with dechlorinated water and scoop the worms inside. Let them swim around for 30-45 seconds and use your scooper to pick them back up. When feeding them to your fish or plant, hold the worms with tongs or a spoon to keep them from biting you.[18]
- Bloodworms are pretty pathetic swimmers. You shouldn’t have much of a problem picking them up out of the water.
Warnings
- The bite of a bloodworm is comparable to a bee sting. You may get itchy after they bite, since they’re poisonous, but this itchiness should go away in a few minutes.[20]⧼thumbs_response⧽
- If you get bit by a bloodworm and you start running a fever, sweating, or get short of breath, go to the emergency room. Some people are allergic to bloodworm poison and you may need medical attention.[21]⧼thumbs_response⧽
Things You’ll Need
Setting up the Habitat
- Aquarium or plastic bin
- Garden soil
- Manure
- Rainwater
- Bloodworms
Hatching and Protecting Your Worms
- Lid
- Dead leaves
Handling and Storing the Worms
- Plastic bag
- Salt
- Water
- Scooper
- Spoon, fork, or stick
- Water
References
- ↑ https://www.carnivorousplants.org/grow/feed/bloodworms
- ↑ https://www.nhm.ac.uk/discover/news/2014/september/fishing-bait-bloodworms-have-bee-sting-bites.html
- ↑ https://animals.mom.me/raise-bloodworms-5523.html
- ↑ https://animals.mom.me/raise-bloodworms-5523.html
- ↑ http://www.bioflux.com.ro/docs/2018.476-480.pdf
- ↑ http://www.bioflux.com.ro/docs/2018.476-480.pdf
- ↑ https://youtu.be/sWqmCZFrq_Q?t=19
- ↑ https://bangordailynews.com/2010/04/12/business/bloodworm-harvesting-is-a-tough-but-liberating-way-of-life-for-diggers-down-east/
- ↑ https://youtu.be/sWqmCZFrq_Q?t=47
- ↑ https://youtu.be/sWqmCZFrq_Q?t=53
- ↑ https://sciencing.com/grow-bloodworms-5084335.html
- ↑ https://animals.mom.me/bloodworm-life-cycle-3144993.html
- ↑ https://animals.mom.me/raise-bloodworms-5523.html
- ↑ https://sciencing.com/grow-bloodworms-5084335.html
- ↑ https://animals.mom.me/bloodworm-life-cycle-3144993.html
- ↑ https://www.dailypress.com/news/dp-xpm-19910526-1991-05-26-9105260008-story.html
- ↑ https://www.dailypress.com/news/dp-xpm-19910526-1991-05-26-9105260008-story.html
- ↑ https://animals.mom.me/raise-bloodworms-5523.html
- ↑ https://animals.mom.me/raise-bloodworms-5523.html
- ↑ https://www.nhm.ac.uk/discover/news/2014/september/fishing-bait-bloodworms-have-bee-sting-bites.html
- ↑ https://www.ncbi.nlm.nih.gov/pmc/articles/PMC2877067/
