This article was co-authored by Natalie Punt, DVM and by wikiHow staff writer, Kira Jan. Dr. Natalie Punt is a Veterinarian and the Founder and CEO of mPet- a smart phone app for pet owners to store, manage and transfer their pets medical records and health information. She specializes in small animal emergency and general medicine and veterinary practice economics. Dr. Punt holds a BS in Biochemistry and Molecular Biology from The University of California, Davis, an MS in Biochemistry from The University at Buffalo, and a DVM from Western University of Health Sciences.
There are 15 references cited in this article, which can be found at the bottom of the page.
This article has been viewed 7,602 times.
You’ve managed to pull a tick off your body, your dog, or maybe even your kid, but what do you do if the tick head is still embedded in the skin? The good news is that tick mouthparts can’t transmit serious diseases on their own, but the bad news is that an embedded tick head can lead to infection.[1]
Don’t worry, we’ve put together a guide to help you get a tick head out, prevent infection, and know when to seek care.
This article is based on an interview with our board certified veterinarian, Natalie Punt, founder and CEO of mPet. Check out the full interview here.
Steps
Removing an Embedded Tick Head
-
1Try to remove the head with tweezers or a sterilized needle. Firmly grasp the head and pull it straight out without twisting.[2] Use even pressure as you pull.[3] Don’t handle the tick with bare hands or try to use a hot match to get the tick out.[4]
- If the body is still attached, grasp the tick’s body as close to the skin as possible. That’ll give you the best chance of getting the head out, too.[5]
- If the head breaks apart into tiny pieces as you remove it, don’t try and dig around, or you might cause infection.[6]
- Sterilize your tweezers with isopropyl alcohol both before and after you pull the tick out.[7]
- To transmit disease, a tick usually needs to be embedded for 36 hours.[8]
-
2Leave the head alone if you can’t fully remove it. It might seem a little gross, but your skin will heal and shed the head like a splinter.[9] The head should come out in a few days, and in the meantime, follow the steps in the next method to prevent an infection.[10]
- Soak the skin in warm water to help expel the head faster.[11]
Advertisement -
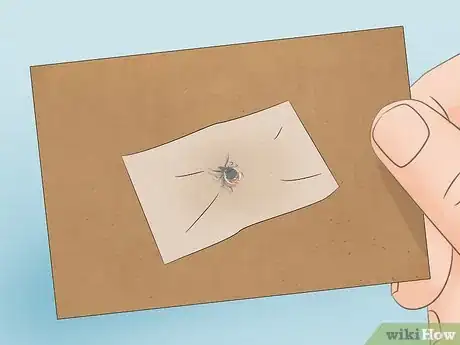
3Wrap the tick body in tape, a sealed bag, or a container. After you'll pulled the tick out, it’s helpful for your doctor to see the tick if you develop any potential symptoms.[12] As you seal the tick up, be careful not to squeeze the tick with your fingers, since that can increase your risk of coming into contact with disease-causing bacteria.[13]
- If you just have a tick head, dispose of the head safely by putting it in alcohol or flushing it down the toilet.
Caring for the Tick Bite Site
-
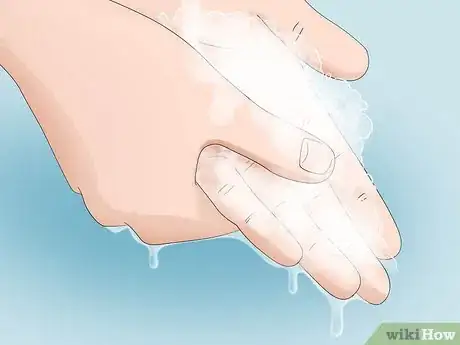
1Wash your hands with soap and water. Whether you removed the tick from your own skin or someone else’s, it’s crucial to clean off your hands. Washing your hands can protect you from tick-borne disease.[14]
- Scrub your hands for at least 20 seconds.[15]
- If you don’t have access to soap and water, use alcohol-based hand sanitizer with at least 60% alcohol.
-
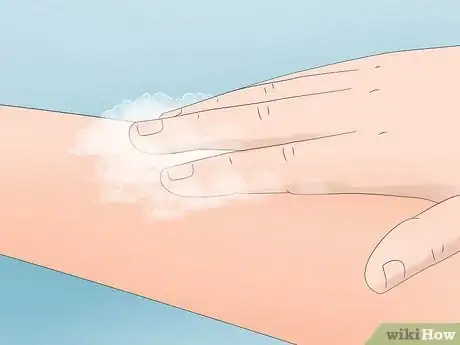
2Clean the bite area with soap and water or rubbing alcohol. Washing the area thoroughly with soap and water reduces your chance of infection (both from the tick and from contact with tweezers or your hands).[16]
- Cleaning the bite area is also a safe wound care step for pets.[17] Just use a non-toxic soap designed for pets. You shouldn’t use shampoo designed for humans, because our skin has a different pH.[18]
-
3Apply antibiotic ointment. Prevent infection and soothe the skin by applying polysporin or your preferred over-the-counter antibiotic cream. You only have to apply the ointment once.[19]
- Pets may have an allergic reaction to over-the-counter antibiotic ointment for humans. Apply a small amount first to test your pet’s tolerance. As long as they don’t develop a rash or hives, it’s safe to use.[20]
- If you decide to use polysporin on your dog, you should also cover the tick bite or put your pet in a cone to prevent them from ingesting the ointment.
Monitoring for Tick-Borne Disease
-
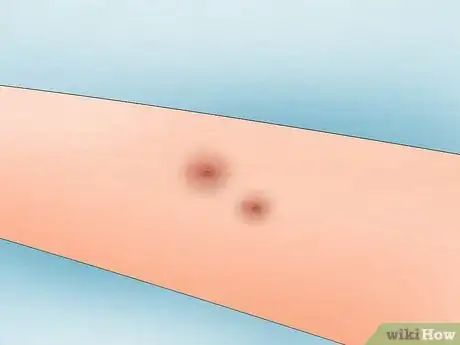
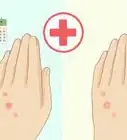
1Expect to see a small, tender bump for a few days. It might look like a pimple, but you shouldn’t be worried about this mild reaction. This is just your skin’s response to minor irritation. It’s not a problem unless the bump starts to get significantly larger or redder.[21]
-
2Look out for symptoms of Lyme disease or serious infection. Keep an eye on the bite area for several weeks after you remove the tick. Lyme disease will typically show up in 3-10 days after the bite, but it could take up to 30 days for you to spot symptoms.[22] A flat, pink, round patch and/or fever could signal Lyme disease. The patch might look clear at the center and it can grow to 2.5 inches (6.4 cm) across.[23] Look out for these symptoms of infection, too:[24]
- Chills
- Fatigue
- Redness, soreness, or swelling at the bite site
-
3Don’t send the tick in for testing. You might wonder if you should send the tick to a lab to test if it’s carrying a disease. However, the CDC doesn’t recommend lab-testing ticks. The lab might not give you a good reading, because even if the tick tests positive, you might not have actually been exposed. Plus, symptoms of a disease will often show up before you get results back.[25]
- You can, however, bring the tick to a vet or doctor for visual identification. They can give you information based on your region and the type of tick to help you figure out if you’re at risk for Lyme disease.[26]
Warnings
- Don’t use petroleum jelly or nail polish to try and suffocate the tick. The goal is to remove the tick as quickly as possible, and those folklore solutions won’t work effectively.[28]⧼thumbs_response⧽
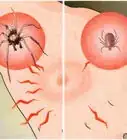
- Blacklegged ticks (also known as deer ticks) are more likely to carry Lyme disease.[29] You can identify a deer tick by its size–about the size of a poppy seed or sesame seed.⧼thumbs_response⧽
References
- ↑ https://www.hopkinslyme.org/lyme-education/what-to-do-after-a-tick-bite/
- ↑ Natalie Punt, DVM. Veterinarian. Expert Interview. 19 August 2021.
- ↑ https://www.cdc.gov/ticks/pdfs/FS_TickBite.pdf
- ↑ https://www.mayoclinic.org/first-aid/first-aid-tick-bites/basics/art-20056671
- ↑ Natalie Punt, DVM. Veterinarian. Expert Interview. 19 August 2021.
- ↑ https://www.chop.edu/news/removing-ticks-dos-and-don-ts
- ↑ https://www.humanesociety.org/resources/getting-tick-your-dog
- ↑ https://www.mayoclinic.org/first-aid/first-aid-tick-bites/basics/art-20056671
- ↑ https://www.cdc.gov/ticks/removing_a_tick.html
- ↑ https://www.uofmhealth.org/health-library/tp23585spec
- ↑ https://www.chop.edu/news/removing-ticks-dos-and-don-ts
- ↑ https://www.mayoclinic.org/first-aid/first-aid-tick-bites/basics/art-20056671
- ↑ https://www.cdc.gov/ticks/removing_a_tick.html
- ↑ https://www.healthychildren.org/English/health-issues/conditions/from-insects-animals/Pages/How-To-Remove-A-Tick.aspx
- ↑ https://www.cdc.gov/handwashing/when-how-handwashing.html
- ↑ https://www.cdc.gov/ticks/removing_a_tick.html
- ↑ https://www.akc.org/expert-advice/health/can-you-use-neosporin-on-dogs/
- ↑ https://www.akc.org/expert-advice/lifestyle/easy-natural-homemade-dog-shampoo/
- ↑ https://www.healthychildren.org/English/health-issues/conditions/from-insects-animals/Pages/How-To-Remove-A-Tick.aspx
- ↑ https://www.akc.org/expert-advice/health/can-you-use-neosporin-on-dogs/
- ↑ https://www.chop.edu/news/removing-ticks-dos-and-don-ts
- ↑ https://www.hopkinslyme.org/lyme-education/what-to-do-after-a-tick-bite/
- ↑ https://www.chop.edu/news/removing-ticks-dos-and-don-ts
- ↑ https://www.cdc.gov/cancer/preventinfections/symptoms.htm
- ↑ https://www.cdc.gov/ticks/removing_a_tick.html
- ↑ Natalie Punt, DVM. Veterinarian. Expert Interview. 19 August 2021.
- ↑ Elmer Bensinger. Pest Control Specialist. Expert Interview. 5 February 2021.
- ↑ https://www.cdc.gov/ticks/removing_a_tick.html
- ↑ https://www.mayoclinic.org/first-aid/first-aid-tick-bites/basics/art-20056671














Medical Disclaimer
The content of this article is not intended to be a substitute for professional medical advice, examination, diagnosis, or treatment. You should always contact your doctor or other qualified healthcare professional before starting, changing, or stopping any kind of health treatment.
Read More...