This article was co-authored by Austin Reinders and by wikiHow staff writer, Savannah Vold. Austin Reinders is a Rug Cleaning & Restoration Expert, as well as the President of Simonian Rug Cleaners in San Mateo, California. He specializes in cleaning oriental rugs. Simonian Rug Cleaners has been in the business of cleaning and repairing rugs for almost 70 years.
There are 8 references cited in this article, which can be found at the bottom of the page.
Wrinkles, creases, and waves, oh my! Area rugs keep your home cozy and add a fabulous pop of color and style to your decor, but it can be super frustrating when you unknowingly purchase one with wrinkles or notice them beginning to develop over time. Not to worry, wrinkles are a temporary problem that can be easily solved with our 3 effective de-wrinkling methods. Your area rugs will be lying flat as a board in no time.
Things You Should Know
- Place a white towel on top of your rug and iron over it on medium heat with swift, even strokes to remove wrinkles.
- Get rid of waves and creases by rolling up your rug in the opposite direction it was rolled up in when you purchased it.
- Leave your rug in the sun for 1-2 hours to kick waves and creases to the curb.
Steps
Ironing Your Rug
-
1Place your rug on a flat surface. Before ironing your rug, set it on a level surface. Place your rug on your kitchen floor, living room floor, or any flat, clean place close to a power outlet, as you’ll need somewhere to plug in your iron.[1]
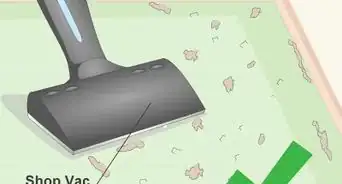
- If your rug is dirty, shake it out or vacuum it first to ensure you don’t press in any stain-causing dirt or dander.
-
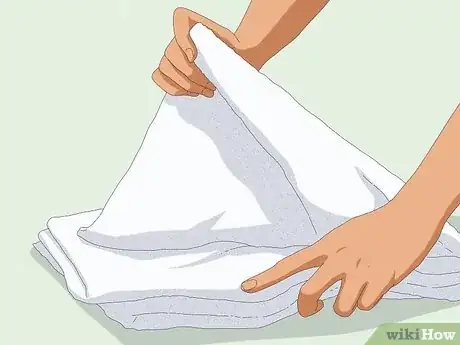
2Grab a clean, white towel to protect your rug during ironing. You’ll need a clean, white towel to protect your rug fibers from melting as you run your iron across the rug. Don’t use a colored or patterned towel, as the colors may transfer onto your rug when heated under the iron.[2]
- You can use an old towel or rag, so long as it’s clean and white, to prevent staining or color transfer as you iron.
Advertisement -
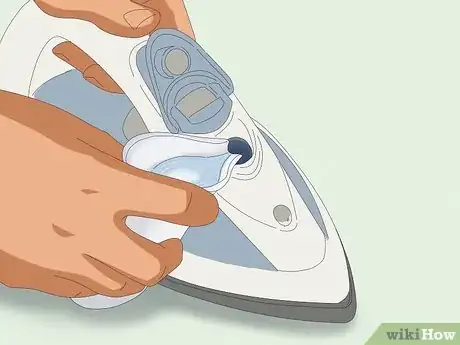
3Fill up your iron with water, plug it in, and set it to medium heat + steam. After you’ve filled up your iron to the fill line with water and plugged it in, set the dial to medium heat with steam. You can do this by turning the dial clockwise—there should be a picture of a cloud to represent steam, which is the setting you’re going for.[3]
- If your iron cord is too short or far away from an outlet, use an extension cord for a full range of mobility and a more effortless ironing experience overall.
-
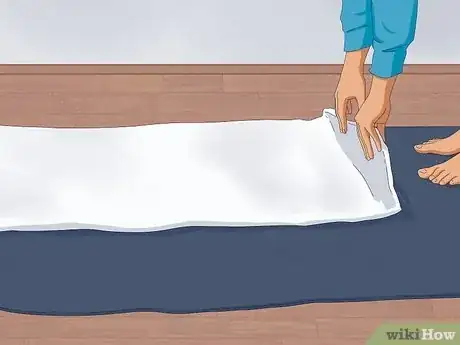
4Lay the white towel flat across the top of your rug. You’ll be moving the towel across the entirety of the rug throughout the ironing process, so make sure to set it flat, on top of your rug, in a position that works for you. You can work horizontally or vertically—the important thing here is that you never allow the iron to touch the rug without the towel protecting it.[4]
- Ironing directly on top of your rug will burn or melt a hole in it.
-
5Iron the entire surface of the rug, moving the towel as you work. Work across your rug from top to bottom or side to side, ironing on the towel as you go. Pull and re-position the towel as you progress across the rug, applying even pressure in short strokes. [5]
- For stubborn wrinkles, apply and hold more pressure for a maximum of 10 seconds in that area. Repeat this technique until the wrinkle lies flat.
-
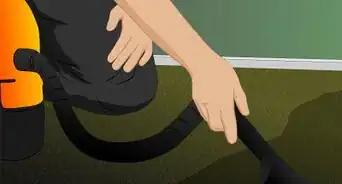
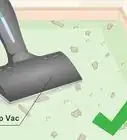
6Vacuum your rug to fluff the pile. Hurray! Now that your rug is wrinkle-free, you’ll want to finish the job by vacuuming your rug from top to bottom to fluff up your rug’s pile. This final step will ensure that your rug is looking its best.[6]
Reverse-Rolling Your Rug
-
1Lie your flat rug on a sturdy, even surface. You will be rolling your rug up as tightly and evenly as possible, so working on a flat surface is important to make it easy on yourself. Good places to roll up your rug include your living room floor, kitchen floor, or bedroom. Whatever works best for you![7]
-
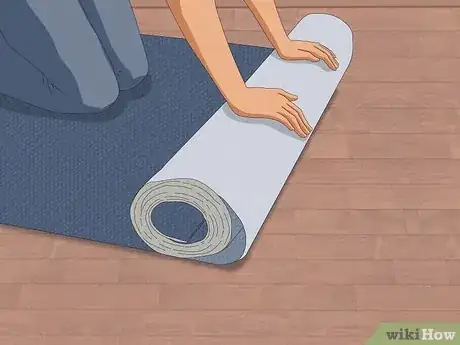
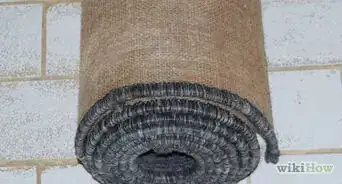
2Re-roll your rug in the reverse direction you purchased it in. If you purchased a rug, got it home, and laid it on your floor only to notice its creased and wavy appearance, don’t worry! One of the easiest ways to correct these waves is to re-roll your rug in the opposite direction it came in.[8]
- For example, if you purchased a rug that was rolled with the top facing outwards, roll up the rug with the bottom facing out this next time.
- Be sure to slowly roll up the rug to maintain a tight, even cylinder—rug rolling is easiest with the help of a friend!
-
3Tie the middle of your rug with a string. Once you’ve gotten your rug all rolled up, use a piece of string or twine to tie around the center of your rug. This will help keep the roll in place as you wait for the wrinkles and creases to work themselves out.[9]
- Don’t tie a knot too tightly around the carpet, as this may lead to more unwanted indentations and creasing.
-
4Keep your rug rolled up for 1-2 days before unrolling it. To ensure that your rug's waves, wrinkles, and creases are long gone, be sure to leave your rug rolled up for 1-2 days. Leaving your rug rolled up on its side in a convenient area of your home for at least 24 hours is necessary for the imperfections to release properly.[10]
- You can leave your rolled-up rug somewhere warm, like near a heater vent, to help wrinkles release faster. Just be sure not to leave it on top of a heater or radiator, as you could start a fire.
-
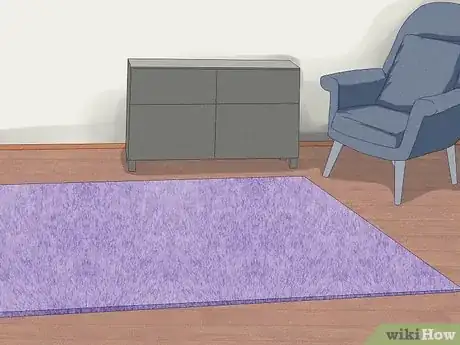
5Unroll your rug and lie it flat in your preferred location. Voila—wrinkles be gone! Untie and roll out your de-waved rug in your desired location and admire the results of your hard work.[11]
Leaving Your Rug in the Sun
-
1Pick a sunny day between 75-80 degrees Fahrenheit (24-27°C). The best weather for laying your rug out in the sun to remove wrinkles is a warm, sunny day between 70-80 degrees Fahrenheit (24-27°C). The sun will gently heat the fibers of your rug, much like an iron, so they lie flat and uniform.[12]
- A warm day with a little humidity is also a great option, as the moisture in the air will help the fibers of your rug to soften and relax.
-
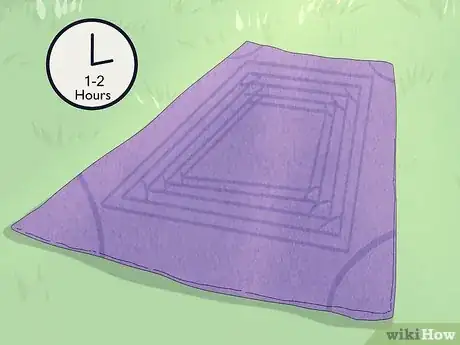
2Leave your rug in the sun, face up, for 1-2 hours. Wrinkles don’t stand a chance up against the power of the sun. With your rug face up, leave your rug in a sunny location like your driveway, backyard, or balcony for 1-2 hours to release wrinkles, waves, and creases.[13]
- Don’t leave your rug in the sun for extended periods, as this may lead to sun bleaching or fading.
-
3Bring your de-wrinkled rug back into your home. After checking that your rug has flattened in the sun, you’re all set to bring it back in your home and enjoy your victory. As a bonus, the sun’s rays deodorize and disinfect, so your rug will look and smell its best![14]
Expert Interview
Thanks for reading our article! If you'd like to learn more about repairing and cleaning carpets and rugs, check out our in-depth interview with Austin Reinders.
References
- ↑ https://therugedit.com/how-to-lay-out-your-new-rug/
- ↑ https://yardandgardenguru.com/how-to-get-wrinkles-out-of-carpet-without-a-stretcher/
- ↑ https://yardandgardenguru.com/how-to-get-wrinkles-out-of-carpet-without-a-stretcher/
- ↑ https://encove.wordpress.com/2020/01/02/why-wont-my-new-rug-lie-flat/
- ↑ https://encove.wordpress.com/2020/01/02/why-wont-my-new-rug-lie-flat/
- ↑ https://www.familyhandyman.com/project/how-to-clean-area-rugs-yourself/
- ↑ https://therugedit.com/how-to-lay-out-your-new-rug/
- ↑ https://www.lifestorage.com/blog/storage/how-to-be-an-expert-at-rug-storage/
- ↑ https://www.finerugcollection.com/pages/how-to-fold-a-rug
- ↑ https://encove.wordpress.com/2020/01/02/why-wont-my-new-rug-lie-flat/
- ↑ https://encove.wordpress.com/2020/01/02/why-wont-my-new-rug-lie-flat/
- ↑ https://handymantips.org/how-to-stop-rug-wrinkling-on-carpet/
- ↑ https://encove.wordpress.com/2020/01/02/why-wont-my-new-rug-lie-flat/
- ↑ https://sunlightinstitute.org/sanitizing-with-sunlight-the-best-disinfectant-know/


-Step-19.webp)




-Step-19.webp)


