This article was co-authored by Susan Stocker. Susan Stocker runs and owns Susan’s Green Cleaning, the #1 Green Cleaning Company in Seattle. She is well known in the region for outstanding customer service protocols — winning the 2017 Better Business Torch Award for Ethics & Integrity —and her energetic support of green cleaning practices.
wikiHow marks an article as reader-approved once it receives enough positive feedback. In this case, several readers have written to tell us that this article was helpful to them, earning it our reader-approved status.
This article has been viewed 623,079 times.
Ironing your clothes can smooth out the wrinkles and make a garment more presentable. Many clothes are made ready to wear, but you will still find some items that need to be ironed. Be careful: if you use the iron improperly, you might burn yourself or ruin the fabric!
Steps
Preparing to Iron
-
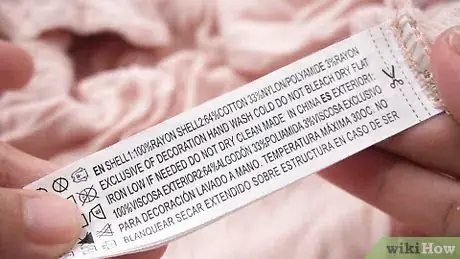
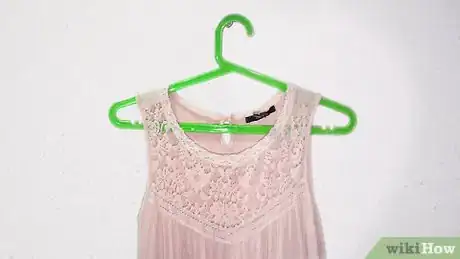
1Make sure that the garment is meant to be ironed. Check the tags for ironing instructions. If the tags don't tell you which setting to put your iron, then look to see if they indicate what material the fabric is made of. Many irons order their settings by the type of material: e.g. wool, cotton, polyester.
Low Setting: Acetate, rayon, silk, and wool. For rayon and silk, turn the items inside out prior to ironing. For wool items, place a damp cloth between the item and the iron.
Medium Setting: Polyester (slightly damp before ironing)
High Setting: Cotton (slightly damp before ironing)
-
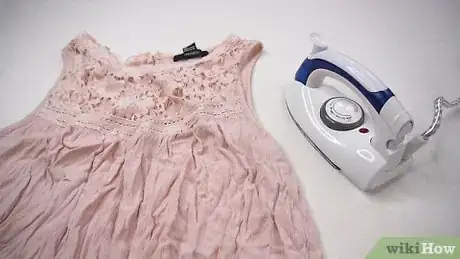
2Set up the ironing area. Use an ironing board, if possible. If you don't have access to an ironing board, then use a flat, sturdy surface like a table or a counter. The ironing board is designed to absorb heat and moisture without taking damage. Make sure that you don't iron on a highly flammable surface.Advertisement
-
3Fill the water reservoir of the iron. If your iron features a steam function, then you may need to add water. Look for a large, detachable water chamber on the top of the tool. Add filtered water nearly to the brim.[1]
- Make sure that you use filtered water! This may help you avoid calcium build-up in your iron, which could clog the steam spouts.
-
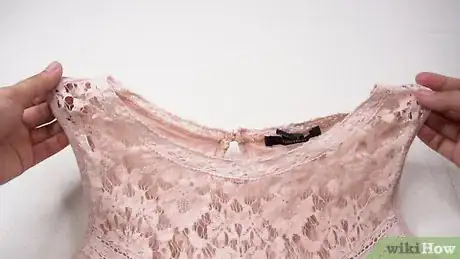
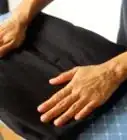
4Lay out the garment. Arrange the item of clothing so that it lies perfectly flat on the board. Make sure that there are no wrinkles! If you iron over a wrinkle, then you will press a creased line into the fabric.[2]
Using an Iron
-
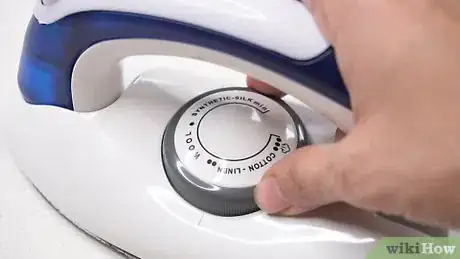
1Heat up the iron. Turn the heat dial to the setting that is most appropriate for your fabric. Once you've selected a heat level, the metal will begin to grow warm. Let the iron become hot. You shouldn't need to wait more than a matter of seconds.[3]
- The heat levels are often listed in relation to a certain type of fabric. For instance, cotton responds well to high heat and steam, but some synthetic fabrics might melt or fuse if they're exposed to such temperatures. Do not use an inappropriate setting!
- Start with a low heat and work up. If you are ironing more than one item, start with the one that uses the lowest setting on the iron. This way, you won't need to let the iron cool down before you continue.[4]
-
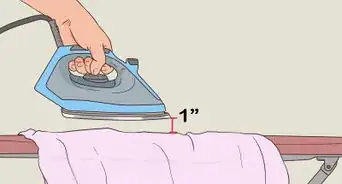
2Iron the first side. Run the hot flat side of the iron firmly and slowly across the fabric. Smooth out the wrinkles. For the best results, work with the natural folds and creases of the garment.[5]
- Iron each individual part of the garment separately. For instance, if you're ironing a dress shirt, smooth out the collar, then the cuffs, then the sleeves, then the shoulders, then the placket – and, finally, the main body of the shirt.[6]
- Do not let the iron rest directly on the garment, lest the fabric overheats. If you are careless with the iron, you might start a fire!
-
3Smooth out the other side. Now, flip the piece of clothing over and iron the other side. Make sure not to flatten any wrinkles or creases into the new side.
-
4Hang the clothing immediately after ironing. If you bunch up the garment or leave it laying out, then there's a good chance that it will dry with wrinkles. Hang the fabric on a clothes hanger and let it air-dry.
Expert Q&A
-
QuestionIs it better to use an iron or a steamer?
 Susan StockerSusan Stocker runs and owns Susan’s Green Cleaning, the #1 Green Cleaning Company in Seattle. She is well known in the region for outstanding customer service protocols — winning the 2017 Better Business Torch Award for Ethics & Integrity —and her energetic support of green cleaning practices.
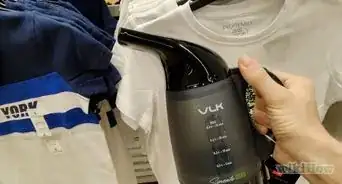
Green Cleaning Expert Honestly, it depends. Ironing is the best option if you want tight creases and sharp lines, but it requires more care and skill. Steaming is quick and easy, being ideal for blouses and jackets.
 -
QuestionWhat hand do I use?
 Community AnswerUse your dominant hand (the hand you write with), or whichever feels more stable or comfortable.
 -
QuestionShould I put hot or cold water in the iron?
 Community AnswerYou should only use filtered or distilled water, which can be at room temperature (or hot or cold). The iron will heat the reservoir to generate steam.
Warnings
- Place then iron upright when not in use to prevent burns.⧼thumbs_response⧽
- Keep the cord loose so that it doesn’t cause the iron to fall off the table.⧼thumbs_response⧽
- Pay attention to the iron at all times. Turn it off as soon as possible to keep from getting burned.⧼thumbs_response⧽
References
- ↑ http://www.dummies.com/how-to/content/how-to-iron-clean-clothes.html
- ↑ http://lifehacker.com/5811853/how-to-properly-iron-shirts-pants-and-skirts
- ↑ https://www.creativehomewares.com/blog/how-to-iron-clothes-ironing-clothes-help/
- ↑ https://www.creativehomewares.com/blog/how-to-iron-clothes-ironing-clothes-help/
- ↑ https://www.youtube.com/watch?v=xhui210Z2KQ
- ↑ https://faultless.com/tips-tricks/how-to-iron-a-shirt-2/
About This Article
To use an iron, start by setting up an ironing board near an electrical outlet. If your iron has a steam function, fill the reservoir with water, then plug in the iron so it can heat up. Next, turn the heat dial to the most appropriate setting for your fabric—if you aren't sure, check the garment's care tag! Then, lay the garment out perfectly flat on the ironing board. Run the hot, flat side of the iron slowly across the fabric, pressing down with slight pressure. Keep the iron moving over the fabric to prevent scorching. If you want to learn how to store your clothing after you iron it, keep reading the article!
