This article was co-authored by Ikaika Cox. Ikaika Cox is the Shop Director at the Salt Lake City branch Bicycle Collective in Salt Lake City, Utah. He has been a bike mechanic since 2012, beginning as a volunteer with the Provo Bicycle Collective, and growing and honing his skills as a bicycle mechanic and educator in multiple Bicycle Collective locations over the years. He now leads the Salt Lake City branch of the Bicycle Collective.
This article has been viewed 363,224 times.
If you have a chain breaker tool, also called a chain tool, then fixing a broken bicycle chain is easy. You can do most routine maintenance by yourself, however, you should know that after a chain breaks it's best to get a new chain shortly after making repairs.
Steps
Fixing the Chain without a Spare Link
-
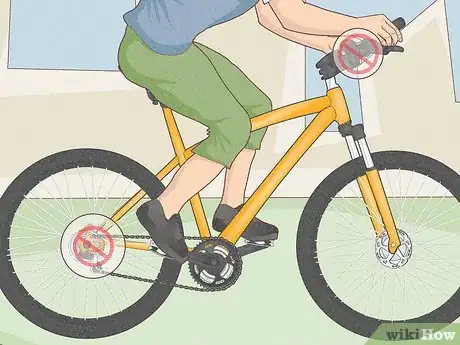
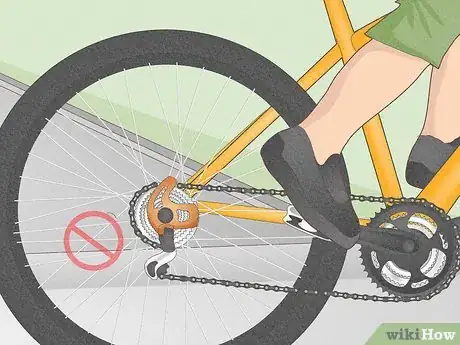
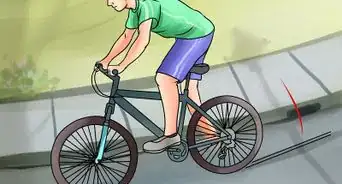
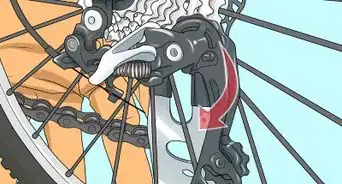
1Avoid shifting the bike while the chain is broken. Though it may be easier to repair or replace the chain while it's in a lower gear, you should only shift the bike when pedaling. Shifting with a broken chain can cause more problems.
-
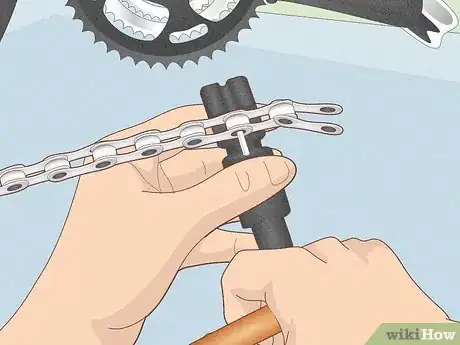
2Use a chain breaker tool to carefully push the pin halfway out of the broken link. This tool, resembling a medieval torture device, is actually easy to use. Each link of the chain has 2 round pins in it which attach it to the other links. Find the broken link and note the pin that is keeping it attached to the rest of the chain. Slowly turn your chain breaker tool so the poker pushes the pin out of the link about halfway. Do not push it completely through.Advertisement
-
3Pull the broken link off the pin and discard it. Remove the broken link while keeping the pin in the chain. This pin will attach to the open link on the other side of the chain to put everything back together.[1]
- You can replace this pin with a new one, if you have one on hand.
-
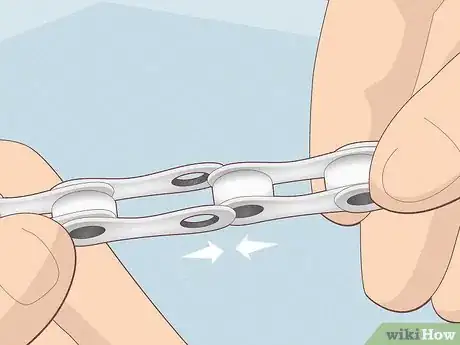
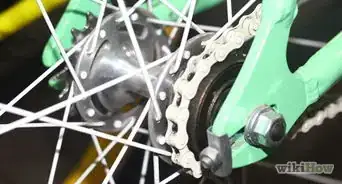
4Fit the 2 ends of the chain into one another so the holes line up. The link with the pin in it should be on the outside so that you can push it through all 4 holes (2 on each link) to complete your chain.
- To get the holes to line up, put the inner plates in the outer plates of the chain.
-
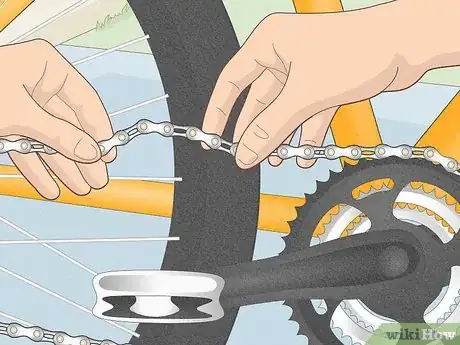
5Use your chain breaker tool the other way to push the pin through, completing the link. Before, you screwed the tool in to push the pin out of the link. Now, screw the tool to push the link inward. Work slowly, keeping your hand on the links to ensure it is all lined up.
-
6Loosen up the connection to prevent binding. Grab the chain on each side of your newly connected links and move it from side to side to loosen up the new connection. It can also help to move the chain tool to the other side of the joint just made, and push the pin very slightly to free the 2 outside plates of the link from the central section, preventing binding.
-
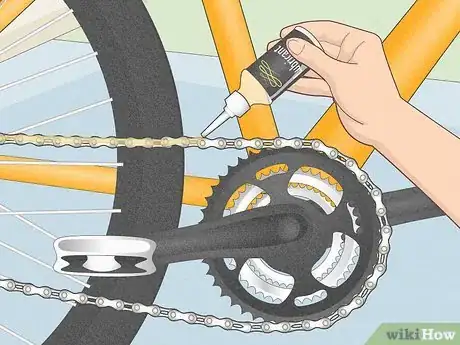
7Lubricate your chain with bike grease. Do not use WD-40, or any other product not made for bike chains. Flip the bike over and pedal it with one hand, dropping bits of lubricant onto the chain with the other. About 10-15 drops should do. Then, use a damp rag and lightly pat down the chain of any excess oil. When you run a finger on the chain it should come up slick, but not covered in a puddle of lubricant.
-
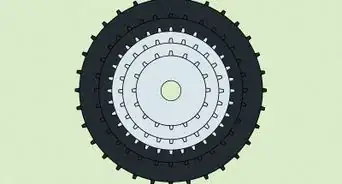
8Avoid using your biggest gear in the back gears, as the chain is now a link too short. More often than not, the bike won't even let you get into these gears, as the chain is not long enough to reach. However, the strain of trying to hit these bigger cogs will cause another break if you aren't careful.
- Try to keep your chain straight between the front and back gears. Don't let it stretch diagonally across the gears by being all the way to the right on the front gears and all the way to the left on the back gears at the same time.
- This chain fix is generally temporary, and you should add a new link or get a new chain shortly afterward.[2]
Adding a New Link
-
1Add a new link as soon as possible to return your chain to its normal length. If your chain breaks, you can remove the broken link and reattach the chain for a temporary fix. However, the shorter chain won't be able to fit around all of your gears, severely limiting your range. You can purchase new links, however, at any bike shop and many sports retailers
- It's not ideal to use a chain that has links with different levels of wear. The best thing to do is to replace the entire chain instead of adding a new link.
- Master links are made to fit easily onto a bike. They are easy to install quickly, too, making them handy to keep in your saddle bag on long trips. They are, by far, the most common links used by home mechanics. Consult a local bike shop to find one that works for your bike.
-
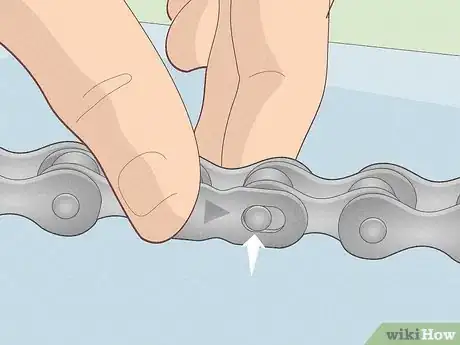
2Face the master link the right direction. Most links have an arrow on them that needs to point in the direction the chain goes when pedaling. The rest are concave (bending in) on one side, and this side needs to face towards the wheel and the rest of the bike.
-
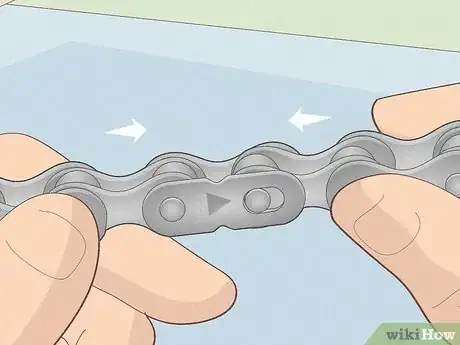
3Pinch the links together to unhook the 2 halves of the master link. You'll notice that the master link has a figure-eight shaped space for the pins, instead of the normal rounded pins and pin-holes for the rest of the chain. If the chain is not already unlocked, do it now.
- Some master links come as 2 asymmetrical halves: a C-shaped piece with both pins and an outside plate. To fix these chains, simply thread the C-shaped pin into the both open holes of the broken chain, then fit the plate on top.
-
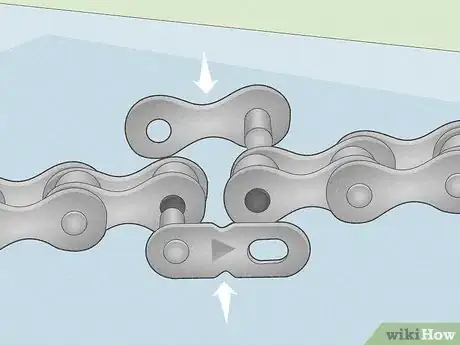
4Take each half and push it through the hole on opposite ends of the chain. Each of the pins on the two halves of the master link needs to go into one of the ends of the chain. Make sure that the pins go in from opposite sides of the chain as well. You are going to hook the chain back together using the figure-eight hole, and they need to line up.
-
5Link the exposed pins through the figure-eight holes on the opposing links. First, bring the chain together. Then, align the holes and push the pins through them. Note, however, that this connection is currently very loose.
- Some mechanics use a tensioner, a simple C-shaped wire that hooks into the grooves of the chain, to hold it taut while linking. While not necessary, a set of hands or a similar tool to keep the chain close together makes life much easier.
-
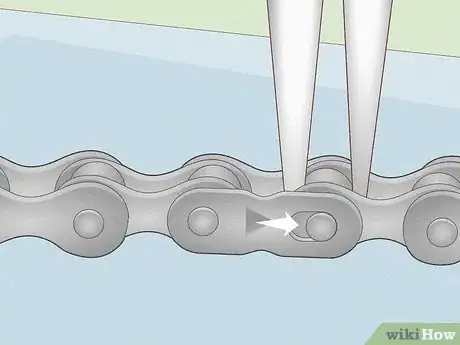
6Use a pair of pliers to push the master link together, clicking the pins into place. You want to force the pins into the other sides of the figure-eight hole to lock them in place. If you don't have a pair of pliers handy, there is one more trick to tighten everything. Flip the bike over so it's upside-down. Holding the back break down, slowly pedal the bike. As the brake holds the wheel, and thus the chain, in place, the pressure of pedaling will pull the other side, tightening your master link.
-
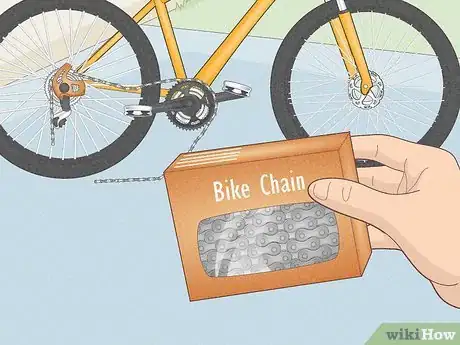
7Know that, in the end, a broken chain usually means you need a brand new one. While you can fix the chain in a variety of ways, as noted, a broken chain usually needs a replacement. Beyond breaking, old chains expand as the pins inside wear down. This might not sound like much in theory, but it matters when riding. The chain handles and transfers all of the force from your feet to the wheels, and a loose chain means you're doing a lot more work for a lot less speed.[3]
Community Q&A
-
QuestionThe tool is all that is needed when a chain breaks? I don't need an extra pin or anything?
 Matt GanderCommunity AnswerUse the tool to remove the damaged link, then buy a quick link or speed link to reconnect chain, as it will be much stronger than trying to push the chain back in.
 -
QuestionHow do I repair broken gears?
 Community AnswerGenerally, gears are made of metal with a plastic ring over it, the plastic only serves an aesthetic purpose, and the metal gear can be easily welded back or replaced, depending on the extent of the damage.
 -
QuestionHow do I put an unbroken bike chain back on?
 Community AnswerCheck out the helpful steps in this article about how to put on a bike chain on wikiHow.
Warnings
- Follow these instructions closely and carefully. Don't rush anything.⧼thumbs_response⧽
- If you are really stuck, ask a pro⧼thumbs_response⧽
- The pin that you pushed out should be replaced with a new pin as reusing the old pin could cause a failure. Replacement pins are available from your local bicycle shop.⧼thumbs_response⧽
References
About This Article
With a chain breaker tool, you can easily fix your broken bicycle chain and get riding again right away. You'll just need to remove the broken chain link by pushing its pin out with your chain breaker tool and then connect the 2 ends by pushing a pin between them. However, if you don’t have a new link, you can still connect the ends of the chain together using your chain breaker tool. Just avoid using your highest gear until you can add a new link to the chain, since it will be too short for the meantime. Make sure you lubricate your chain with bike grease before you ride it. For more tips from our Bike Maintenance co-author, including how to locate the master link in your chain, read on!
