This article was co-authored by Andrew Peters. Andrew Peters is an Architecture and Construction Specialist and a Principal at Peters Design-Build, a full service architecture and construction firm in the San Francisco Bay Area. With over 20 years of experience, Andrew specializes in sustainable and holistic design and building practices. Andrew holds a Bachelor of Architecture and a Project Management Professional (PMP) certification and is a Leadership in Energy and Environmental Design (LEED)-Accredited Professional. He served as Project Manager for the international-award-winning “Refract House,” Team California’s entry in the 2009 U.S. Department of Energy Solar Decathlon, a project featured in over 600 online and print articles.
There are 12 references cited in this article, which can be found at the bottom of the page.
This article has been viewed 102,867 times.
Did your beautiful wood furniture get scratched or gouged? If so, don't panic. Nowadays there are all kinds of solutions available for filling in and repairing scratches in wood. This article will walk you through your best options so you can get your wood blemish-free again.
Steps
Using Wax Filler Sticks
-
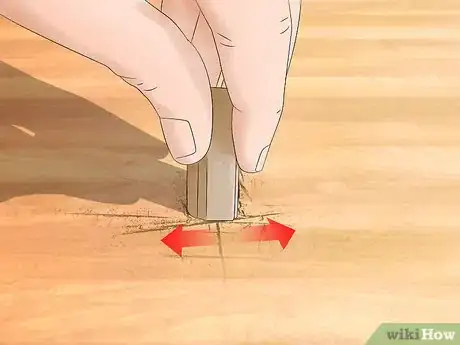
1Rub a wax wood filler stick over the crack. These filler sticks are often sold in the shape of crayons, so essentially you get to color in the wood. Choose a color that most closely matches the wood’s shade. Continue rubbing the stick back and forth until the entire crack is filled in.[1]
- Some other options are stain markers and blending pencils. All of these products are often available at home improvement stores.[2]
-
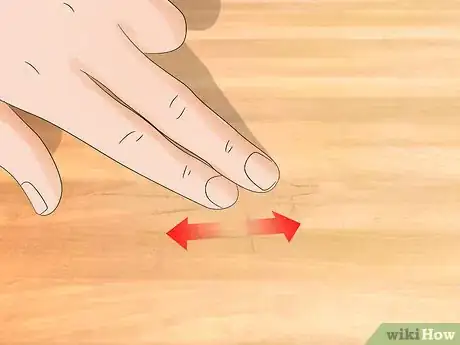
2Blend the filler in by rubbing it with your finger. Move your finger around the edges of the crack, being careful not to remove too much of the filler inside the scratch. Smooth out the filler along the crack’s edges. Get it as level with the surrounding wood as possible.[3]
- Don’t worry about spreading the filler material past the crack. It is easy to remove as long as it doesn’t have time to dry. Instead, make sure the scratch looks well-hidden.
Advertisement -
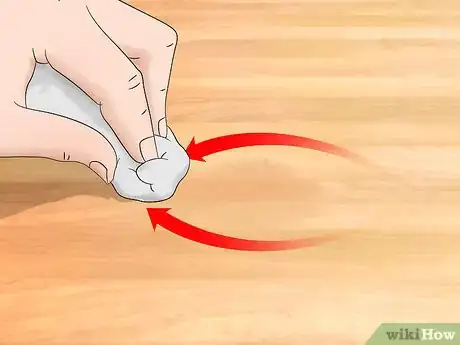
3Wipe away the excess filler with a dry rag. Using a clean cloth, scrub around the edges of the scratch. Remove any filler material that spilled over the scratch or elsewhere on the wood. Wipe along the wood’s grain as much as possible to reduce the possibility of adding new scratches. Be careful not to disturb the material in the scratch.[4]
- An easy way to level the filler material and get all the excess is with a solid edge, like a credit card. Hold the card vertically against the wood, then drag it across the scratch. Use a rag to pick up the filler.
- If the filler begins to dry before you clean it all up, dampen a rag with mineral spirits. Make sure the rag isn’t dripping, then scrub along the wood’s grain over the excess wax.
-
4Let the filler material dry for 30 minutes. Make sure no one comes along and smudges it. Once the filler sets, it will feel hard to the touch. Check the scratch again and add more filler if needed to improve it.[5]
Applying Wax Filler Putty
-
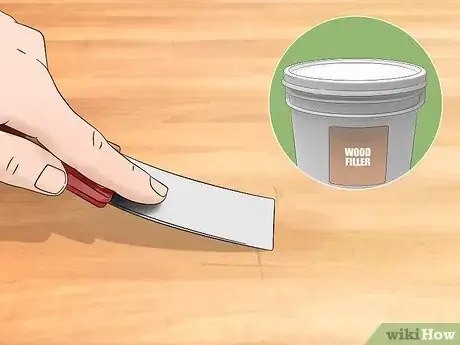
1Spread a pre-colored latex wood filler in the scratch. For deep scratches and gouges, choose a filler that is the same color as the wood you wish to repair. Pick up some of the filler with a putty knife, then spread it by brushing the knife along the inside part of the scratch. Continue adding more filler material until the scratch is filled. Hold the knife horizontally and move it across the crack to level out the filler.[6]
- To avoid scratching the wood, use a plastic knife instead of a metal one.
- Latex wood filler is similar to traditional wood putty, but it holds shape in deep scratches more efficiently. Get some online or at a home improvement store.
- Another option is to use a similarly-colored wood stain. Dip a rag or paint brush into the stain, then spread it along the inside of the scratch. Continue adding more until the scratch is filled. Scrape off and sand down the excess as usual.
-
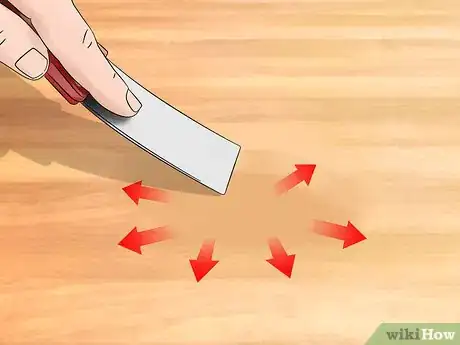
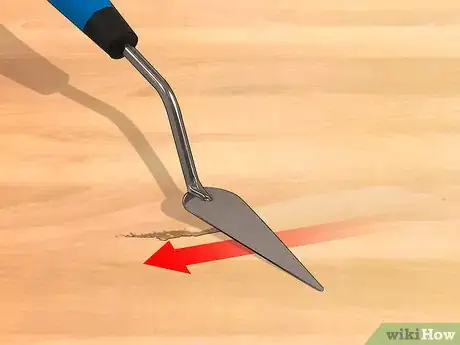
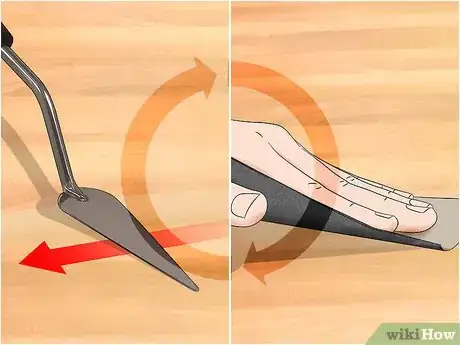
2Scrape off the excess filler with a putty knife. Remove as much of the excess filler as you can before it dries. To do this, hold the putty knife at a 45-degree angle. While pressing it lightly against the wood, drag it across the scratch. Do this in a few different directions to smooth out the scratched area.[7]
- If you don’t have a plastic putty knife available, try using a solid, blunt edge like a credit card. Hold it vertically and drag the edge across the scratch.
-
3Dry the filler for at least 30 minutes. Make sure no one touches the filler during this time. Once it dries, it will feel hard to the touch.[8]
-
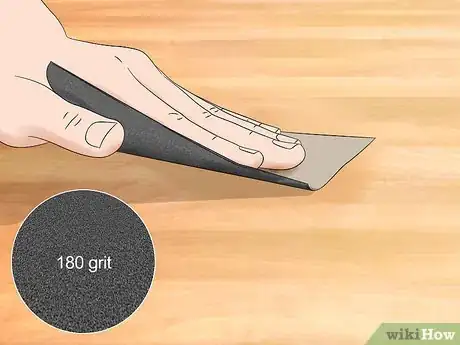
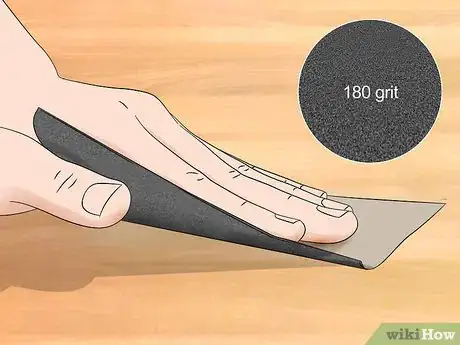
4Rub the filler with 180-grit sandpaper to blend it into the wood. Press the sandpaper very lightly against the crack. Be very careful to avoid scratching the wood further. Rub the sandpaper back and forth along the wood’s grain, enough to rough up the filled-in area and make it look more natural.[9]
- Use sandpaper rated 180-grit or higher for finishing. Using anything lower is likely to lead to more deep scratches for you to fix.
-
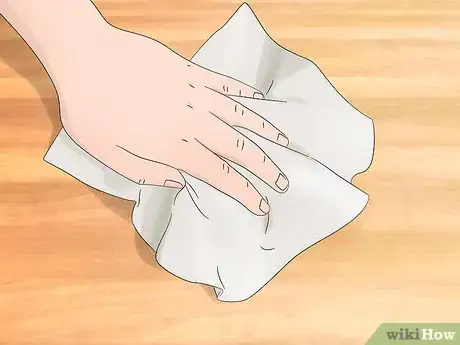
5Wipe off the excess filler with a damp cloth. Moisten the cloth in lukewarm water, but make sure it isn’t soaked. Squeeze out excess moisture before using it on the wood. Then, lightly rub it against the wood. Remove any filler around the borders of the scratch to help blend the spot in.
- Remember to clean up any areas with spilled filler as well.[10]
-
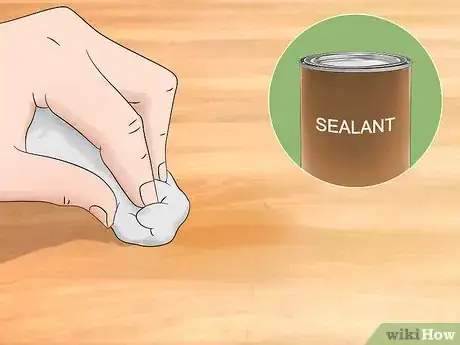
6Finish the wood with polyurethane or another sealant. Choose the same sealant used on the surrounding wood, if possible. Dip a rag into the sealant, then spread it over the scratch in an even layer. Let it dry for 2 hours, then add a second coating of sealant as needed.[11]
- If you don’t know what kind of sealant is on the wood, use varnish. Thin it out with 10% to 20% turpentine before adding it to the scratched area.[12]
Using Wax Paints
-
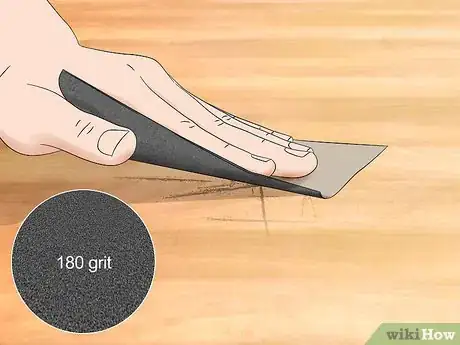
1Sand the edges of the scratch flat with 180-grit sandpaper. Press the sandpaper lightly against the table and move it back and forth along the grain. Avoid sanding the areas outside of the scratch. When you’re done, test the edges by touching them. Make sure they feel smooth and look level with the rest of the table.[13]
- Use only sandpaper rated 180-grit or higher. Coarse sandpaper is very abrasive and may significantly scratch up the wood.
-
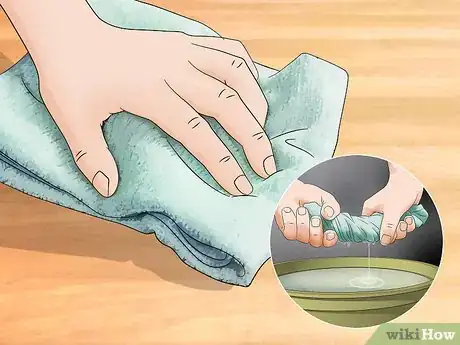
2Clean the wood with a microfiber cloth and warm water. Dampen the cloth and squeeze out excess moisture to make sure it doesn’t drip all over the wood. Wipe the cloth along the wood’s grain, removing dirt, sawdust, and other debris. Dry it off with another clean cloth as needed.
- For extra cleaning power, mix 1 teaspoon (4.9 mL) of liquid dish detergent into some water. Any non-abrasive dish detergent works well here.
-
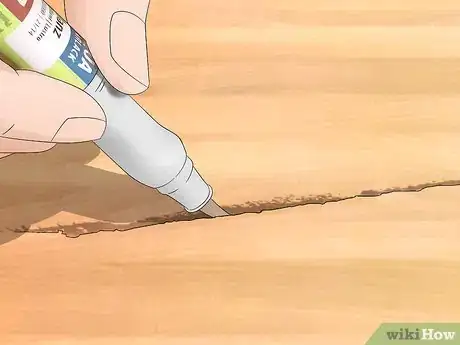
3Fill the bottom of the scratch with a lacquer brush pen. Choose a pen color similar to the wood. Then, use the pen to add a little bit of color to the bottom of the scratch. The lacquer brush pen, along with similar products, forms a base color for the paint. It also ensures the paint doesn’t dry out prematurely.[14]
- The lacquer products sold in pen form are easiest to use since you use them like regular markers. Some others are sold in a liquid form in canisters. Use a paint brush to coat the bottom of the scratch.
- Some alternative products are sold as color edging pens or color touch-up markers. They’re all used the same way, so focus on matching the wood’s color.
-
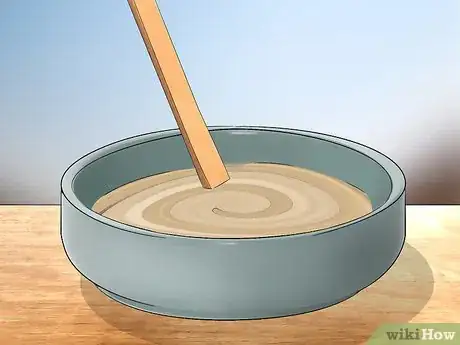
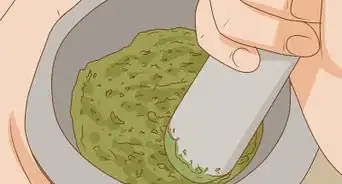
4Mix wax paint together to match the base shade of the wood. Wax paint comes in a variety of colors, and you usually need both light and dark shades of brown to match the wood perfectly. Set out a palette, then open the paints starting with the lightest color available. Drip a little of each paint onto the palette and blend them together with a palette knife.
- If your wood consists of a few different shades, match the paint to the lightest one.
- Wax paint is often sold in stick form, which melts when held over heat like a candle or lighter flame. The paint itself is often available at craft stores in addition to some home improvement stores and online.
- For an alternative to wax paint, try oil-based or acrylic paint.
-
5Spread the paint in the scratch with a palette knife. Use the knife to scoop up the paint and move it to the scratch. Add more of the mixed paint until the entire crack is filled. The paint may flow over the edge of the crack, but it isn’t a problem.[15]
- Check the paint as you work to make sure it matches the table. Adjust it with lighter and darker shades of paint as needed to perfect it.
-
6Smooth the painted area with 180-grit sandpaper. Start sanding before the paint has a chance to dry, since it will be much easier to remove. Rub the sandpaper around the edges of the scratch, moving along the wood’s grain. Press lightly to avoid scratching the table further. Carefully blend the scratch’s edges and remove any paint outside of the scratch.[16]
-
7Adjust the paint coating with more coloring until it blends into the wood. Check the paint one last time and add more color as needed to finish it. Most of the time, you will need to add a little bit more of a dark shade of paint to achieve the right color. Sand the area smooth again as needed.[17]
- Also, use the paint to match any marks in the wood. Many pieces aren’t a consistent color. For example, add a little dark brown or black to complete darker streaks a lot of wood has.
-
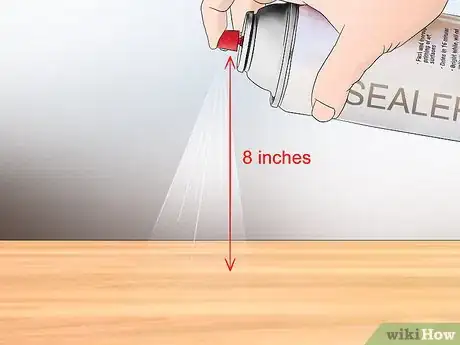
8Protect the area with a lacquer spray or another sealant. Lacquer sealant comes in a canister, similar to spray paint. Hold the nozzle about 8 in (20 cm) above the wood. Starting on 1 end of the scratch, spray over it at a slow, steady pace. You do not need to wait for the paint to dry before doing this. The lacquer coating will be clear, but it will protect the painted area from damage.[18]
- For other types of sealant, including polyurethane, wait a day for the paint to dry. Then, use a rag to spread a thin, even layer of sealant over the entire scratch. Let it rest for 2 hours before adding another coat.
wikiHow Video: How to Fix Deep Scratches in Wood
Things You’ll Need
Using Wax Filler Sticks
- Wax filler stick
- Rag
Applying Wax Filler Putty
- Latex wood filler
- Putty knife
- 180-grit sandpaper
- Cloth
- Water
- Polyurethane or alternative sealant
Using Wax Paints
- Wax paints
- Palette
- Palette knife
- Pre-color damage substrate
- 180-grit sandpaper
- Lacquer spray or alternative sealant
References
- ↑ https://www.theguardian.com/lifeandstyle/2014/jun/30/how-to-mend-a-scratch-on-wooden-furniture
- ↑ https://www.bobvila.com/articles/how-to-fix-scratches-on-hardwood-floors/
- ↑ https://www.theguardian.com/lifeandstyle/2014/jun/30/how-to-mend-a-scratch-on-wooden-furniture
- ↑ https://www.bobvila.com/articles/how-to-fix-scratches-on-hardwood-floors/
- ↑ https://www.bobvila.com/articles/how-to-use-wood-filler/
- ↑ https://www.bobvila.com/articles/how-to-fix-scratches-on-hardwood-floors/
- ↑ https://www.youtube.com/watch?v=A_6Z-yHABq8&t=116
- ↑ https://www.bobvila.com/articles/how-to-use-wood-filler/
- ↑ https://www.realtor.com/advice/home-improvement/how-to-remove-scratches-hardwood-floors/
- ↑ https://www.youtube.com/watch?v=A_6Z-yHABq8&t=242
- ↑ https://www.houselogic.com/organize-maintain/diy-repair/repair-wood-floors-and-erase-ugly-scratches/
- ↑ https://www.bobvila.com/articles/how-to-fix-scratches-on-hardwood-floors/
- ↑ https://www.houselogic.com/organize-maintain/diy-repair/repair-wood-floors-and-erase-ugly-scratches/
- ↑ https://www.youtube.com/watch?v=vh4Dtd9-ISY&t=44
- ↑ https://www.youtube.com/watch?v=vh4Dtd9-ISY&t=65
- ↑ https://www.houselogic.com/organize-maintain/diy-repair/repair-wood-floors-and-erase-ugly-scratches/
- ↑ https://newengland.com/today/living/home-repair-diy/wood-furniture-scratches/
- ↑ https://www.youtube.com/watch?v=vh4Dtd9-ISY&t=268
- ↑ https://www.bobvila.com/articles/how-to-fix-scratches-on-wood/
About This Article
One of the easiest ways to fix deep scratches in wood is to use a wax filler stick. Choose a stick in a color that matches the wood and rub it over the scratch until the scratch is filled. Rub the filler with your fingers to blend it in along the edges of the scratch until it’s as flat as possible. Next, use a dry cloth to scrub away any excess filler on the surface of the wood. You can also scrape it away with something like the flat edge of a credit card or a putty knife. Allow the filler to set for at least 30 minutes and avoid touching it so it doesn’t smudge. For tips about how to finish the wood with polyurethane or another sealant, keep reading!
