This article was co-authored by wikiHow Staff. Our trained team of editors and researchers validate articles for accuracy and comprehensiveness. wikiHow's Content Management Team carefully monitors the work from our editorial staff to ensure that each article is backed by trusted research and meets our high quality standards.
This article has been viewed 146,603 times.
Learn more...
Installing a door handle yourself is a gratifying home improvement skill to have in your repertoire. Most door handles come with a kit and provide a measurement template for you to follow. Following these measurements, using your drill to create the necessary holes, and attaching all the necessary parts into the door frame are all it takes to attach a door handle yourself.
Steps
Measuring and Drilling the Door
-
1Measure 41 inches (100 cm) from the floor. Although you could follow the directions that come with your handle instructions, the most common placement for a door handle is 41 inches (100 cm). Place the end of a tape measure on the floor and mark the narrow portion of your door with a pencil.[1]
- You can also measure the height of the other door handles in your house and use this measurement when marking the handles.
-
2Attach the door handle kit’s template to the door. Using masking tape to secure the template to the door, make marks on the template showing where you will drill. Make these marks on the narrow part and on both outer sides of the door, being as accurate as possible.[2]
- All door handle templates are different, so follow the directions that come with your kit for the best results.
Advertisement -
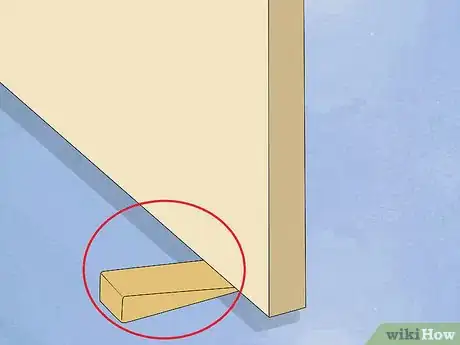
3Place a wedge at the bottom of the door to keep it in place. Purchase a door stop or professional grade door wedge from a local hardware store or from an online retailer. Fit the wedge into the bottom of the door as close to the wall as possible. Shake the door a bit to make sure it is secure.[3]
- Securing the door is a very important step, as it will allow you to drill necessary holes without damaging anything.
-
4Drill preliminary holes into all sides of the door. Use a 2mm drill bit to make preliminary, or pilot, holes in the door’s front, back, and narrow portions. Use the template that came with your kit to drill the holes in their intended locations. Be sure to keep your drill level with the floor to avoid causing visible damage to the door.[4]
- These preliminary holes will make it easier to drill in screws later on.
-
5Drill larger holes into the preliminary holes. Follow your specific kit instructions to know the exact size of the drill bit used to enlarge these holes. Drill the holes carefully, being sure not to drill all the way through the door on either side. Keep the drill level to the ground to avoid damaging the door.[5]
-
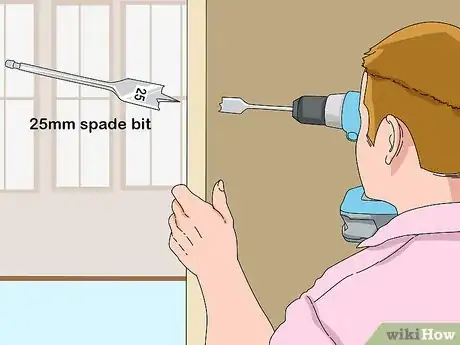
6Use a 25mm spade bit to drill holes into the outsides of the door. Create the spindle holes using a drill, being careful to keep the drill parallel with the floor. Follow the template instructions to drill the hole in the right location. Drill these two spindle holes on both the front and back of the door.[6]
- The spindle holes are where the door handle will eventually be inserted.
-
7Use a 25mm spade bit to drill a hole into the narrow part of the door. Double check the door wedge before drilling this hole to ensure nothing is damaged. Follow the template instructions to drill the hole in the right location.[7]
- The narrow part of the door is more difficult to drill into, as it has a smaller surface area. Take extra care when drilling this hole.
Setting the Door Handle
-
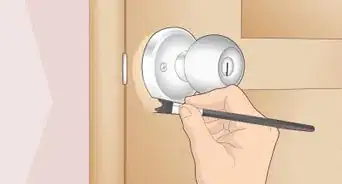
1Trace the handle’s faceplate with a pencil. Set the latch of the door handle into its hole and make distinct marks to signify where the faceplate will be located. Be as accurate as possible with your tracing, erasing any marks that do not fit the outline of the faceplate.[8]
-
2Chisel out the faceplate outline with a chisel and hammer. Place the chisel at a 45° angle and begin to chisel the outline from the top, chiselling to the depth specified in your instructions. Use the pressure of the chisel and your hand to remove all of the wood within your outline. Reset the latch and make sure the faceplate fits flush into the chiselled area.[9]
- If the faceplate does not fit flush with the narrow part of the door, make adjustments with your chisel until it does.
- Faceplates come in different depths, so it is important to follow your kit’s instructions when chiselling the narrow part of the door.
-
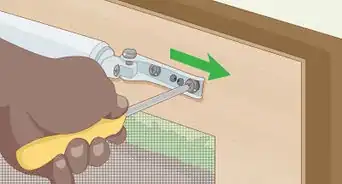
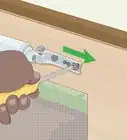
3Screw the faceplate into the narrow part of the door. Using the screws that came with your door handle kit, attach the faceplate to the door. Be careful to fit the latch into the chiselled area, and screw into the pilot holes that were made earlier. Drill the screws carefully, being sure to keep your drill level with the floor.[10]
-
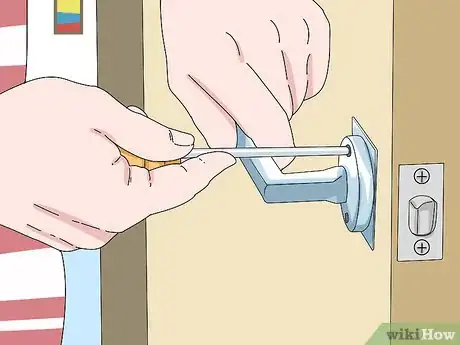
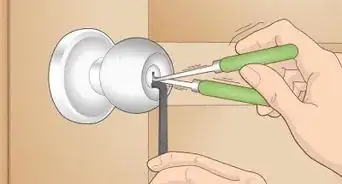
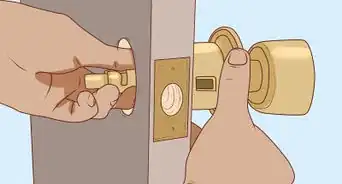
4Place the door handles into the spindle holes. Make sure that the two handles align, both horizontally and vertically, and screw each one into the door individually. Before drilling, make sure that each handle fits into the spindle, and drill into the previously drilled pilot holes. Once each handle is attached, turn the knobs to ensure they work properly.[11]
- If the door knobs are not working, unscrew them and double check that they have been fit into the spindle.
-
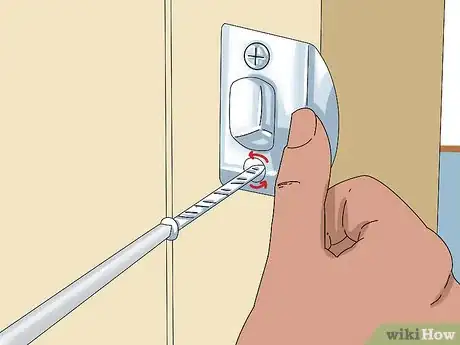
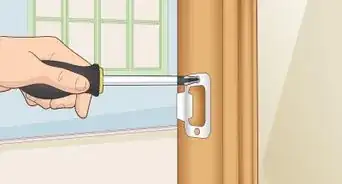
5Attach the strike plate into the door jamb. Align the striker plate with the faceplate and use a 2mm drill bit to create pilot holes. Drill the two screws that were provided with your door handle kit into the top and bottom of the striker plate. Shut the door to be sure the striker plate has been fit properly and that there is nothing out of alignment.[12]
- Striker plates are mechanisms that keep your door closed.
Community Q&A
-
QuestionHow far apart are the holes supposed to be on a 2 whole slab door
 Community AnswerThe distance between your these two holes will depend on the door handle you are installing. Check the door handle packaging for specific instructions.
Things You'll Need
- Power drill
- 25mm Spade drill bit
- Hammer
- Chisel
- Screws
- Door handle kit
- Pencil
References
- ↑ https://www.bunnings.com.au/diy-advice/home-improvement/doors-windows/how-to-install-a-door-handle
- ↑ https://www.rona.ca/en/projects/Install-an-exterior-door-handle-or-lockset
- ↑ https://www.lifestyle.com.au/diy/how-to-install-a-door-handle.aspx
- ↑ https://www.bunnings.com.au/diy-advice/home-improvement/doors-windows/how-to-install-a-door-handle
- ↑ https://www.lifestyle.com.au/diy/how-to-install-a-door-handle.aspx
- ↑ https://www.bunnings.com.au/diy-advice/home-improvement/doors-windows/how-to-install-a-door-handle
- ↑ https://www.bunnings.com.au/diy-advice/home-improvement/doors-windows/how-to-install-a-door-handle
- ↑ https://www.lifestyle.com.au/diy/how-to-install-a-door-handle.aspx
- ↑ https://www.rona.ca/en/projects/Install-an-exterior-door-handle-or-lockset
About This Article
Installing a door handle is a relatively easy home project that you can do with a pre-made kit. Put your tape measure on the floor in front of your door and measure up 41 inches from the floor since this is the most common placement for door handles. Use masking tape to secure the door handle kit’s template to the door at this spot. Then, use the template to guide where you drill your holes in the door. Set the latch of the door handle into its hole and make marks to show where the faceplate will be located. Chisel out the faceplate so you can install it and screw it into place. Finally, place the door handles into the spindle holes. To learn how to attach the strike plate into the door jamb, keep reading!


