This article was co-authored by Ryaan Tuttle. Ryaan Tuttle is a Home Improvement Specialist and the CEO of Best Handyman, Inc. in Boston, Massachusetts. With over 17 years of experience, he specializes in building home service businesses, focusing on creating scalable and efficient brands. With the help of his global team, the companies have achieved over 10+ million in sales and received recognition through magazine features, and enjoy partnerships with wikiHow and Jobber field service software. Boston Magazine and LocalBest.com have named Best Handyman Boston the Best Handyman in Boston. Ryaan holds Construction Supervisor and Home Improvement Contractor Licenses.
There are 11 references cited in this article, which can be found at the bottom of the page.
This article has been viewed 173,127 times.
If you're installing a new door or replacing a broken door knob, you may not know how to insert a door knob. But, while the parts of a door knob may seem complex at first, installing a new door knob can be a simple DIY project. You don't need to hire a home repairman to change or add a door knob. As long as you've taken your door's measurements and purchased the right knob, you can fit it in securely all by yourself.
Steps
Latch Installation
-
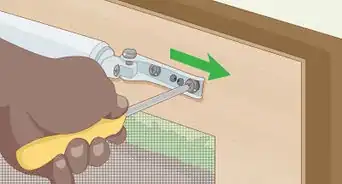
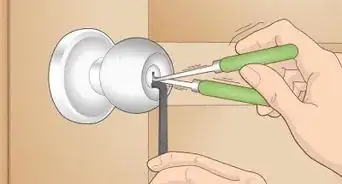
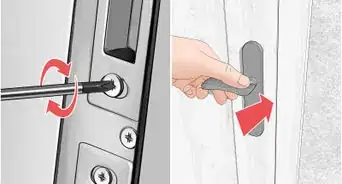
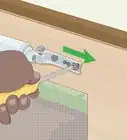
1Remove the old door knob, latch, and strike plate. If you have not already removed the old door knob and latch, take it out before you begin installing the new one. Depending on the door, you may also need to remove the strike plate—to take it out, remove the top and bottom screws with a screwdriver and lift it carefully out of the door.[1]
- The strike plate is a rectangular metal piece that attaches to the door side, with a round or rectangular hole in the middle for the latch to slide through.
- If you are installing a new latch, you will likely need to remove the old strike plate. Most latches come with their own strike plates.
-
2Install a latch plate on top of the latch. Depending on the door mortise (the hole that the latch sits in), the latch plate may be round or rectangular. If your latch came with a rectangular plate and you need a round one (or vice versa), take measurements of your latch plate. Purchase a latch plate that fits your door mortise and, after prying off the old plate, place the new latch plate on top of the latch.[2]
- The latch plate sits on top of the latch and allows it to rest on the inside of your door without scratching it.
- Rectangular is standard for most door latches.
Advertisement -
3Slide the latch inside the edge of the door. Insert the latch through the door hole so the flat (beveled) side of the latch is facing the door jamb. If the beveled side does not face the jamb, you may have difficulty closing the door.[3]
-
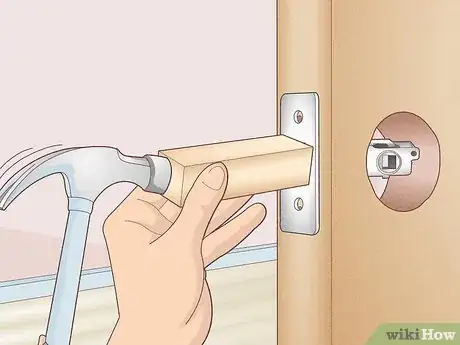
4Use a wooden block and a hammer to tap the latch into place. If you cannot fully slide the latch in, place a thick, rectangular block of wood over the end of the latch. Tap the latch into the hole with a hammer until the latch's back reaches the end of the hole.[4]
-
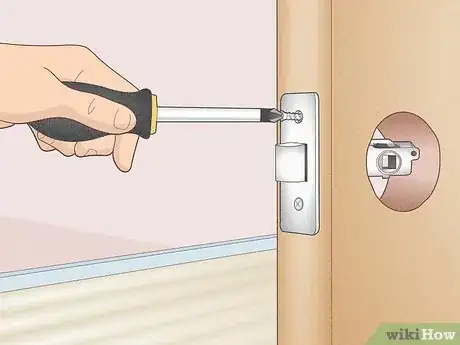
5Secure the latch into the door with 2 screws. Most latches are secured to the door with a screw on the top and bottom. Adhere the latch to the door with as many screws as required by its design.
- Do not buy any additional screws. If your latch needs screws, they will likely come as a set.
Door Knob Attachment
-
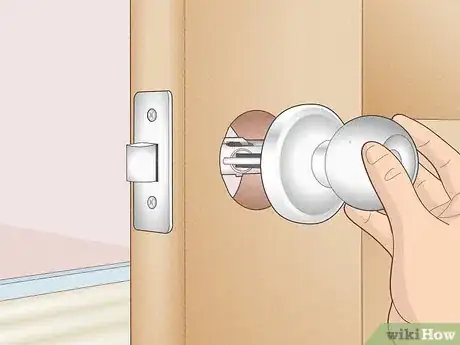
1
-
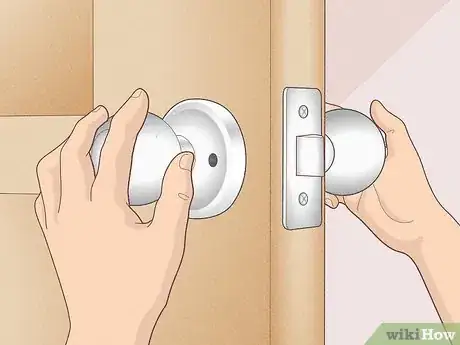
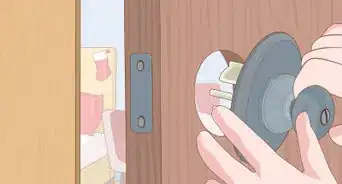
2Align the other half of the door knob with the first one. Lift the other half of the door knob up and place it on the other side of the hole. Align both sides with their screw holes, turning the sides around as needed.[7]
-
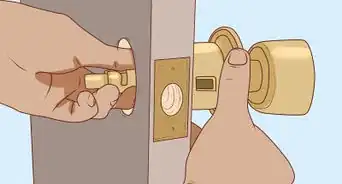
3Push the two sides of the door knob together. If the 2 door knob sides are not fully aligned, they may feel loose or shaky after installing them. With one hand on each side of the door knob, press both sides of the door knob together through the hole. If a side seems stuck, pull both apart and make sure that the side without the square peg is aligning through the one with the peg.[8]
-
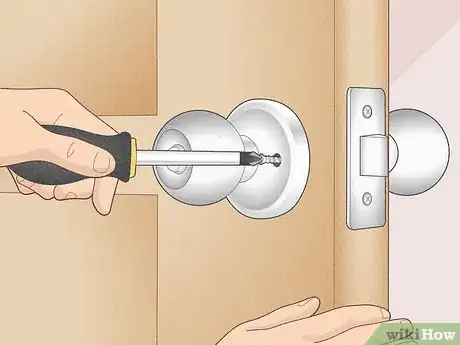
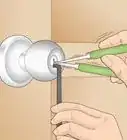
4Attach both door ends with screws. Check your door knob for screw holes to determine how many you will need. The number should match the number of screws your doorknob came when. Then, use a screwdriver to secure both knob sides to the door.[9] [10]
- Most door knobs are affixed to the door with 2 screws on the top and bottom.
Final Touches and Tests
-
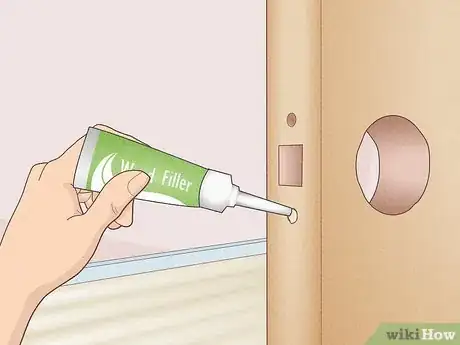
1Use wood putty to secure any loose screws. If your new door knob is too small for the screw holes left by the old door knob, purchase a hardening-type wood putty or filler. Fill any screw holes with the wood putty and give it 30 minutes to a few hours to dry, depending on the putty instructions.[11]
-
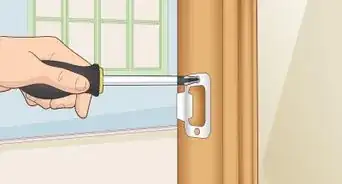
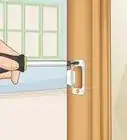
2Screw in the new strike plate. Align the strike plate over the door frame and latch.[12] Attach the strike plate to the door with any screw holes and screws provided. If the latch is too large to comfortably fit through the strike plate, you may need to purchase and secure a more fitting one.
-
3Test the door knob to make sure it works. Open and close the door several times to make sure the latch slides comfortably against the door jamb and closes. Turn the door handle as well to check for looseness—if it is loose, tighten the screws or use the wood putty to adjust the screw holes.[13]
-
4Refinish or repaint the area around the door knob, if needed. If your last door knob was larger than the new one, the areas your new door knob does not cover may look scuffed or unpainted. Touch up any scratched, chipped, or unpainted areas with paint or wood stain.[14]
- If your door is old and in need of a new paint coat, you may want to paint or refinish the entire door.
Expert Q&A
-
QuestionWhat type of door knob do I need?
 Ryaan TuttleRyaan Tuttle is a Home Improvement Specialist and the CEO of Best Handyman, Inc. in Boston, Massachusetts. With over 17 years of experience, he specializes in building home service businesses, focusing on creating scalable and efficient brands. With the help of his global team, the companies have achieved over 10+ million in sales and received recognition through magazine features, and enjoy partnerships with wikiHow and Jobber field service software. Boston Magazine and LocalBest.com have named Best Handyman Boston the Best Handyman in Boston. Ryaan holds Construction Supervisor and Home Improvement Contractor Licenses.
Home Improvement Specialist It depends on if you have a commercial or residential door. First, check the setback and size of the hole in your door to know which knob is the best way to go. Typically, commercial doors are set back a little differently than residential ones.
Things You’ll Need
- Screwdriver
- Screws
- Wood putty
- Door knob
- Latch
- Latch plate
- Strike plate
- Paint or wood stain (optional)
References
- ↑ http://www.bhg.com/home-improvement/advice/how-to-change-a-doorknob/?slideId=6de4f8f4-5dc8-4b2d-ad46-6e030cc2727f
- ↑ http://www.bhg.com/home-improvement/advice/how-to-change-a-doorknob/?slideId=ad64d07f-677d-49d2-a3d1-8ce1ab707323
- ↑ https://www.youtube.com/watch?v=FjAn21prEJw&feature=youtu.be&t=7
- ↑ https://www.lowes.com/projects/build-and-remodel/install-a-lockset/project
- ↑ Ryaan Tuttle. Home Improvement Specialist. Expert Interview. 14 May 2021.
- ↑ http://www.bhg.com/home-improvement/advice/how-to-change-a-doorknob/?slideId=549106e8-3693-49bc-b586-a785e9319c85
- ↑ https://www.bobvila.com/articles/how-to-install-door-hardware/#.WiRyDdWnHrc
- ↑ https://www.youtube.com/watch?v=_6j_3s1yBhw&feature=youtu.be&t=642
- ↑ https://www.bobvila.com/articles/how-to-install-door-hardware/#.WiRyDdWnHrc
- ↑ Ryaan Tuttle. Home Improvement Specialist. Expert Interview. 14 May 2021.
- ↑ https://homesteady.com/how-7170008-repair-door-wood-filler.html
- ↑ Ryaan Tuttle. Home Improvement Specialist. Expert Interview. 14 May 2021.
- ↑ https://www.homedepot.com/c/installing_a_door_lock_HT_PG_DW
- ↑ http://www.bhg.com/home-improvement/advice/how-to-change-a-doorknob/?slideId=ffe3a972-e2b1-4a9f-b54d-22e2e1ad5215
About This Article
To install a door knob, start by removing the old door knob, latch, and strike plate, if necessary. Next, place the new latch plate on top of the latch, slide the latch inside the edge of the door, and secure the latch with 2 screws. Then, insert the first half of the doorknob and place the peg through the latch mechanism. Align the other half of the door knob with the first one and push the 2 pieces together. Finally, secure both knob sides to the door with 2 screws on the top and bottom. For tips on testing your new installation, read on!


