This article was co-authored by wikiHow Staff. Our trained team of editors and researchers validate articles for accuracy and comprehensiveness. wikiHow's Content Management Team carefully monitors the work from our editorial staff to ensure that each article is backed by trusted research and meets our high quality standards.
There are 10 references cited in this article, which can be found at the bottom of the page.
This article has been viewed 12,000 times.
Learn more...
Installing new carpeting may seem like a job best left to the professionals, but it’s something you can do on your own with the right tools. Carpet grippers, also called tack strips, are thin, wood boards used to pin carpeting in place. They are very easy to nail or glue to a clean floor. The installation involves sharp tacks and a lot of kneeling on the ground, so be prepared. However, if you’re thorough, you can refresh any room with beautiful, new carpeting.
Steps
Cleaning and Leveling the Floor
-
1Use a tape measure to measure the room’s perimeter. Measure the floor along each wall to determine how long the carpet grippers need to be. Exclude doorways, since you won’t have to install carpet grippers there. Write each measurement down on a piece of paper. Then, add about 10 mm (0.39 in) to the room’s length and width to ensure the grippers will be long enough to complete the installation.[1]
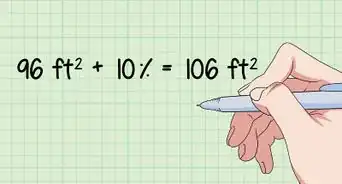
- If the room isn’t perfectly square or rectangular, measure it at its widest and longest points. You could also add on at least an extra 5% to account for seams, errors, and other issues.
- For the doorways, use carpet transition strips or metal carpet thresholds instead. Carpet transition strips join adjacent carpeting, but thresholds are better along rooms that don’t have carpeting.
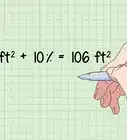
- You can use these measurements to estimate how much carpeting you will need as well. Multiply the room’s length and width together. For example, for a 6 m × 6 m (20 ft × 20 ft) room: 6 x 6 = 36 m.
-
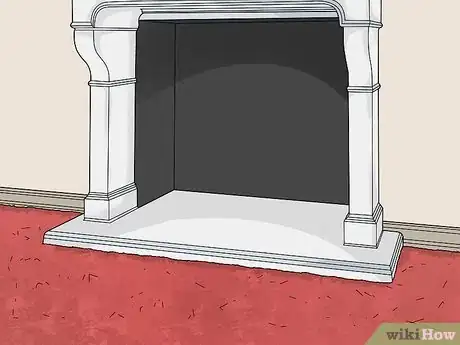
2Install carpeting around fireplaces and other things you can’t remove. Exclude them from your measurements. Some examples of items to measure around include bay windows, chimneys, and pipes. In most cases, you can install the carpeting right up to these fixtures. Make sure fireplaces are surrounded by a fireproof surround over 15 cm (5.9 in) wide. The carpeting can be installed up against the surround.[2]
- Install tack strips around permanent fixtures like columns and radiators. Then, cut the carpeting to fit around them.
- Doors are included in the material estimate, since carpeting typically is installed underneath them. It is the same with small recesses, unless you’re planning on leaving them bare.
- If you calculate according to the longest and widest points in the room, you will have enough material to deal with any trouble spots in the room.
Advertisement -
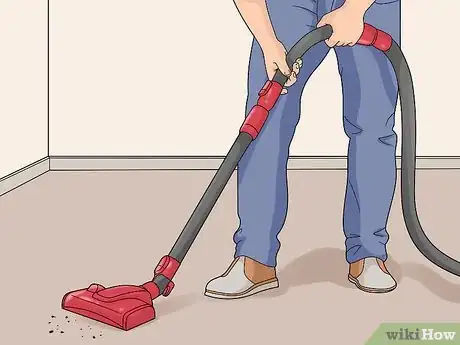
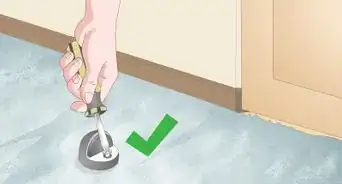
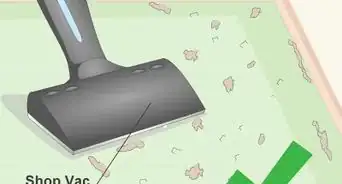
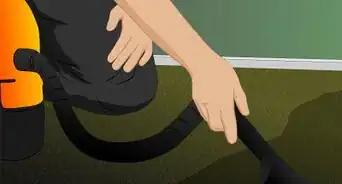
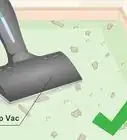
3Sweep or vacuum the floor clean. Go over the entire floor to remove any debris on it. While you’re cleaning, check for any loose nails, leftover staples, bits of glue, or built-up paint that could get in the way. You can use a paint scraper to lift stubborn debris off the floor. Use tools to remove nails and staples.[3]
- Try using nail pullers or pliers to lift up nails with minimal damage to the floor. For staples, a staple remover will work well, but you can use pliers or a screwdriver if you don’t have one.
- Make sure the floor is as clean as you can get it so nothing gets in the way of the installation. Anything left on the floor could damage the new components, make the carpet feel uneven, or cause other problems.
-
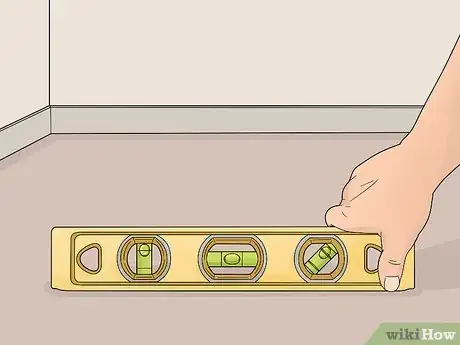
4Move a level across the floor and mark spots that are low. Get a carpenter’s level and watch the capsule of liquid in its center as you move it across the floor. The bubble in it will shift to one side when the floor is uneven. The bubble moves toward the side of the floor that is higher. Make note of where the low spots are with a pencil so you can cover them later.[4]
- Test the entire floor. For example, cover the length of the room first, then go back and test its width.
-
5Sand down high spots on wood floors with 120-grit sandpaper. Put on a dust mask before sanding. Locate the higher spots on the floor, then wear them down until they are level with the rest of the floor. To make this process a little faster, get a belt sander or another tool. Vacuum up the dust when you’re done.[5]
- Keep in mind that you have a few different options for leveling a floor, and you can also raise up the lower areas or do that in addition to sanding.
- If you have a concrete floor, use a concrete grinder instead.
-
6Fill lower areas in the floor with wood or a self-leveling adhesive. The simplest way to level out the floor is by placing plywood sheets on top of it. Spread a wood floor adhesive underneath the plywood, then press it in place. Let it dry for about 24 hours before checking the floor again with a level.[6]
- Some people also use wood shims, small pieces of wood flooring, or even material like roof shingles to level a floor.
- A self-leveling adhesive is a type of concrete you can pour onto the low points or the entire floor. After it flows toward the low points, spread it flat with a trowel.
Placing Carpet Grippers
-
1Put on a pair of leather work gloves before handling the carpet grippers. Make sure you’re using heavy-duty gloves that are puncture-resistant. The tacks used on carpet grippers are very sharp and can cut through other material. Wear the gloves until you have finished installing carpeting over the tacks.[7]
- Canvas and nylon gloves won’t work, so protect yourself by investing in a good pair of gloves. Quality gloves will last and can be reused for other projects.
-
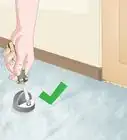
2Position the grippers 7 to 8 mm (0.28 to 0.31 in) from the wall. The grippers come in long strips, so just lay them end to end around the room’s perimeter. Start fitting the strips along the length of the room, then work on the side walls. Keep the gap consistent all the way around the room.[8]
- Lay as many of the strips as you can. You won’t get a perfect fit yet, but that can be fixed when you begin installing them.
- It’s easiest to work along the length of the room first, followed by its width. However, it doesn’t really matter which way you go since you won’t be attaching the strips yet.
-
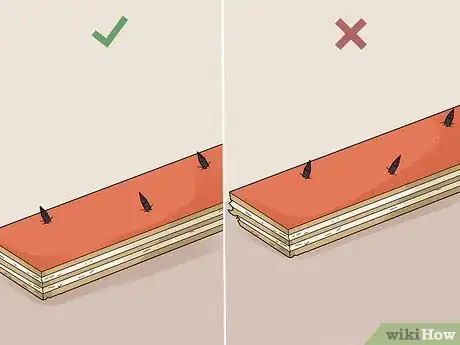
3Rotate each gripper so its angled edge faces the wall. There is an easy way to spot which edge is angled. Check the tacks. If the tacks point toward the nearest wall, then you have the strip turned the right way. Spread the grippers around the room’s perimeter, turning them so the tacks are all angled toward the walls. Some strips also have arrows printed on them to help you, and make sure they are pointed toward the wall.[9]
- Carpet grippers come in long strips. One of the long edges will be flat, and the opposite edge will be angled. Just lay the strips end to end to prepare them for the installation.
- Make sure the exposed tacks are faceup. You will also see nail heads on this side. Grippers come pre-fit with tacks and nails, so you won’t have to put them in yourself.
-
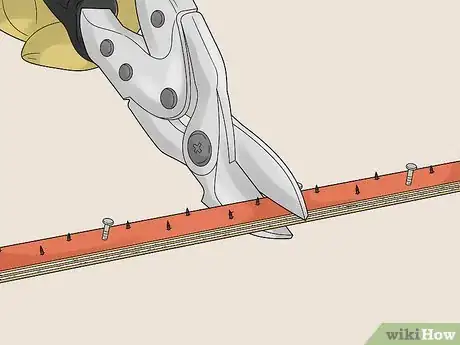
4Use general-purpose snips to cut the grippers to size. Trim them to the exact size required to fit them all along the perimeter of the room. The easiest way to do this is with wood-safe snips. Measure out the length you need, fit the strip between the blades, and press the handles down hard to cut it. Make sure the cut strips fit together perfectly afterward.[10]
- You can measure and cut by eye, or you can use a tape measure and mark the strips with a pencil.
- If you don’t have a good pair of snips, you could use a wood-cutting saw. Handsaws, such as a tenon saw, work well.
-
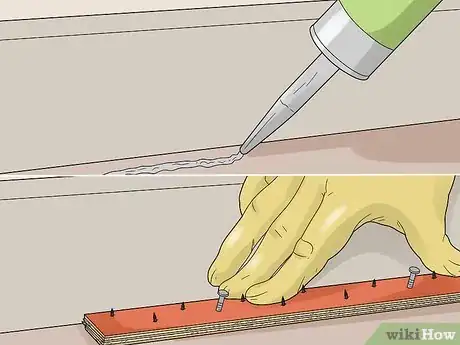
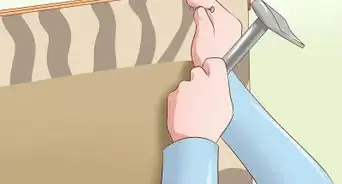
5Nail the strips to the floor to secure them in place. Each strip will have nail heads poking up from between the tack points. If they don’t, place a 10 mm (0.39 in) nail about 30 cm (12 in) along the strip’s length. Hold on carefully to avoid catching yourself on the tacks. Then, hammer the nails down until they are about flush with the strips. Work your way around the room one strip at a time.[11]
- Remember to maintain the fit of each strip. They should all fit together without any space between them, but leave a consistent gap between the strips and the wall.
- Touch the strips to make sure they are secure. If they feel a little loose, you may not have hammered the nail down enough.
-
6Spread a tack strip adhesive to the grippers if you have concrete floors. High-strength polyurethane adhesives are what professional installers use. Install the tack strips one at a time. Spread a thick, consistent bead of glue across the floor, press the tack strip onto it. Let the glue dry overnight before attempting to install carpeting.[12]
- Glue works on other hard types of flooring as well, including tile.
- Some tack strip adhesives dry out at a much faster rate, so be sure to check the drying time recommended by the manufacturer.
- Tack strip glue is available online and at most hardware stores.
Installing Padding and Carpeting
-
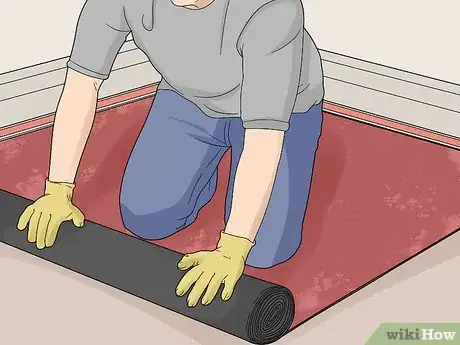
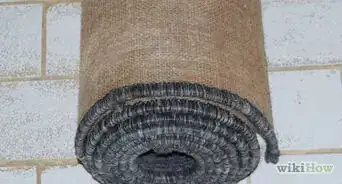
1Roll carpet padding between the carpet gripper strips. Start on one end of the room and roll the padding across its width. Keep the edge of the padding right up against the grippers. When you reach the opposite end, slice off the excess with a utility knife. Roll out additional padding to cover the rest of the room, keeping the pieces pressed tightly together to avoid gaps.[13]
- Use small pieces cut from the rolls to fill in any gaps. It’s a good way to avoid waste when dealing with a room that isn’t perfectly rectangular.
- You can get carpet padding at home improvement centers and from carpet suppliers. Most types of carpet padding are foam, usually about 7⁄16 in (1.1 cm) thick and easy to install.
- The padding acts as cushioning for the carpet, so take care not to leave any space between the sheets or the grippers. It protects your carpeting from wear and tear.
-
2Tape the carpet padding down and staple it to the floor. Place duct tape around the edges of the padding, including the seams where 2 pieces meet. Once the padding is secure, load a pneumatic staple gun and use it on the edges of the padding first. Place staples every 30 to 40 cm (12 to 16 in) around the edges, then do the same for the interior portion. Keep the spacing consistent.[14]
- Check the padding when you’re done. Make sure it is well-secured to the floor.
- Some people choose not to use padding at all. You can do this, especially if you’re having trouble with the installation, but your carpeting won’t last as long as it would otherwise.
-
3Roll carpet over the padding and cut off the excess with a utility knife. Install the first roll along the room’s width, starting from the corner furthest from the door. Keep the carpet butted up against the grippers. Spread it as flat as you can before cutting it. Then, trim it, leaving about 1 m (100 cm) of extra length on each edge adjacent to a wall. The extra length is meant to be tucked into the space between the grippers and the wall.[15]
- To flatten out the carpet, stand up and walk on it. Push noticeable wrinkles or bubbles towards the edges with your feet and hands.
- Press the excess carpet up against the wall so you can easily cut it. Don’t tuck it behind the grippers yet.
-
4Stretch the carpet over the grippers with a knee kicker. Place the knee kicker on the edge of the carpet in the room’s corner. Once the toothed edge sticks in place, give the vertical pad on the back a hard bump with your knee. It pushes the carpet onto the tacks, hooking it in place. Do this about every 1⁄3 m (13 in) around the room to secure the entire carpet to the grippers.[16]
- To ensure the carpet is well-secured, work on the back corners first. Move onto the back length of the room next, then transition to the side walls. Finish the front part last.
-
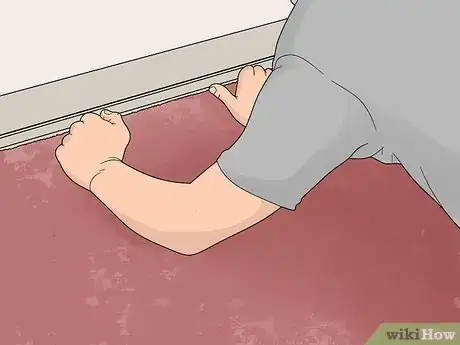
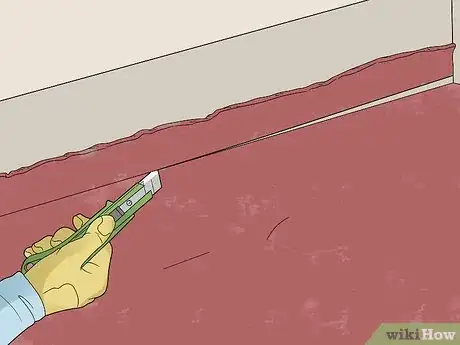
5Trim the carpet with a utility knife to tuck it against the wall. Hold the excess length of carpeting flat against the wall. Leave enough left to tuck the carpeting into the gap between the walls and the grippers. Fold the carpet’s edges over the strips, using a flat tool called a carpet chisel to push it underneath the baseboards. Once that is done, you can take out any remaining tools to begin moving furniture back into the room.[17]
- To help make cut carpeting look more consistent, you can apply seaming tape underneath each seam with the adhesive side up. Heat it with a seaming iron, then press the edges of the carpet down to stick it in place.
Warnings
- Carpet grippers have very sharp tacks, so always wear cut-resistant work gloves when handling them.⧼thumbs_response⧽
- To avoid toxic dust, wear a dust mask when sanding any type of flooring.⧼thumbs_response⧽
Things You’ll Need
- Tape measure
- Pencil
- Paper
- Carpenter’s level
- Pliers or handsaw
- Knee kicker
- Duct tape
- Utility knife
- Carpet padding
- Hammer
- Broom or vacuum
- 120-grit sandpaper (optional)
- Sander or concrete grinder (optional)
- Self-leveling compound (optional)
- Trowel (optional)
References
- ↑ https://goodcarpetguide.com/what-is-a-carpet-gripper-and-how-to-use-it/
- ↑ https://goodcarpetguide.com/what-is-a-carpet-gripper-and-how-to-use-it/
- ↑ https://www.bobvila.com/articles/how-to-install-carpet/
- ↑ https://www.bobvila.com/articles/leveling-a-floor/
- ↑ https://www.thisoldhouse.com/flooring/21015803/subflooring-secrets-to-a-quiet-floor
- ↑ https://www.bobvila.com/articles/leveling-a-floor/
- ↑ https://goodcarpetguide.com/what-is-a-carpet-gripper-and-how-to-use-it/
- ↑ https://www.youtube.com/watch?v=vMbvshfAaK0&feature=youtu.be&t=108
- ↑ https://www.youtube.com/watch?v=E-CRDoPxF_c&feature=youtu.be&t=67
- ↑ https://www.thisoldhouse.com/flooring/21016430/how-to-install-carpeting
- ↑ https://goodcarpetguide.com/what-is-a-carpet-gripper-and-how-to-use-it/
- ↑ https://goodcarpetguide.com/what-is-a-carpet-gripper-and-how-to-use-it/
- ↑ https://www.youtube.com/watch?v=vMbvshfAaK0&feature=youtu.be&t=192
- ↑ https://www.thisoldhouse.com/flooring/21016430/how-to-install-carpeting
- ↑ https://www.bobvila.com/articles/how-to-install-carpet/
- ↑ https://www.youtube.com/watch?v=QJqI88F0wAM&feature=youtu.be&t=140
- ↑ https://www.bobvila.com/articles/how-to-install-carpet/
- ↑ https://www.thisoldhouse.com/flooring/21016430/how-to-install-carpeting
- ↑ https://www.thisoldhouse.com/flooring/21097110/how-to-remove-carpet
- ↑ https://www.bobvila.com/articles/how-to-install-carpet/






-Step-19.webp)





-Step-19.webp)


