X
This article was co-authored by wikiHow staff writer, Jack Lloyd. Jack Lloyd is a Technology Writer and Editor for wikiHow. He has over two years of experience writing and editing technology-related articles. He is technology enthusiast and an English teacher.
The wikiHow Tech Team also followed the article's instructions and verified that they work.
This article has been viewed 91,142 times.
Learn more...
This wikiHow teaches you how to download and install Microsoft Picture Manager on your Windows computer. While Picture Manager is no longer included as part of Microsoft Office, you can install it from within the free SharePoint 2007 program's installation menu.
Steps
-
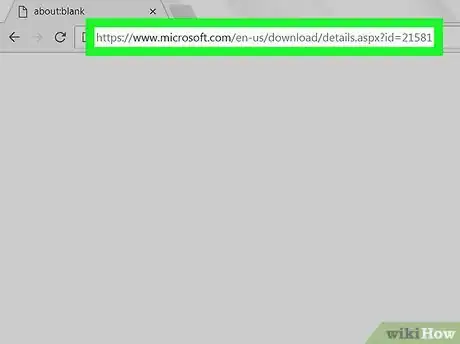
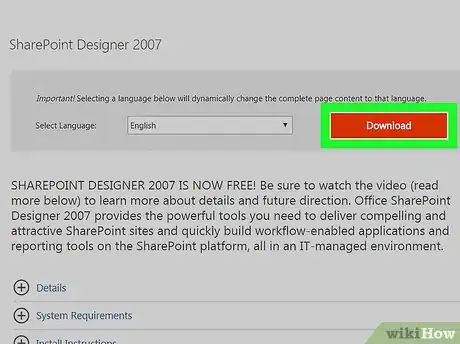
1Open the SharePoint Designer 2007 page. This is the page from which you'll download SharePoint 2007, which is the program you'll use to install Picture Manager.
-
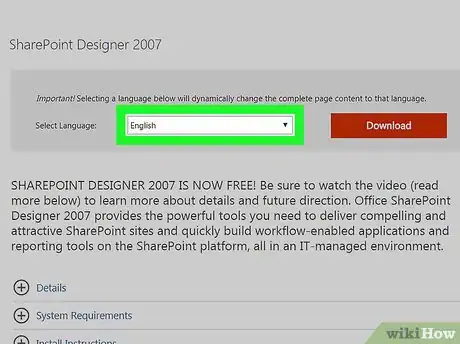
2Scroll down and select a language. Click the "Select Language" drop-down box, then click the language you want to use for your installer.Advertisement
-
3Click Download. It's an orange button to the right of the "Select Language" field.
-
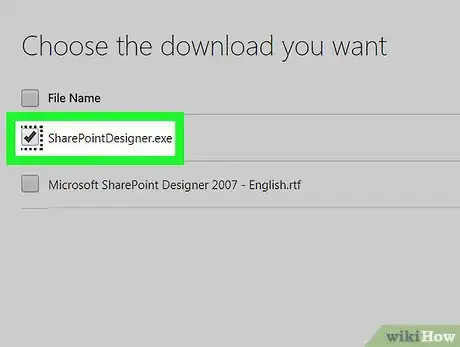
4Check the "SharePointDesigner.exe" box. You'll find this option on the left side of the page.[1]
-
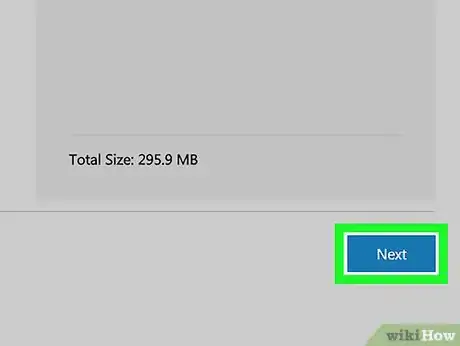
5Click Next. It's in the lower-right side of the page. Doing so prompts SharePoint 2007's setup file to begin downloading, though you may need to select a save location and/or confirm the download before you can proceed.
-
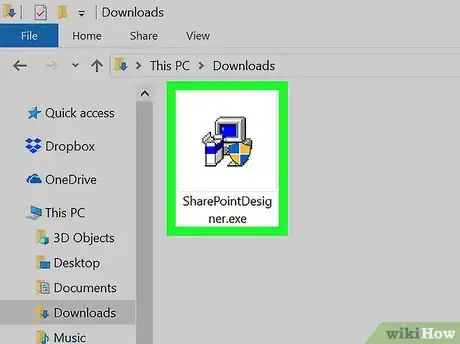
6Double-click the "SharePointDesigner" setup file. Unless you selected a different download location, you'll find this in your browser's default "Downloads" folder.
-
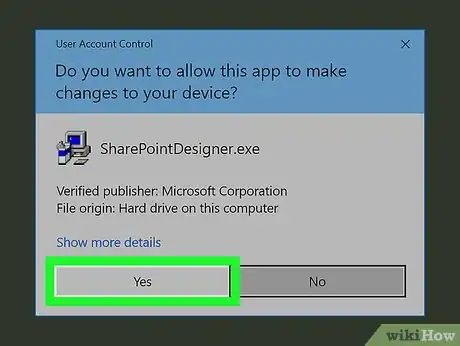
7Click Yes when prompted. This will open the installation window.
-
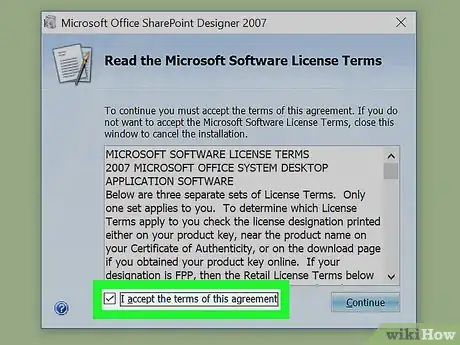
8Check the "I accept the terms of this agreement" box. It's in the bottom-left corner of the window.
-
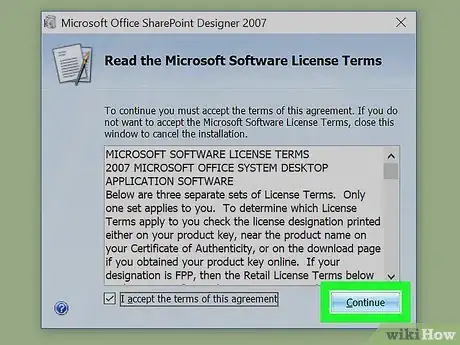
9Click Continue. This option is in the bottom-right corner of the window.
-
10Click Customize. It's in the middle of the window.
-
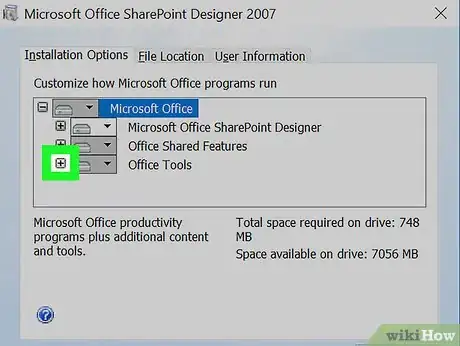
11Expand the "Office Tools" heading. Click the + icon to the left of the "Office Tools" heading to do so. You should see a list of items appear below the "Office Tools" heading.
-
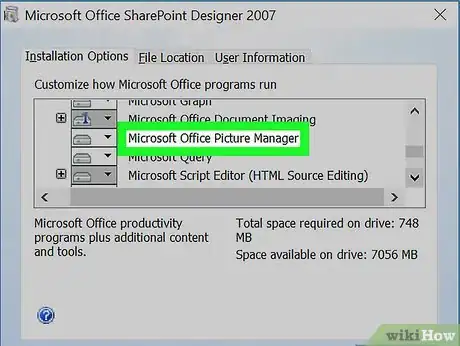
12Scroll down to the "Microsoft Office Picture Manager" heading. You'll find it in the list of items below the "Office Tools" heading.
-
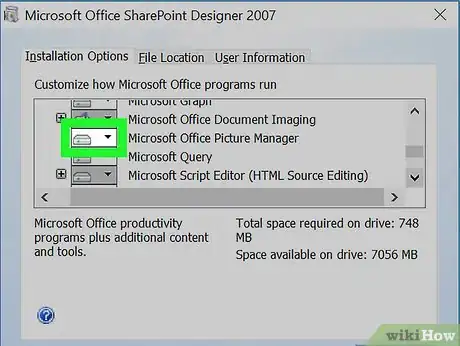
13
-
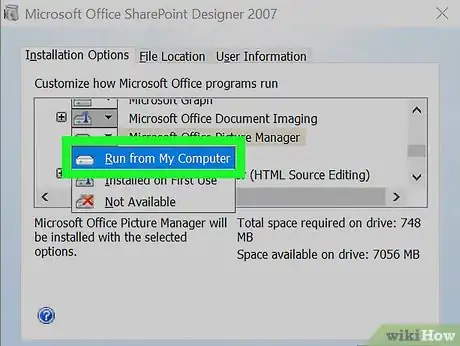
14Click Run from My Computer. This option is in the drop-down menu.
-
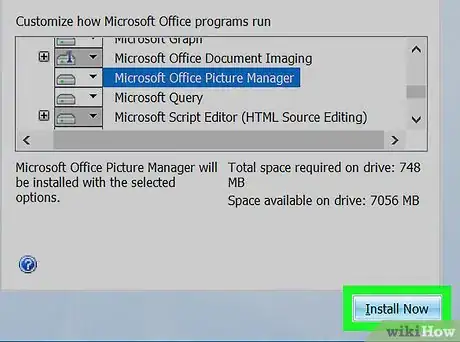
15Click Install Now. It's at the bottom of the window. SharePoint 2007 and the included Microsoft Picture Manager program will begin installing.
-
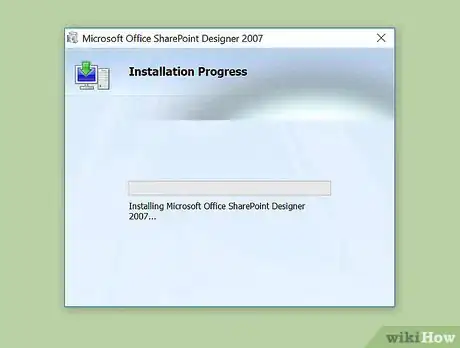
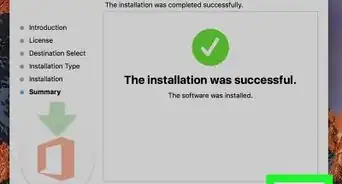
16Wait for the installation to complete. This will take around 15 minutes. Once you're prompted to click Close, you can do so to proceed.
-
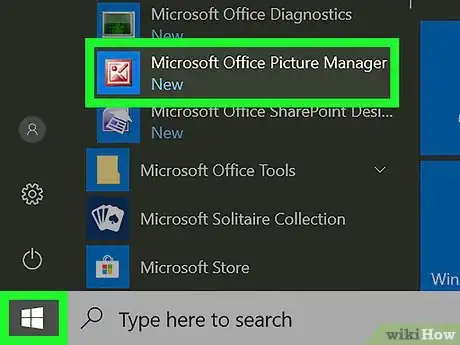
17Open Microsoft Picture Manager. Once you've finished installing Picture Manager, you can open it by clicking Start , typing in microsoft office picture manager, and clicking Microsoft Office Picture Manager at the top of the Start menu.
- If you don't see Picture Manager in the Start menu, restart your computer by clicking Power and then clicking Restart. Once your computer finishes restarting, Picture Manager will appear in Start.
Advertisement
Warnings
- Do not download Picture Manager from anywhere other than Microsoft's site.⧼thumbs_response⧽
Advertisement
References
About This Article
Advertisement






-Step-4Bullet1.webp)


