X
This article was co-authored by wikiHow staff writer, Darlene Antonelli, MA. Darlene Antonelli is a Technology Writer and Editor for wikiHow. Darlene has experience teaching college courses, writing technology-related articles, and working hands-on in the technology field. She earned an MA in Writing from Rowan University in 2012 and wrote her thesis on online communities and the personalities curated in such communities.
This article has been viewed 1,266 times.
Learn more...
Do you want to create a Java project in Eclipse? Fortunately, a new update to Eclipse means you no longer have to specifically download Java packages! This wikiHow article teaches you how to download Eclipse and start a Java project.
Steps
Part 1
Part 1 of 2:
Downloading Eclipse
-
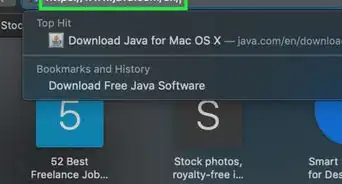
1Go to https://www.eclipse.org/ and click Download. You'll see this orange button in the top right corner of the web browser page.
-
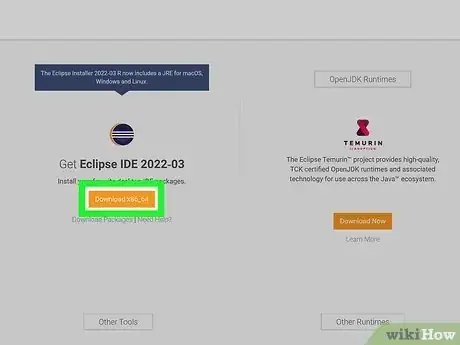
2Click Download under "Get Eclipse IDE." There are downloads available for Windows, macOS, and Linux systems; you'll see the appropriate link listed (for example, this will display x86_64 if you have Windows 10).Advertisement
-
3Click Download. You'll see where you are downloading from, but you can select another download source if you prefer.
-
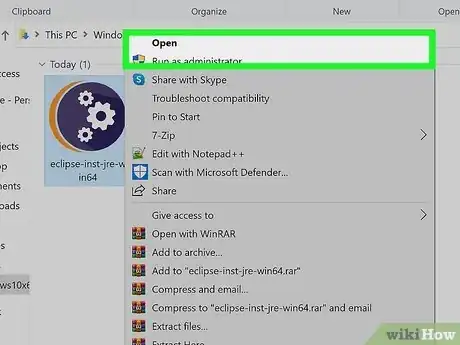
4Download and install the program. The methods here vary depending on your operating system. If you're using a Windows computer, double-click the installed program (probably in your Downloads folder) and select Run.
- For a Mac computer, you most likely will need to drag the application icon out of the Downloads folder in Finder and drop it in the Applications folder.
-
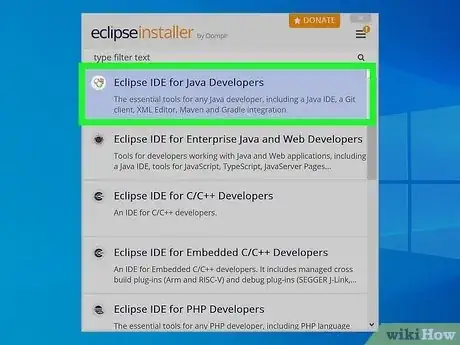
5Select Eclipse IDE for Java Developers. This should be the first option in the menu.
-
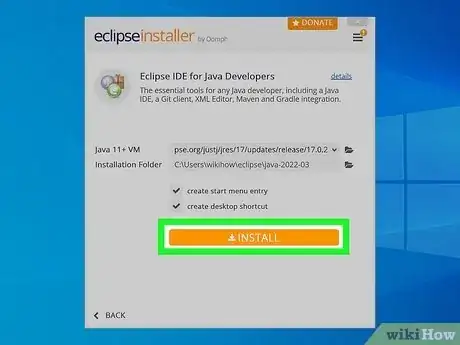
6Click Install. You'll see this button once you select the Java option.
-
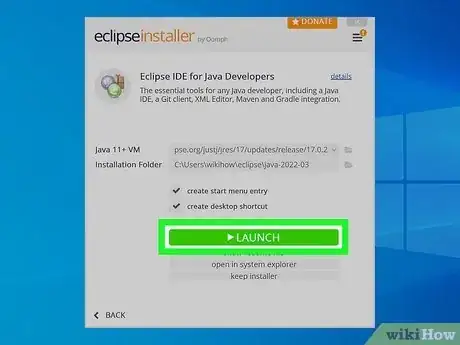
7Click Launch. The "Install" button will change to "Launch" once the program has been successfully installed on your computer.
- You may need to confirm and click Launch again.
Advertisement
Part 2
Part 2 of 2:
Creating a Java Project in Eclipse
-
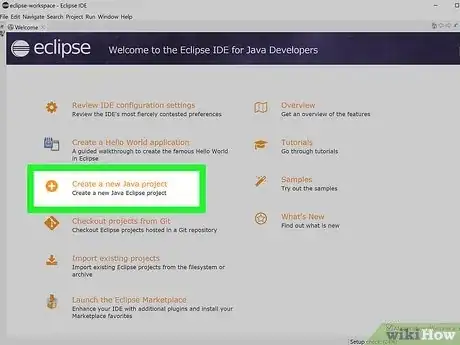
1Click Create a new Java project. You should see this option displayed as soon as you launch Eclipse after you've installed it.
-
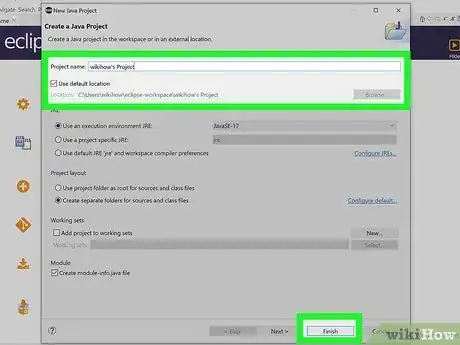
2Create a project name and select Finished. Leave the defaults as they are, and only fill out the project name.
-
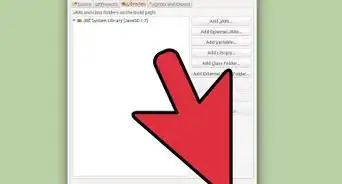
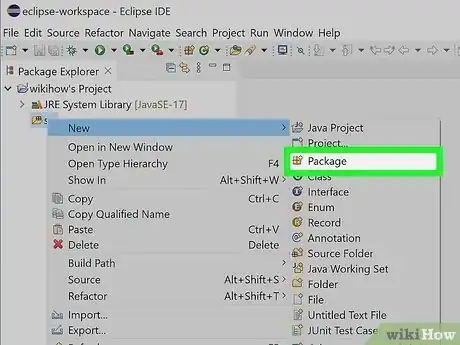
3Create a package. To do so, navigate to "src." You'll see this listing in the panel on the left side of the screen once you create the Java project. If you don't see it, expand the menus under your project name, then JRE System Library.
- Right-click "src." A menu should appear.
- Go to New and click Package. When you hover your mouse over "New," a menu will slide out.
-
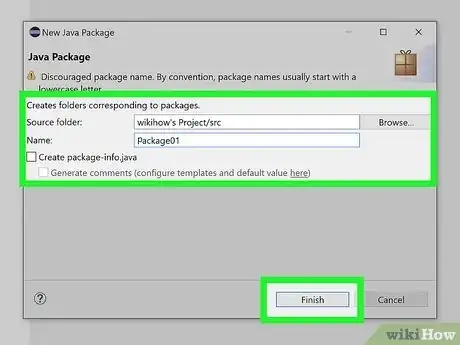
4Name your package. Make this something you'll recognize easily.
- Click Finish and close the window.
-
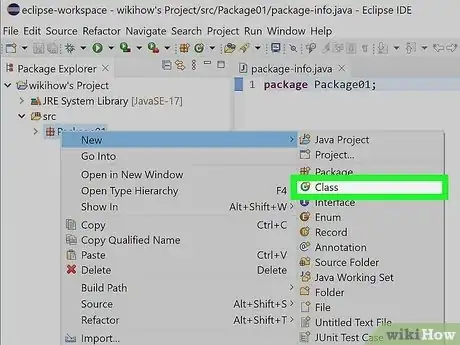
5Create a class. To do this, navigate to the package you just created (it's in the panel on the left side of the window), and right-click it to get a menu.
- Go to New and select Class.
-
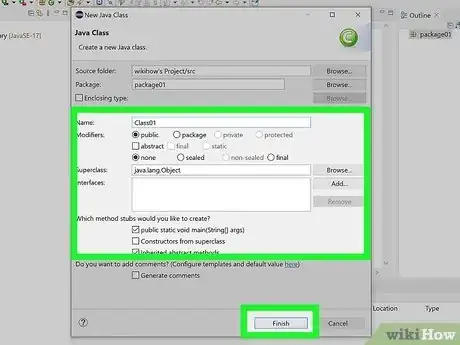
6Define the class. To the right of "Name," enter the class name.
- Check the box next to "public static void main(String[] args)" and "Inherited abstract methods" under Which method stubs would you like to create?
- Click Finish to close the window.
- Once you return to your project, you'll see some Java coding.
-
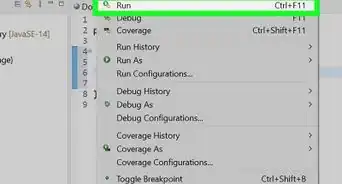
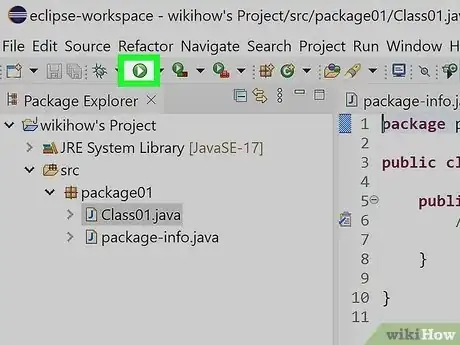
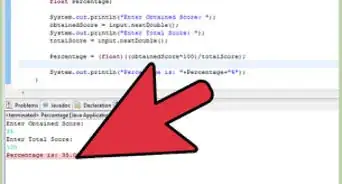
7Click the Run button. It looks like a play icon at the top of the window.
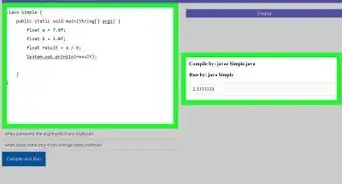
- The Java code inside your project will run to produce what everyone else will see (the output).
Advertisement
About This Article
Advertisement


-Step-42.webp)
