This article was co-authored by Barbie Ritzman. Barbie Ritzman is a Beauty Specialist, Influencer, and the Owner of Barbie’s Beauty Bits. With over 10 years of experience in the beauty industry, she specializes in skincare and aesthetics. Barbie studied marketing at Tidewater Community College and holds a Certificate from the Media Buying Academy. For her work, she’s won Beauty Influencer of the Year - The USA and was featured in “The Allure 50,” which includes the year’s 50 most influential people in the beauty industry.
There are 14 references cited in this article, which can be found at the bottom of the page.
This article has been viewed 493,044 times.
When it’s put on your skin instead of in your belly, sugar can be a great beauty aid. It’s moisturizing; it contains glycolic acid, which encourages cell turnover for youthful-looking skin; and its small particles make a great exfoliant.[1] You can mix sugar with any number of ingredients to make your own face mask.
Steps
Mixing Sugar with Your Facial Cleanser
-
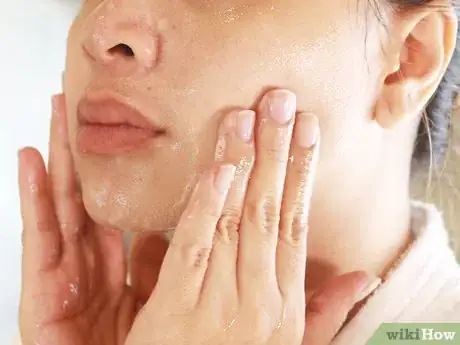
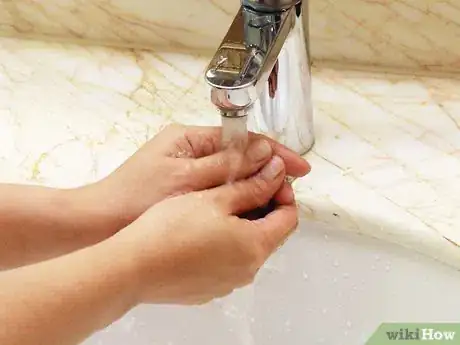
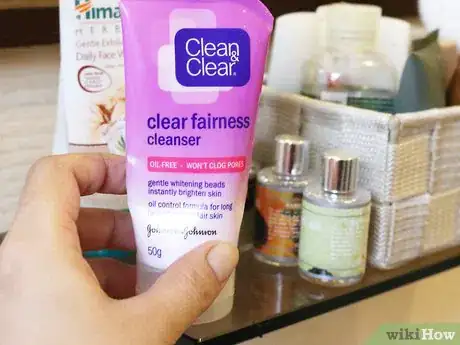
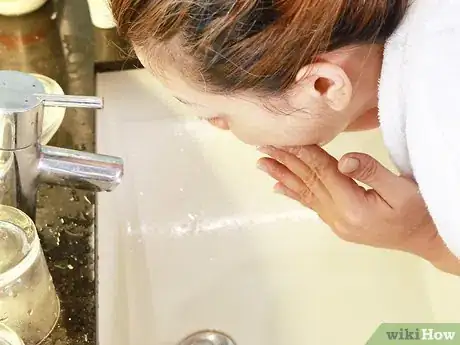
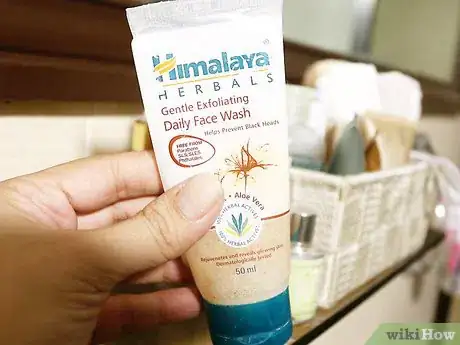
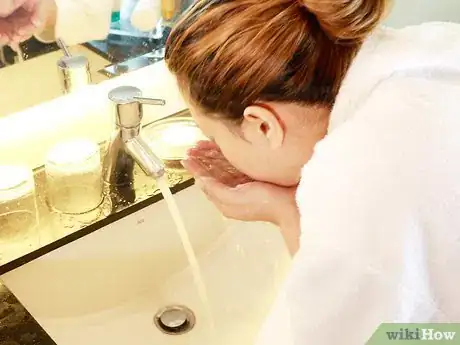
1Massage your favourite cleanser onto your face. Use warm water and work up a good lather.
- This facial works best with a lathering facial cleanser because the lather helps hold the sugar on your skin.
-
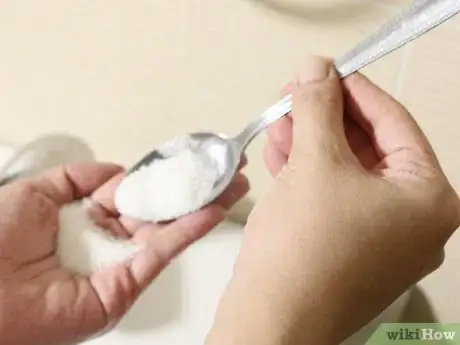
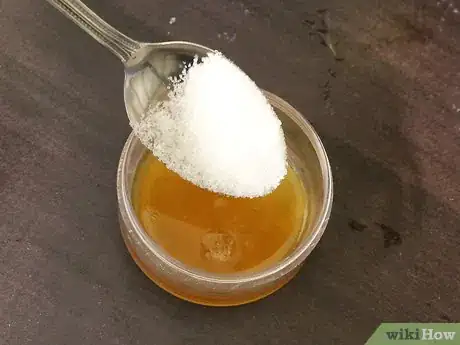
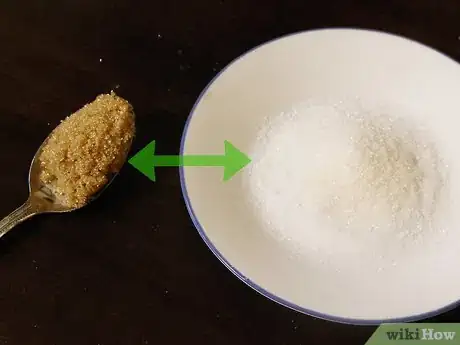
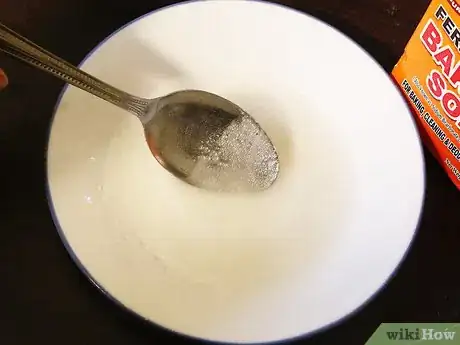
2Pour 1 tsp of sugar into the palm of your hand. You can use whichever sugar you like. Some people recommend using brown sugar as it’s softer and gentler to your skin.[2]
- You can also use coarser, granulated sugar if you prefer. It’s really a matter of personal preference.
Advertisement -
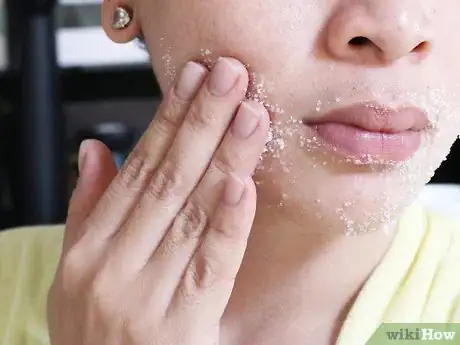
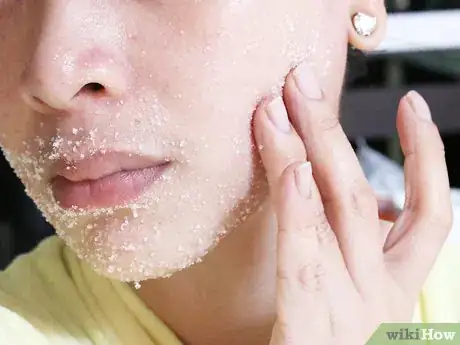
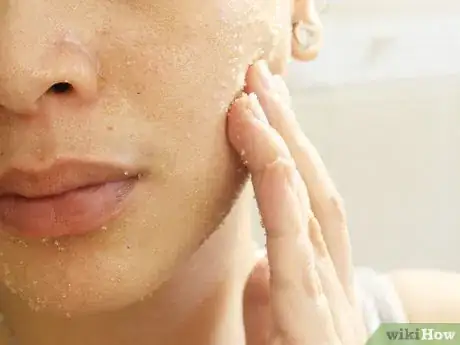
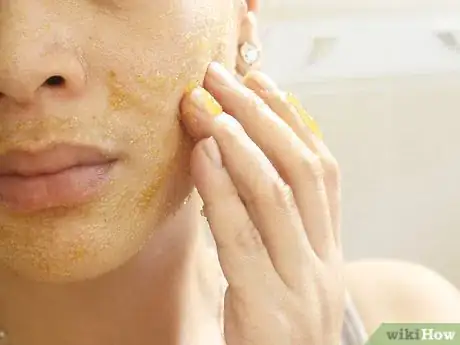
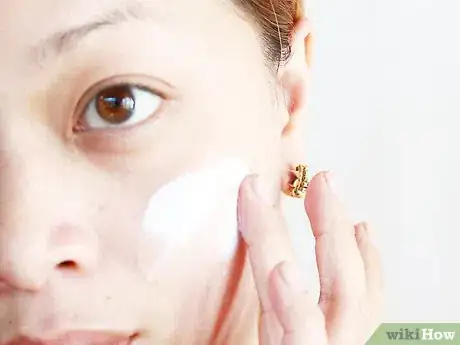
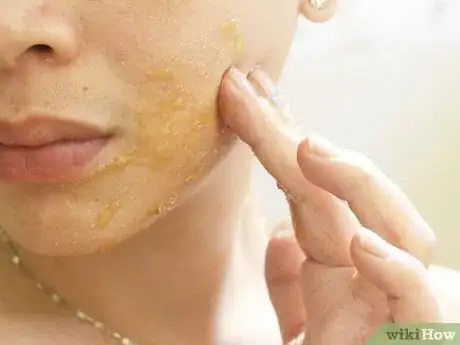
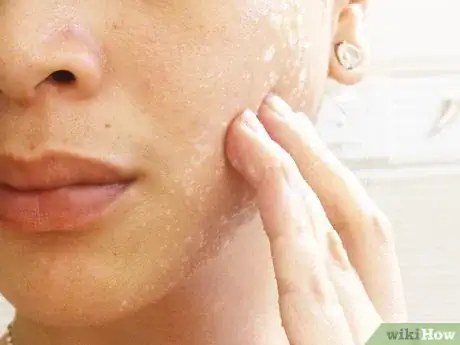
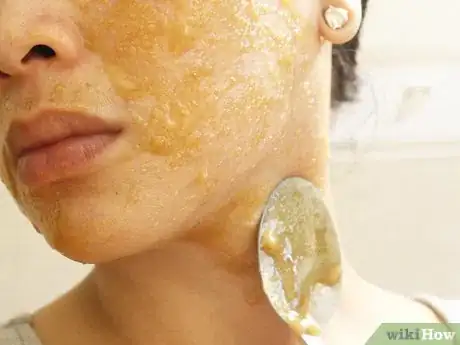
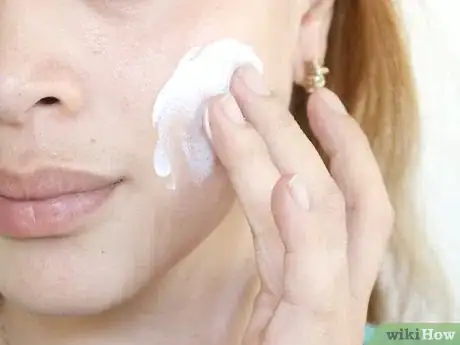
3Gently work the sugar into your skin with your fingers. Using gentle circular motions with your fingers, work the sugar into the lather.[3] Go over your entire face, but avoid your lips and eyes.
- Focus on lifting your skin, not pulling it downward.[4]
- Don’t use a washcloth to rub the sugar into your skin, as this will be too harsh of an exfoliant and may irritate your skin.
-
4Don’t press hard. The sugar will do its work even with gentle pressure, so resist the urge to press down hard as you spread it over your skin.[5]
- It’s important to be gentle so that you don’t cause any microscopic tears on your skin’s surface, which could lead to breakouts or just generally less healthy-looking skin.
-
5Add a bit of warm water if necessary to keep the lather going. If the lather dies down, add a bit of water. Just don’t add too much, or the sugar will dissolve.
-
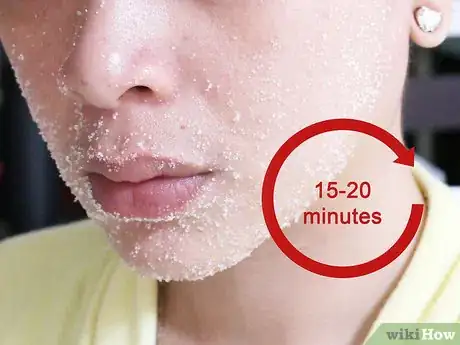
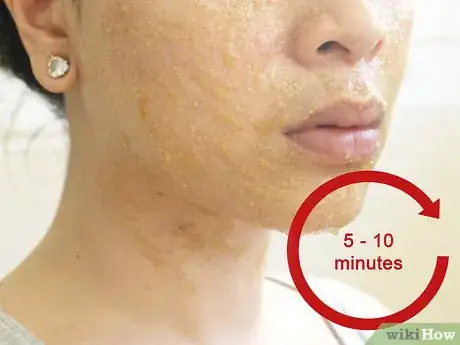
6Let sit for 15 to 20 minutes. Once your face is covered and the sugar is firmly set in the lather, let the mixture sink into your skin for 15 to 20 minutes.
- Try not to move around too much during this time, as the sugar will be more likely to fall off and you’ll reduce the benefits of the mask. It’ll also make your house messy, with little crumbs of sugar everywhere.
-
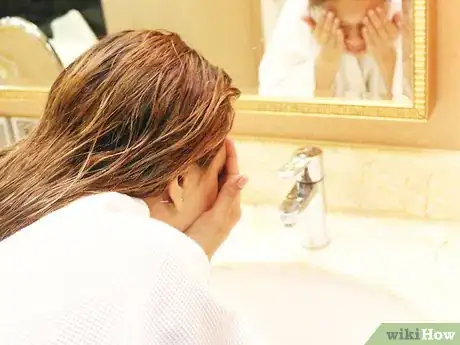
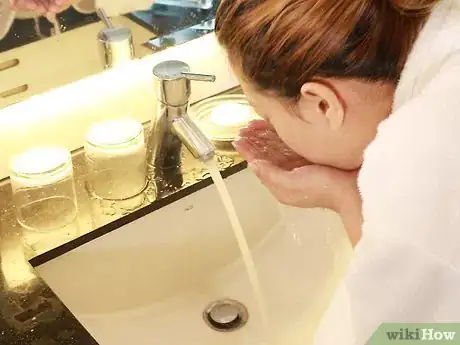
7Rinse the mask off with cool water. After 15 to 20 minutes, rinse the mask off with cool water. The cool water will help close your pores and seal in moisture.
- You can also use lukewarm water, but definitely don't use hot water. Hot temperatures will zap away any moisture and dry out your skin.[6]
-
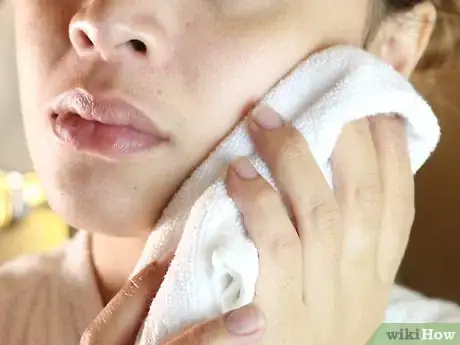
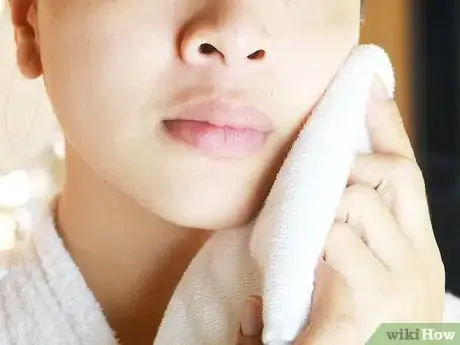
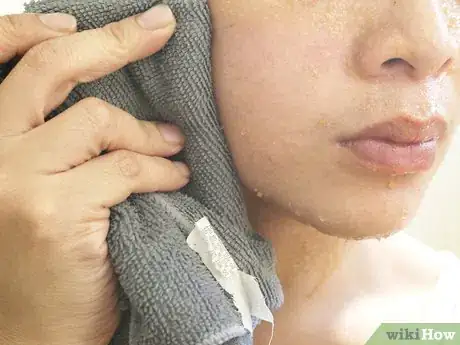
8Gently pat your face dry with a clean, dry towel. Be gentle as you pat your face dry. If you scrub your face with the towel, you may cause skin irritation, including breakouts.[7]
-
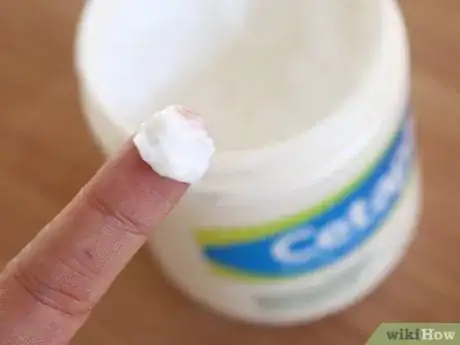
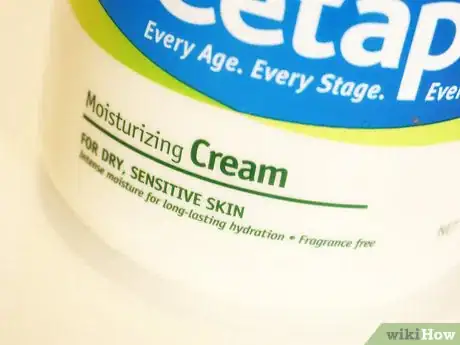
9Apply your favorite moisturizer. Give your skin a final treat by massaging your favorite moisturizer into your face and neck.
Mixing Sugar with Olive Oil and Essential Oil
-
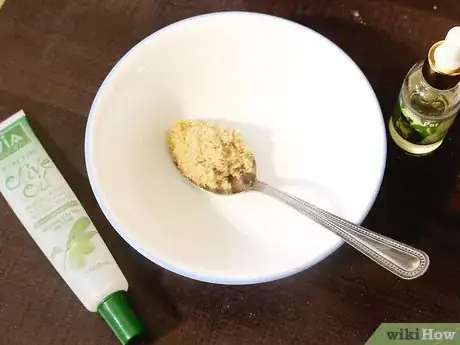
1Gather your materials:[8]
- Brown sugar
- Olive oil
- Essential oil of your choosing
- Whisk
-
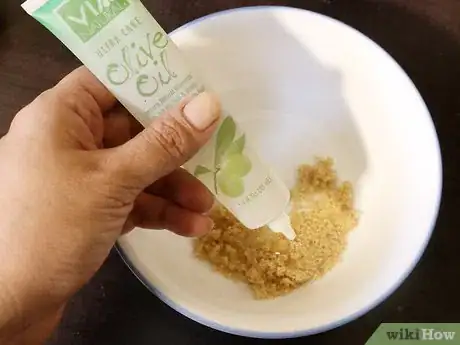
2Mix olive oil and brown sugar together. In a bowl, mix the olive oil and brown sugar together with a whisk. The oil-to-sugar ratio depends on your own preference. Just make sure that the mixture is thick enough that it sticks to your face and isn’t runny.
- You might start by pouring a quarter cup of the sugar in a bowl and then adding oil by the tsp until the mixture reaches a consistency that you like.
-
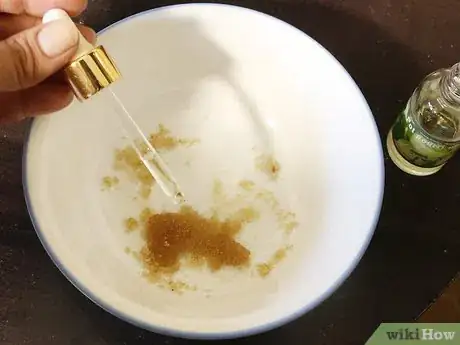
3Add a few drops of essential oil. You can add whichever essential oils you want to this mixture. Just make sure you don’t add so much that the scent of the mask is overpowering. Too much essential oil may also irritate your skin.
- One expert recommends adding ginger for a warming, spicy scent, or a mixture of ginger and citrus oils such as grapefruit or orange for a refreshing scent to give you kickstart.[9]
- If you’re doing the facial at night, you might try using a relaxing scent like lavender.
-
4Wash your face with a gentle cleanser. Use a gentle cleanser to wash your face with lukewarm water, then pat your face dry with a clean, dry washcloth.
- Always get rid of any makeup, dirt, dead skin, and impurities from your skin before you get started.[10]
-
5Apply the sugar-oil mixture to your face. Using your fingers, work in gentle circular motions to apply the sugar-oil mixture to your face. Be careful to avoid your eyes and mouth during application.
-
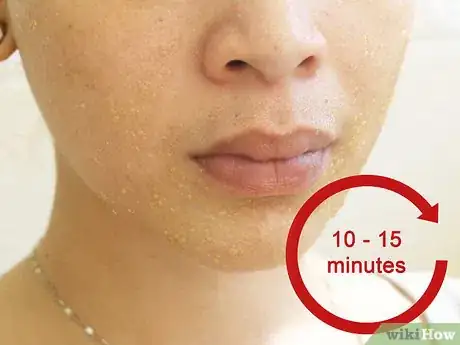
6Leave on for 10 to 15 minutes. Let the mixture sit on your face for 10 to 15 minutes.
-
7Thoroughly rinse your face with cool water. Rinse your face with cool water until the scrub is completely gone, and then pat your face dry with a clean, dry washcloth.
-
8Apply a moisturizer to your skin. Seal in the moisturizing effects of the scrub with your favorite moisturizer.
Mixing Sugar with Lemon Juice and Honey
-
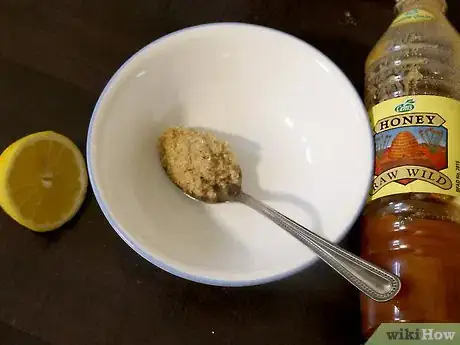
1Gather your materials:[11]
- Freshly squeezed lemon juice
- Brown sugar
- Honey (organic is recommended)
- Whisk
-
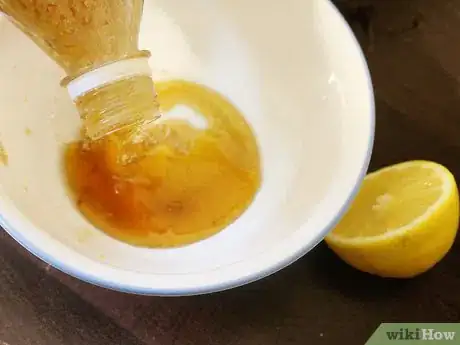
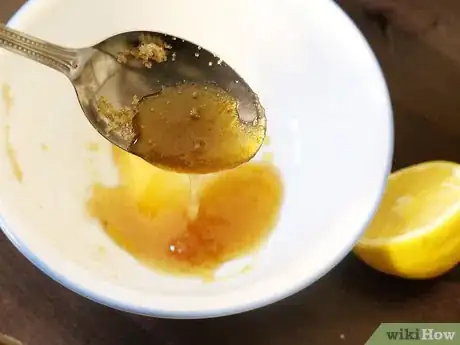
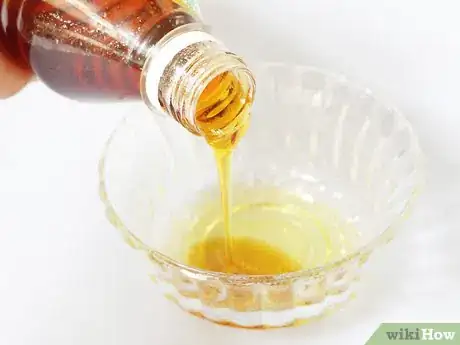
2Combine lemon juice, sugar, and honey in a bowl. How much you use will depend on your own personal preferences. Try starting with a quarter cup of brown sugar and then adding lemon juice and honey to it until it reaches your desired consistency.
-
3Make sure the mixture is thick enough. If it’s not thick enough it will drip down your skin, into your eyes and on to your clothing and furniture.
-
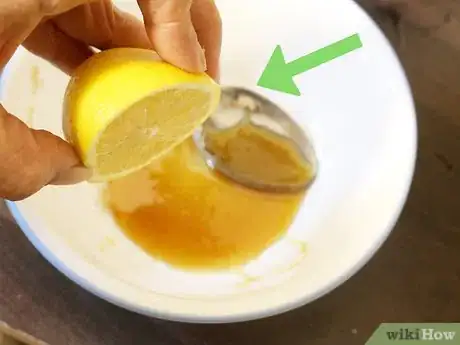
4Go easy on the lemon juice. Lemon juice can dry out and irritate your skin. If the scrub contained olive oil, you could use more lemon juice, but because this one doesn’t, stick to just a few drops of lemon juice.
-
5Wash your face with a gentle cleanser. Use a gentle cleanser to wash your face with lukewarm water, then pat your face dry with a clean, dry washcloth.
-
6Apply the mixture to your face with your fingers. Work the sugar-honey mixture on to your face with your finger tips in gentle circular motions. Avoid your eyes and mouth while applying.
-
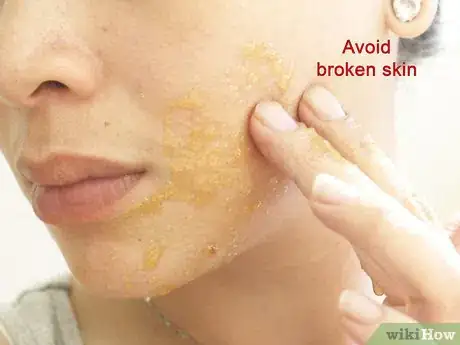
7Avoid putting the mixture on broken skin. If you have any cuts or open acne on your face, avoid applying the scrub to those areas as the lemon juice will sting them. In addition, the friction from applying the scrub may make your acne worse.
-
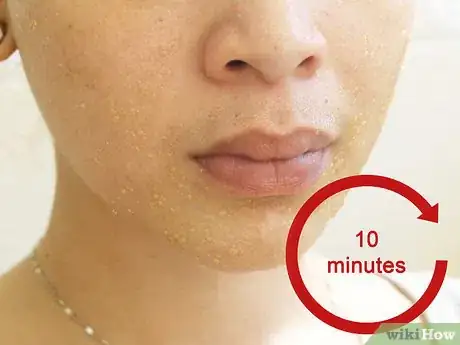
8Leave on for 10 minutes. Let the solution sit on your face for 10 minutes. During this time, the mixture should help tighten your pores and even your skin tone (lemon), remove dead skin and clean your pores (sugar), and prevent acne (honey).[12]
-
9Rinse your face with cool water. Rinse your face with cool water until the scrub is completely gone, and then pat your face dry with a clean, dry washcloth. You should notice that your skin has a slight glow and feels soft.
-
10Apply a moisturizer to your face and neck. Seal in the moisturizing effects of the scrub with your favourite moisturizer.
Mixing Sugar with Lemon Juice, Olive Oil, and Honey
-
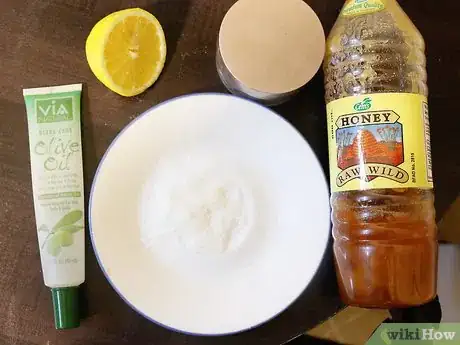
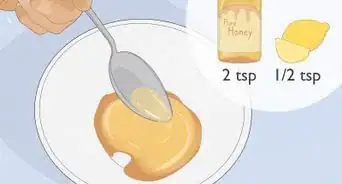
1Gather your materials:[13]
- Juice from 1/2 of a fresh lemon
- 1/2 cup of granulated sugar
- 1 tbsp. olive oil
- 1 tbsp. honey (organic is recommended)
- Whisk
- 1 container with a lid
-
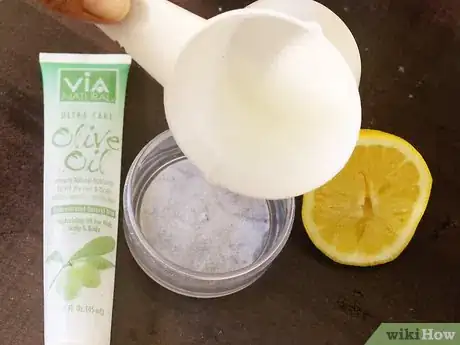
2Combine lemon juice and olive oil in container. Make sure that they are well mixed. You can use the container that you will be storing the exfoliating scrub in.
-
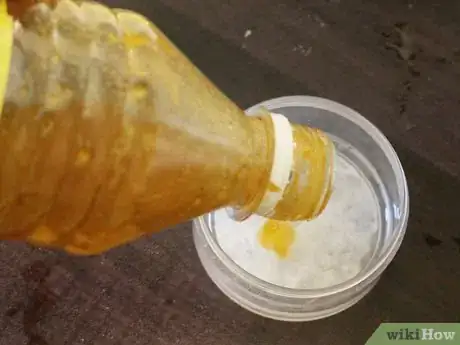
3Whisk in the honey. Do this until the lemon juice, olive oil, and honey combine into a medium-thick solution.
- You can adjust the amount of honey and olive oil you use depending on how thick or thin you want the scrub to be.
-
4Add the sugar to the container and mix. Whisk the whole mixture together until it’s well blended. You can add more sugar depending on your personal preference.
-
5Wash your face. Use a gentle cleanser to wash your face with lukewarm water, then pat your face dry with a clean, dry washcloth.
-
6Apply the sugar mixture to your face. Use gentle circular motions to apply the scrub to your face. Avoid your eyes and mouth while applying.
-
7Avoid putting on broken skin. If you have any cuts or open acne on your face, avoid applying the scrub to those areas as the lemon juice will sting them. In addition, the friction from applying the scrub may make your acne worse.
-
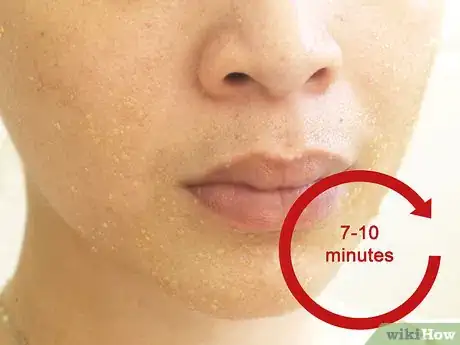
8Leave on for 7 to 10 minutes. Let the solution sit on your face for 7 to 10 minutes. During this time, the mixture should help tighten your pores and even your skin tone (lemon), reduce the appearance of scars (olive oil), remove dead skin and clean your pores (sugar), and prevent acne (honey).[14]
-
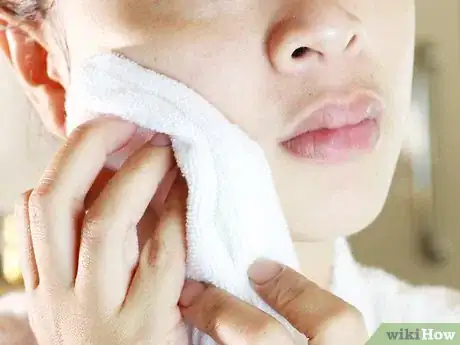
9Rinse with cool water. Rinse your face with cool water until the scrub is completely gone, and then pat your face dry with a clean, dry washcloth.
-
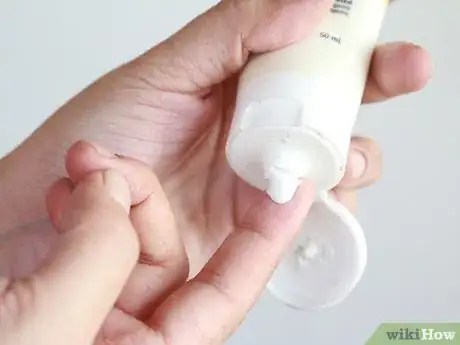
10Apply a moisturizer to your skin. Seal in the moisturizing effects of the scrub with your favorite moisturizer.
-
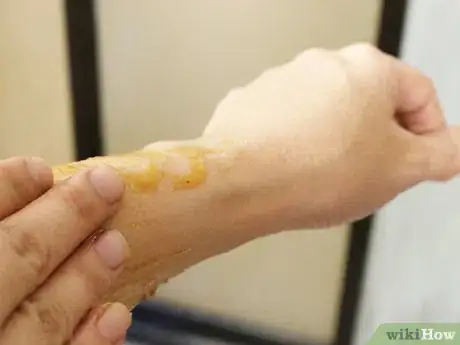
11Use on your body (optional). You can also apply this scrub to your entire body. If you do this, you’ll want to focus on rough spots like your elbows, knees, feet, and hands. Rub the solution in circular motions over your skin for 3 to 5 minutes.
- You needn’t be as careful as you were with your face, as the skin on the rest of your body is less delicate.
Mixing Sugar with Baking Soda and Water
-
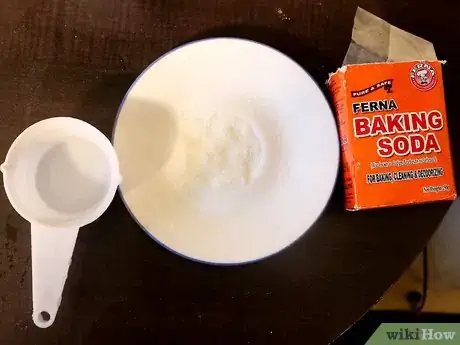
1Gather your materials:[15]
- 1 tbsp. baking soda
- 1 tbsp. granulated sugar
- 2 tbsp. water
-
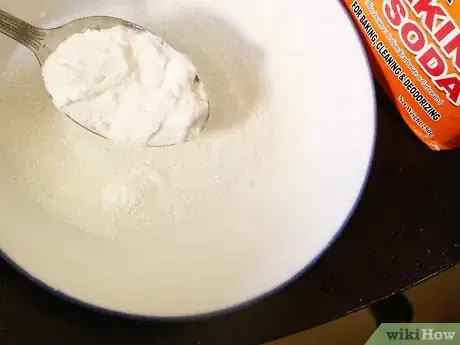
2Mix the baking soda, sugar and water together. Ensure that the three ingredients are mixed well so that they form a smooth, clump-free paste.
-
3Wash your face with a gentle cleanser. Doing this will remove any dirt and buildup before you exfoliate. Be sure to pat your face dry gently with a clean, dry washcloth before applying the sugar-baking soda mixture.
-
4Apply the mixture to your face. Use your fingers to gently massage the mixture into your face. It’s important to be gentle otherwise you may cause the skin of your face to become irritated, which could lead to breakouts.
- Focus on areas where you have a lot of blackheads (usually around your nose and chin), as this scrub is particularly good at targeting blackheads.
-
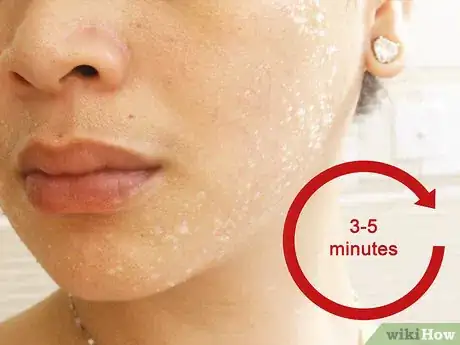
5Allow the mixture to remain on your face for 3 to 5 minutes. You may want to sit down and relax. The more you move around, the more likely the mixture is to come off your face and get on your clothes/furniture.
-
6Rinse your face with warm water. Ensure that you’ve rinsed it thoroughly and that there is no residue left on your face.
-
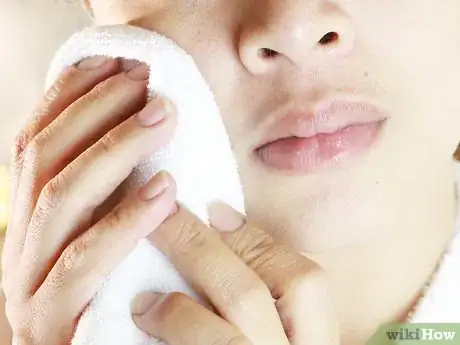
7Pat your face dry with a clean, dry washcloth. Be sure to gently pat your face dry. Scrubbing it with a washcloth will only cause irritation, and could lead to breakouts.
-
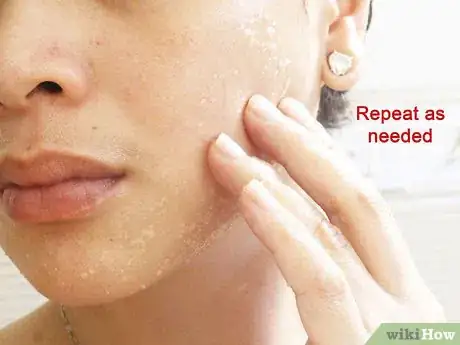
8Repeat as needed. Most experts recommend against exfoliating more than twice a week. If you have a lot of blackheads, you can just apply this mixture to the areas where you have blackheads.
- If you aren’t applying the mixture to your whole face, you can probably get away with applying it to your face more than twice a week. Just be sure to stop using it if you notice any irritation.
- Baking soda is known to dry out the skin, so you’ll definitely not want to overdo it.
-
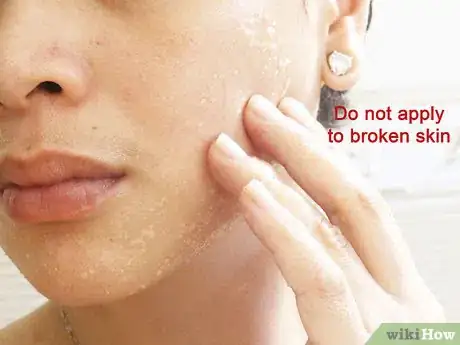
9Do not apply the mixture to broken skin or squeezed pimples. Applying baking soda to broken skin and squeezed pimples will only make them worse, so avoid these areas.[16]
Mixing Sugar with Lemon, Honey, and Baking Soda
-
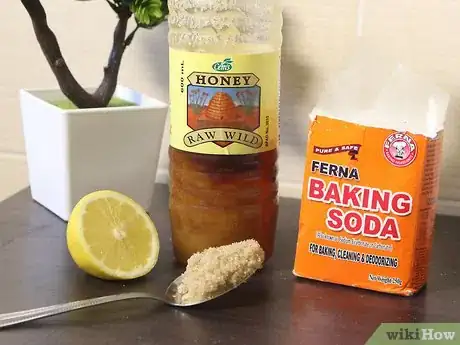
1Gather your materials:
- Juice from 1/2 a lemon (or 1 tsp. of concentrated lemon juice)
- 1 or 2 tbsp. of baking soda
- 1 tsp. honey
- Brown sugar to desired thickness
-
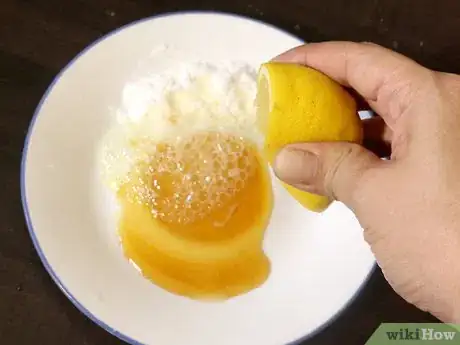
2Combine lemon juice, baking soda, and honey. Use a fork or a whisk to combine the lemon juice, baking soda, and honey in a bowl. Ensure that the mixture is smooth and free of clumps.
-
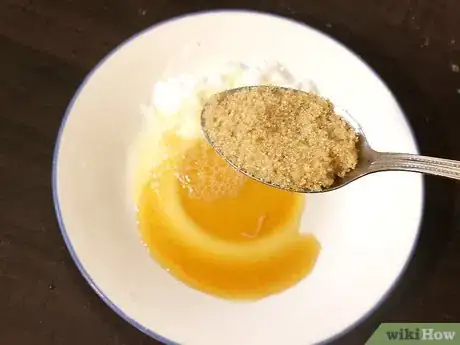
3Add brown sugar to desired thickness. How much brown sugar you add will depend on your own tastes. If you want the paste to be thicker, add more sugar; for a lighter, runnier exfoliating paste, add less sugar.
-
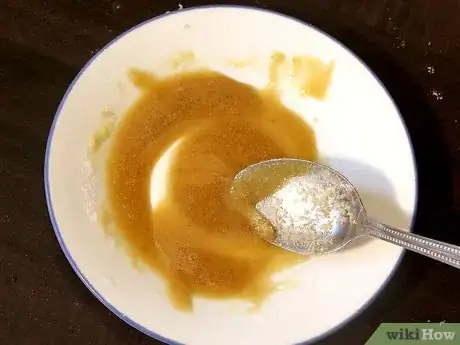
4Mix everything together to form a smooth paste. Make sure the paste is free of lumps. Also make sure that it is not too runny, otherwise it may drip into your eyes or on your clothes or furniture.
-
5Wash face with gentle cleanser and pat dry. Use lukewarm water and gently massage your face as you wash it. Be sure to rinse it well. Be gentle as you pat your face dry so as not to irritate your skin.
-
6Apply the mixture to your face and neck. Using gentle, circular motions, apply the mixture to your face and neck with your fingertips.
-
7Leave on for 5 to 15 minutes. You will likely feel some light tingling and tightening. This is the mask doing its job! If your skin begins to burn, however, wash the mask off right away.
-
8Remove the mask with a damp washcloth. Dampen a washcloth with lukewarm water and then use gentle, circular motions to move the mixture from your skin.
- You may need to rinse out the cloth and re-wet it a few times to completely and thoroughly remove the mixture from your skin.
-
9Splash your face with cold water. Use the coldest water you can handle, as this will help close your pores and lock in the benefits of the mask. Afterward, gently pat your face dry with a clean, dry washcloth.
-
10Moisturize. Once your face is clean and dry, apply your favorite moisturizer to your face and neck. Even without the moisturizer, you should notice that your skin is smoother and brighter even after one treatment.
-
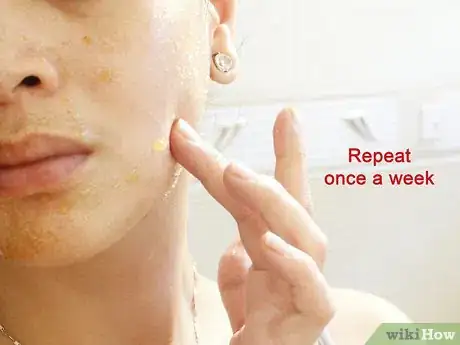
11Repeat once a week. Only do this mask once a week. Doing it more than that may cause your skin to become dry and irritated. The mask should improve the quality of your skin and reduce the appearance of acne.
Making Your Own Recipe
-
1Choose which type of sugar to use. If you have sensitive skin, always choose brown sugar over white granulated sugar or other coarse-grained sugars. Brown sugar is the softest sugar and will be the most gentle on your skin.[17]
-
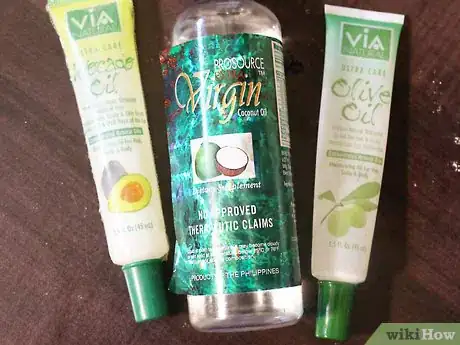
2Choose an oil. The following oils contain ingredients that will benefit your skin:[18]
- Olive oil is naturally antibacterial and will moisturize very dry skin without clogging pores.
- Safflower oil is also antibacterial, and may help calm irritated skin and prevent clogged pores.
- Almond oil is antibacterial, reduces the effects of UVB rays, and may improve skin tone.
- Extra virgin coconut oil is a favorite amongst DIY beauty product aficionados. It is antibacterial, and full of antioxidants and free radicals that keep the skin looking young.
- Avocado oil is a rich moisturizer. Unlike the other oils, it is not antibacterial.
-
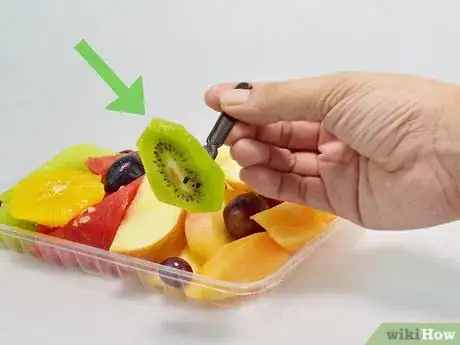
3Add a fruit or vegetable. The amount of fruits or vegetables you add is flexible; just start small and keep them finely chopped so that they don’t overpower the mixture. The following fruits and vegetables are popular recommendations:[19]
- Kiwi flesh contains antioxidants, which can help brighten your complexion, reduce fine lines, and fight other signs of ageing. Kiwi seeds will add a little boost to the exfoliating properties of the scrub.[20]
- Strawberries are full of vitamin C, and will help brighten and even out your skin tone. They also contain alpha-hydroxy acid, which helps remove dead skin cells. Experts claim strawberries can also reduce oiliness, clear up acne, and reduce under-eye puffiness.[21]
- Pineapple contains an enzyme that dissolves dead skin cells, making it a good choice for acne-prone skin. Studies have shown that pineapple enzymes may also have skin-whitening effects.[22]
- Tomatoes contain lycopene, an antioxidant that may be useful in protecting your skin from UV damage caused by sunburn.[23]
- Cucumbers have an anti-inflammatory capability that can reduce puffiness.[24]
-
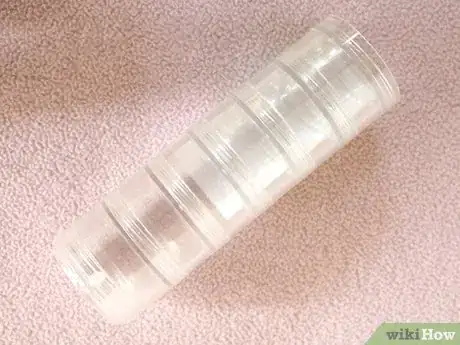
4Obtain suitable containers for storing your facial treatments. Small plastic containers with tight-fitting lids are a good choice.
-
5Know that adding produce to your mixture will reduce its shelf life. In other words, don't make a big batch, otherwise it could go bad before you can use it all. In addition, if you add fruits or vegetables to your facial treatment, be sure to refrigerate it.[25]
-
6Know some recipes. Regardless of which sugar, oil, and fruit you choose, you’ll use a 2:1 sugar-to-oil ratio. How much fruit you add is more flexible and really just depends on personal preference. Experts recommend the following combinations:
-
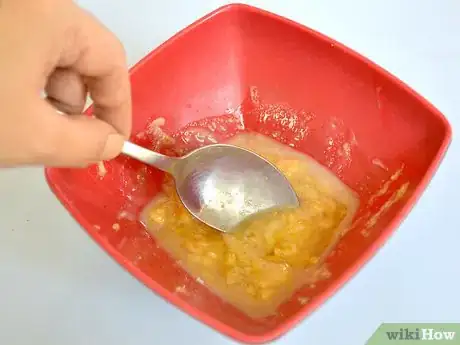
7Combine your ingredients. The process for mixing your ingredients is to stir the sugar and oil in a bowl until they are just combined, then to add in the finely chopped fruit or vegetable. Next, muddle the mixture together.[29]
-
8Don’t over-mix the ingredients. Be sure not to over-mix or over-muddle the sugar, oil, and fruit/vegetables, otherwise the sugar will dissolve.
-
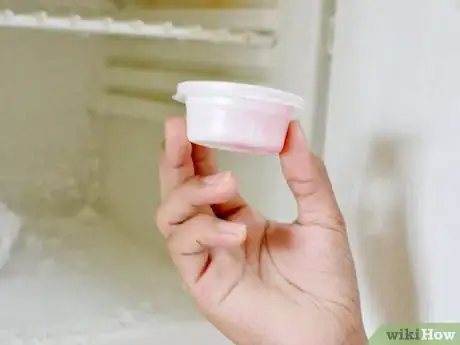
9Spoon the mixture into your storage container and store. Be sure to close the lid tightly. You can store the mixture in your refrigerator for up to 2 weeks.
-
10Follow the usual instructions for applying the mixture to your face:
- Wash your face and pat it dry.
- Apply the mixture to your face using your fingers, working in gentle circular motions.
- Let it sit for 10 to 15 minutes, removing it immediately if you experience a burning sensation.
- Rinse your face thoroughly with cool water and pat dry.
- Follow it up with your favorite moisturizer.
- Repeat up to twice a week.
-
11Finished!
Expert Q&A
-
QuestionWhat are sugar scrubs good for?
 Barbie RitzmanBarbie Ritzman is a Beauty Specialist, Influencer, and the Owner of Barbie’s Beauty Bits. With over 10 years of experience in the beauty industry, she specializes in skincare and aesthetics. Barbie studied marketing at Tidewater Community College and holds a Certificate from the Media Buying Academy. For her work, she’s won Beauty Influencer of the Year - The USA and was featured in “The Allure 50,” which includes the year’s 50 most influential people in the beauty industry.
Beauty & Skincare Specialist Sugar scrubs offer a physical way to slough away dead cells that have built up on your skin—by doing this, you help your skin look smooth and glowing. They also help prep your skin for skincare products.
 -
QuestionI only have white sugar, baking soda and honey. What can I do?
 Tansy_200Community AnswerIf you have water, which you hopefully do have at hand, use that to make your facial a little more watery if necessary. You may proceed with your facial if you want.
 -
QuestionCan I use virgin coconut oil and sugar alone to exfoliate?
 Community AnswerYes, that's fine. The sugar will exfoliate and the coconut will help heal and smooth the skin.
Warnings
- Avoid using a sponge to exfoliate your face as these can trap dead skin and bacteria, making you more likely to break out.⧼thumbs_response⧽
- Avoid using any exfoliators on broken skin such as zits or cuts. The ingredients in the scrub may irritate any broken skin, and the friction of exfoliation may make breakouts worse and even cause new ones to form.⧼thumbs_response⧽
- Don't be rough while exfoliating your face with any scrub as this can irritate your skin, causing redness and acne.⧼thumbs_response⧽
- Before trying any of these facials, test a small area of your skin before applying the mixture to your entire face. This is particularly important to do if you have sensitive skin.⧼thumbs_response⧽
- How often you exfoliate will depend on your skin type, age, and climate. Generally twice a week is enough. If you have oily skin you can do it more often; if you’re older and/or have dryer skin, twice a week may be too much.[35]⧼thumbs_response⧽
- Only use facial masks containing lemon juice at night. Lemon juice is phototoxic and can increase your risk of sunburn or even chemical burns if you go out in daylight with any residual lemon juice on your skin.[36]⧼thumbs_response⧽
- Some experts recommend avoiding lemon juice all together, as they are acidic and can irritate skin by disrupting the skin’s natural pH balance. Safer alternatives include pineapple or papaya blended with plain unsweetened yogurt.[37]⧼thumbs_response⧽
- Some experts warn against using sugar to exfoliate skin, as it can cause small tears in your skin, making your skin rough, dry, and flakey in the long run.[38] Other experts recommend against sugar and claim that it actually hastens ageing by binding to proteins such as collagen.[39]⧼thumbs_response⧽
References
- ↑ http://www.huffingtonpost.com/emilie-davidson-hoyt/sugar-skincare_b_2133060.html
- ↑ http://www.huffingtonpost.com/emilie-davidson-hoyt/sugar-skincare_b_2133060.html
- ↑ Barbie Ritzman. Beauty & Skincare Specialist. Expert Interview. 23 August 2021.
- ↑ Barbie Ritzman. Beauty & Skincare Specialist. Expert Interview. 23 August 2021.
- ↑ Barbie Ritzman. Beauty & Skincare Specialist. Expert Interview. 23 August 2021.
- ↑ Barbie Ritzman. Beauty & Skincare Specialist. Expert Interview. 23 August 2021.
- ↑ Barbie Ritzman. Beauty & Skincare Specialist. Expert Interview. 23 August 2021.
- ↑ http://www.huffingtonpost.com/emilie-davidson-hoyt/sugar-skincare_b_2133060.html
- ↑ http://www.huffingtonpost.com/emilie-davidson-hoyt/sugar-skincare_b_2133060.html
- ↑ Barbie Ritzman. Beauty & Skincare Specialist. Expert Interview. 23 August 2021.
- ↑ http://www.huffingtonpost.com/emilie-davidson-hoyt/sugar-skincare_b_2133060.html
- ↑ http://beautybanter.com/diy-lemon-and-sugar-body-face-scrub
- ↑ http://beautybanter.com/diy-lemon-and-sugar-body-face-scrub
- ↑ http://beautybanter.com/diy-lemon-and-sugar-body-face-scrub
- ↑ http://homeremediesforlife.com/baking-soda-for-blackheads/
- ↑ http://homeremediesforlife.com/baking-soda-for-blackheads/
- ↑ http://www.brit.co/homemade-face-scrub/
- ↑ http://www.brit.co/homemade-face-scrub/
- ↑ http://www.brit.co/homemade-face-scrub/
- ↑ https://www.cosmeticsdesign-asia.com/Article/2007/11/06/Kiwi-fruit-extract-joins-the-fight-against-ageing
- ↑ http://www.care2.com/greenliving/strawberries-kitchen-cupboard-beauty.html
- ↑ http://www.ncbi.nlm.nih.gov/pmc/articles/PMC3569896/
- ↑ http://www.bbc.co.uk/sn/humanbody/truthaboutfood/young/tomatoes.shtml
- ↑ http://www.scientificamerican.com/slideshow/slideshow-natural-skin-remedies/
- ↑ http://www.brit.co/homemade-face-scrub/
- ↑ http://www.brit.co/homemade-face-scrub/
- ↑ http://www.brit.co/homemade-face-scrub/
- ↑ http://www.brit.co/homemade-face-scrub/
- ↑ http://www.brit.co/homemade-face-scrub/
- ↑ http://www.health.com/health/article/0,,20410841,00.html
- ↑ http://www.huffingtonpost.com/emilie-davidson-hoyt/sugar-skincare_b_2133060.html
- ↑ http://www.health.com/health/article/0,,20410841,00.html
- ↑ http://www.huffingtonpost.com/emilie-davidson-hoyt/sugar-skincare_b_2133060.html
- ↑ http://bodyunburdened.com/all-natural-diy-clarifying-face-exfoliant/
- ↑ http://www.health.com/health/article/0,,20410841,00.html
- ↑ http://www.webmd.com/vitamins-supplements/ingredientmono-545-lemon.aspx?activeingredientid=545&activeingredientname=lemon
- ↑ http://www.xovain.com/skin/4-diy-beauty-ingredients-to-avoid
- ↑ http://www.xovain.com/skin/4-diy-beauty-ingredients-to-avoid
- ↑ http://www.scientificamerican.com/slideshow/slideshow-natural-skin-remedies/
About This Article
To do a sugar facial, all you need is some cleanser and a little bit of sugar. First, lather warm water and your favorite cleanser onto your face, which will help hold the sugar on your skin. Then, rub a tablespoon of sugar onto your face with your fingers using circular motions. Avoid using a washcloth or rubbing too hard, since this can irritate your skin. Leave the cleanser and sugar on your face for 15-20 minutes to sink in. When time’s up, rinse it off with cool water and pat your face dry with a clean towel. For more tips, including how to mix essential oils and lemon juice with your sugar facial, read on!
