This article was co-authored by wikiHow staff writer, Nicole Levine, MFA. Nicole Levine is a Technology Writer and Editor for wikiHow. She has more than 20 years of experience creating technical documentation and leading support teams at major web hosting and software companies. Nicole also holds an MFA in Creative Writing from Portland State University and teaches composition, fiction-writing, and zine-making at various institutions.
This article has been viewed 12,994 times.
Learn more...
If you're looking for an Android app that puts two photos side by side, we've found the best tools for the job! Making a collage from two pictures is incredibly easy no matter which app you use. We'll show you how to combine two photos together into a single image that you can easily share using Google Photos, Samsung Gallery, Adobe Photoshop Express, and Layout from Instagram.
Steps
Google Photos
-
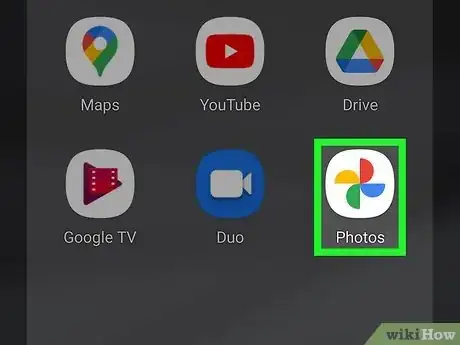
1Open the Google Photos app. The Google Photos app that comes with nearly all Androids has an easy collage-making feature that makes it easy to put two photos together. Open your app list and tap the multicolored flower icon labeled "Photos" to get started.
- If you don't have Google Photos, you can download it for free from the Play Store. Or, if you're using a Samsung Galaxy phone or tablet, give Samsung Gallery Collage a try!
-
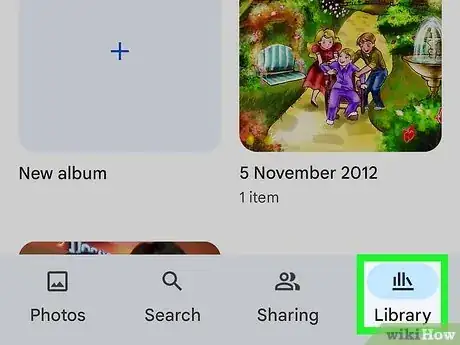
2Tap Library at the bottom of the screen. This displays all photos in your library.Advertisement
-
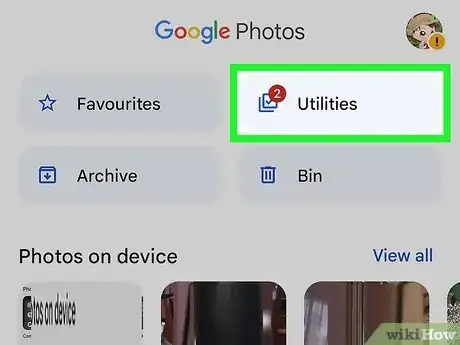
3Tap Utilities. It's at the top-right corner. A set of tool options will expand.
-
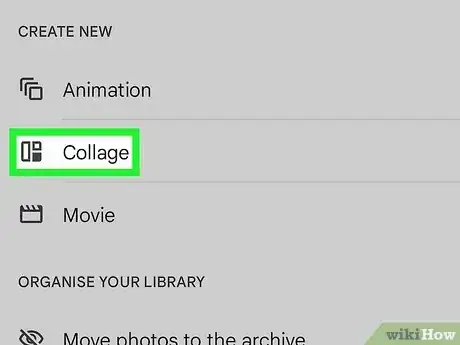
4Tap Collage. This is near the middle of the screen.
-
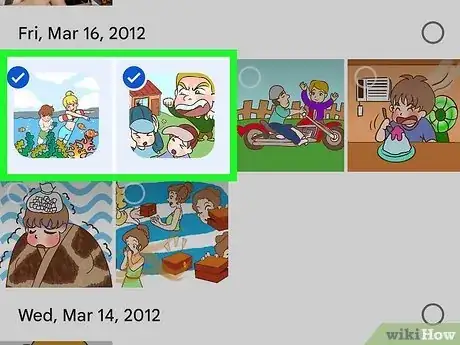
5Select the two photos you want to put together. Select the photo you want to appear on the left side first, followed by the right side photo.
- If you want to include more than two photos, you can actually choose up to 9 here.
-
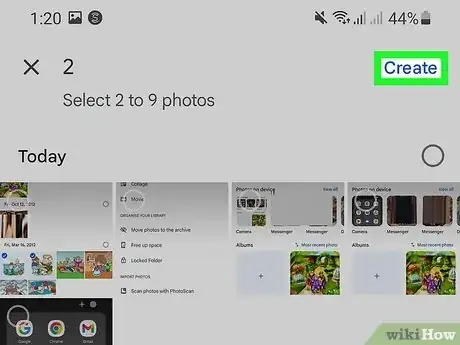
6Tap Create at the top-right. This creates your side-by-side photo collage.
-
7Edit your collage. If you want to add text, filters, or drawings to your new photo, tap the Edit icon at the bottom, which looks like three horizontal sliders.[1] Then:
- To add text, tap Markup on the Edit menu, Tap Tt, and then add your text. You can tap and drag the text to the desired position and resize the text box as needed.
- To draw, tap Markup on the Edit menu, tap the pen icon, and start drawing.
- To add a filter, tap Filters on the Edit menu, choose a filter, and then use the dial to adjust its strength.
-
8
-
9Download the photo to your Android. Tap the three vertical dots at the top-right corner of the collage and select Download to save your merged photo to your gallery. If you don't see the "Download" option, this just means the photo saved to your phone or tablet automatically.[2]
Samsung Gallery Collage
-
1Open the Gallery on your Samsung Galaxy. If you have a Samsung, your built-in Gallery app has a simple collage feature that makes it easy to join two photos together.[3] The Gallery is the red icon with a white flower.
-
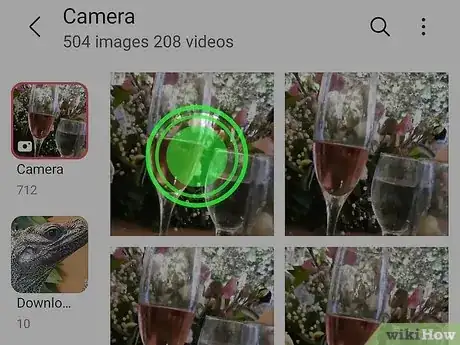
2Tap and hold the first photo you want to add. This selects the photo and makes it so you can select additional images.
-
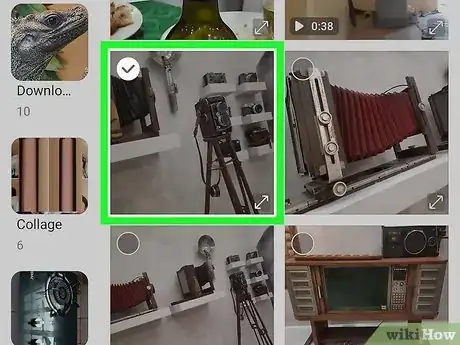
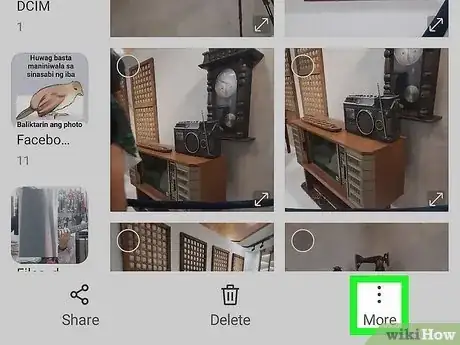
3Tap the second photo. This fills in the circle on the photo, marking it for selection.
-
4Tap More ⋮. You'll see this at the bottom-right corner. A menu will expand.
-
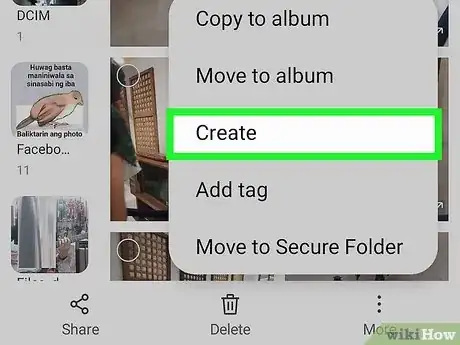
5Tap Create on the menu. This opens the Create menu, which shows you different things you can do with the selected photos.
-
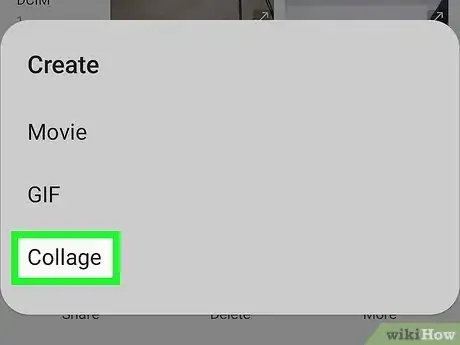
6Tap Collage. Now you'll see both of your photos sharing one screen, although they aren't next to each other yet.
-
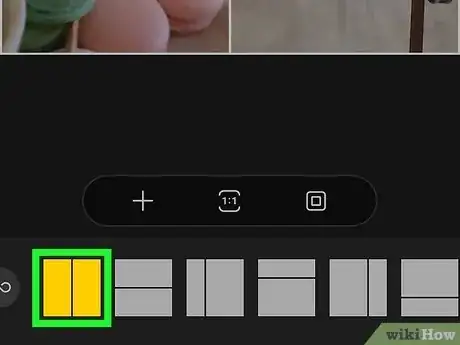
7Tap the side by side layout. This is the first layout option at the bottom of the screen—the one with two vertical bars. Once selected, this will display your photos side by side.
- If you don't like the order of the photos, you can simply drag one of the photos to the other side to swap them.
-
8Tap Save when you're finished. This saves the newly merged photo to your gallery.
Adobe Photoshop Express
-
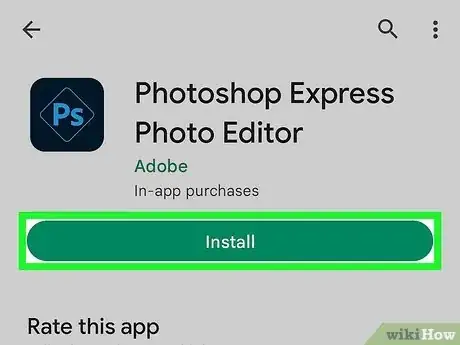
1Install Adobe Photoshop Express Photo Editor. This free app has so many awesome photo editing features, including the ability to put two photos side by side in a single image. You can download it for free from the Play Store.
-
2Open Photoshop Express and sign in. If you already have an Adobe account, log in with that. If not, you can create your free Adobe account now by following the on-screen instructions. These accounts are free, so don't worry about charges.
-
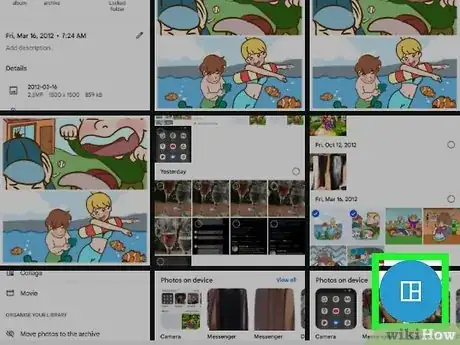
3Tap Collage. It's the purple icon with several squares in a grid.
-
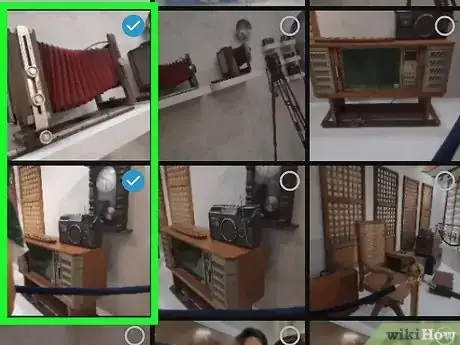
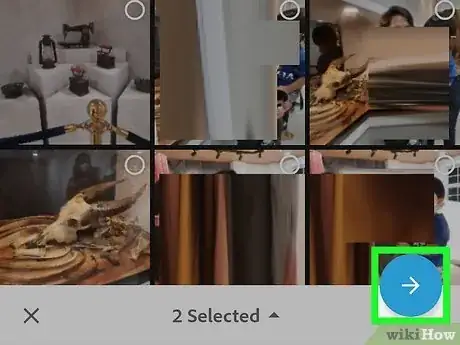
4Select the photos you want to place side by side. You can choose from your recent photos or browse other albums on your Android. A checkmark will appear at the bottom of each photo you tap to indicate the selection.
-
5Tap Next at the bottom-right. This displays your two photos, although they aren't next to each other yet.
-
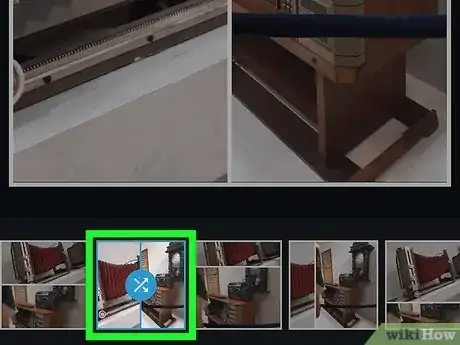
6Tap the G2 layout for a simple side-by-side image. It's at the bottom of the screen under "Layouts." Now your photos will be next to each other.
- You can also experiment with other formats—tap Freeform or Shapes to find other creative ways to combine the photos in one image.
-
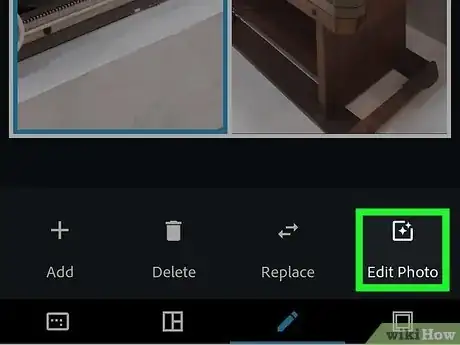
7Adjust the photo. You can edit the photo in a variety of ways:
- To swap the order of the photos, tap and drag one photo to the other side.
- To add text, tap Edit, tap Text at the bottom, choose a text theme, and then tap the sample text to type your own.
- To change the borders, tap Edit, select Borders, and choose a color.
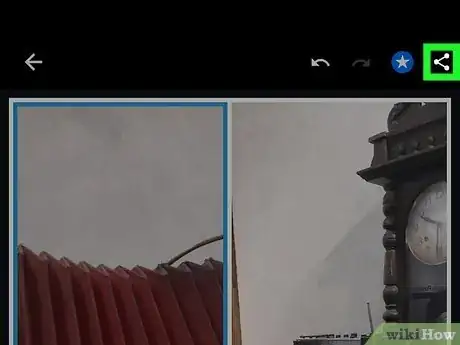
- The Themes options are really cool and add fun colors and graphics to your images. The drawback is that if you select one of these themes, you'll be prompted to pay for Premium when you try to share your image.
-
8
-
9Tap Save. It's at the top of the menu. This saves your combined photo to your Android's gallery.
Layout from Instagram
-
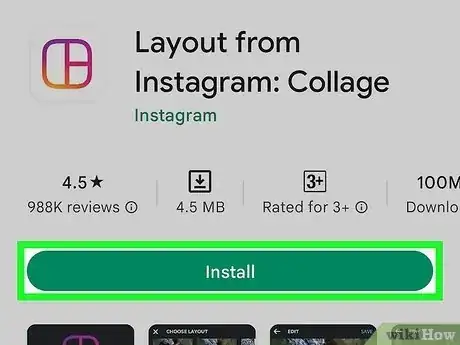
1Install Layout from Instagram. You can download these simple free photo joiner/collage maker from the Play Store. While this app has Instagram in the name, you don't have to use it to share photos on Instagram, although it does work for creating cool collage posts.
-
2Open Layout. The icon is white with an orange and purple squared grid pattern, and you'll find it in your app list.
- When you open Layout for the first time, swipe through the tutorial and tap Get Started at the end.
-
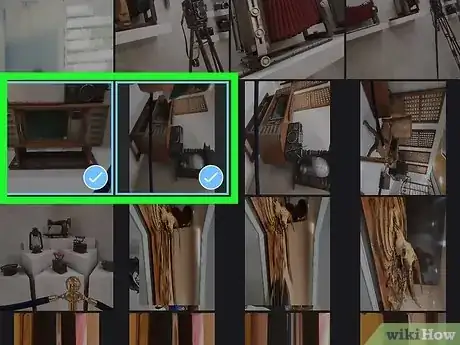
3Tap the photos you want to place side by side. You'll see several different layout previews at the top of the screen as you select your photos.
-
4Tap any side-by-side layout. You can swipe left across the layout options at the top of the screen until you find the layout you prefer. You'll be able to adjust whichever layout you select, including zooming in on either of the images or showing more of one image than the other.
-
5Edit the image. You have a few simple options for perfecting your side by side image:
- If you want to show more of one photo than the other, drag the border to change where the two photos separate.
- You can pinch inward on either photo to zoom out, or pinch your fingers together to zoom in.
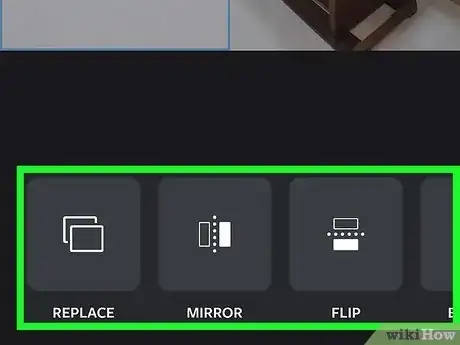
- To replace either photo, tap the photo you want to replace, select Replace at the bottom, and choose a replacement photo.
- Use Mirror and Flip to change the orientation of the selected photo.
- Tap Borders to toggle the white borders off or on.
-
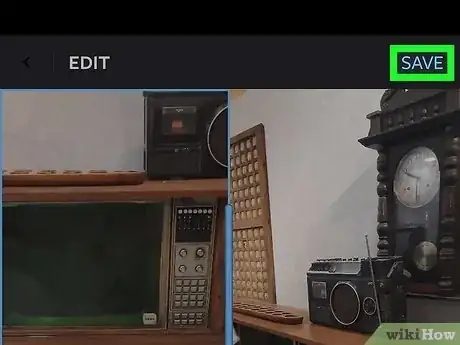
6Tap SAVE at the top-right to save your creation. This instantly saves your new image to your gallery.
- If you want to create a new Instagram post or story from your collage, tap Instagram at the bottom, then tap either Stories or Feed to create your post.
- To share as a Facebook post, tap Facebook to open the Facebook app to a new post screen.
- You can also tap 'More to choose any other app on your Android to share with.
References
About This Article
1. Open Samsung Gallery.
2. Tap and hold the first photo.
3. Tap a second photo.
4. Tap the three dots and choose Create.
5. Tap Collage.
6. Tap the side by side layout.
7. Tap Save.
