This article was co-authored by Maggie Moran. Maggie Moran is a Professional Gardener in Pennsylvania.
wikiHow marks an article as reader-approved once it receives enough positive feedback. In this case, 100% of readers who voted found the article helpful, earning it our reader-approved status.
This article has been viewed 87,924 times.
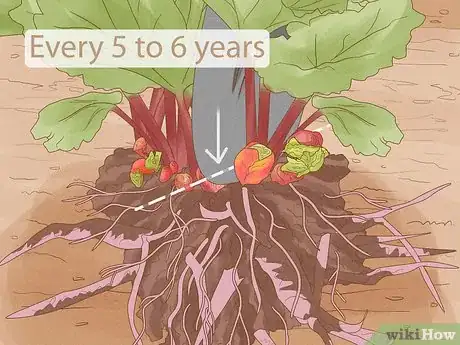
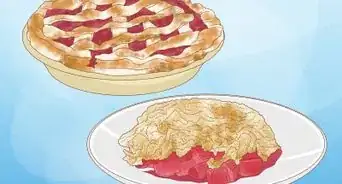
Rhubarb is a perennial vegetable that grows well in the United States, England, and other countries. It is sometimes called a "pie plant" because of its tangy taste in rhubarb pies. It is also used to make sauces and other baked goods. Its celery-like stalks grow in spring and provide an abundance of produce, if cared for properly. It needs to be divided every 5 to 6 years in order to remain healthy.
Steps
Choosing the Rhubarb
-
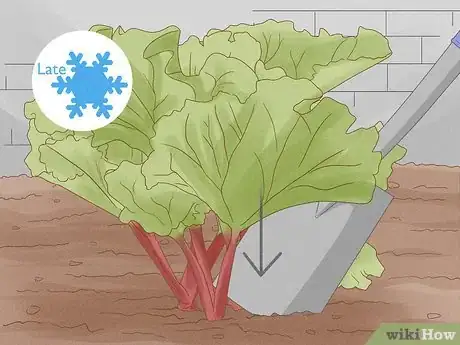
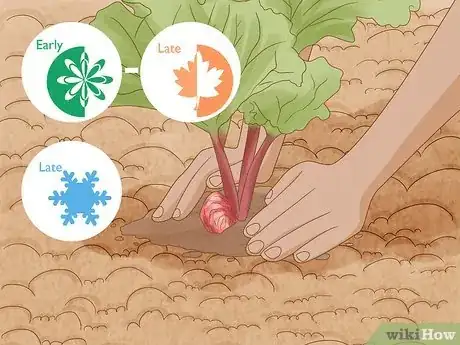
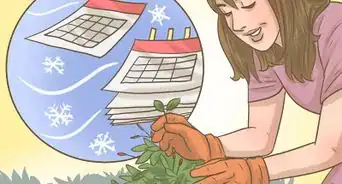
1Plan to divide the rhubarb in early spring or late fall. Early spring makes it easier to see new growth, but it is more stressful for the plant. This means that the new divisions may have a harder time adjusting and taking root. Late fall makes it harder to see new growth, but it is easier on the plant. This means that the plant is more likely to recover.
- Alternatively, you can divide the rhubarb during late winter when it is dormant. Make sure that you do this after the last frost.[1]
-
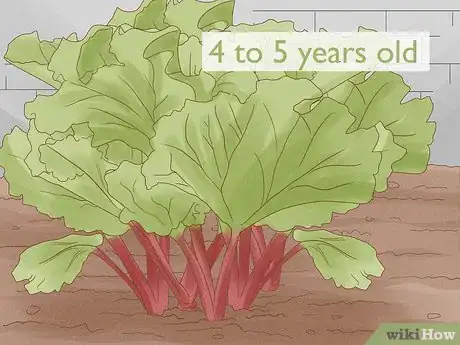
2Choose a healthy, vigorously-growing rhubarb. It is best to divide a rhubarb that is 4 to 5 years old. This ensures that has a lot of growth to work with. You can divide younger rhubarb if you really want to, but make sure that it has a lot of vigorous growth.Advertisement
-
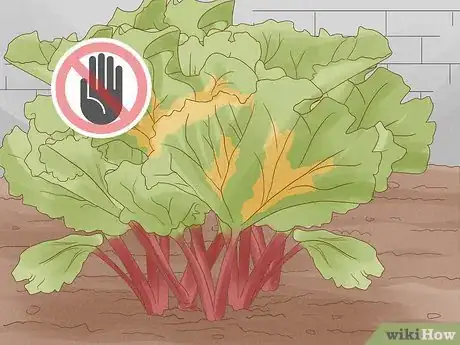
3Avoid rhubarb that looks sick or diseased. If you divide a plant that's already sick or diseased, it won't magically get well and turn into a new, healthy plant. It will just grow into a larger, sicker plant. Instead, choose a rhubarb that looks healthy.
-
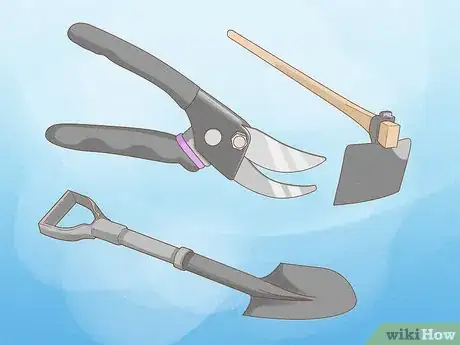
4Ensure that you have clean gardening tools ready. A set of clean spades, shovels, and shears will reduce the chances of your divisions getting infected. Clean your gardening tools with hot water and scrape off any clumps of dirt.[2]
Dividing the Rhubarb
-
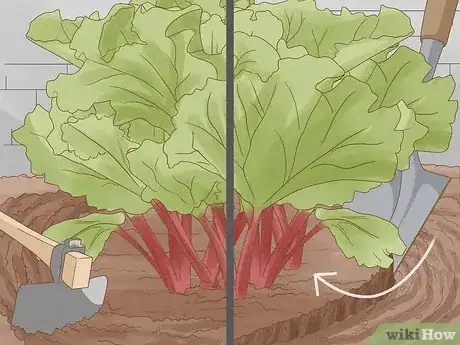
1Dig up the root ball with a shovel. Dig into the dirt around the rhubarb with your shovel to loosen the soil. Slide the shovel under the root ball, then push down on the handle to lift it out. Be careful not to cut through the roots, especially those close to the rhizome.
- The rhizome is the thick part of the stem that grows underground. The roots come off of the rhizome and clump together to form a root ball.
- The roots can grow at least 1 inch (2.5 cm) long. It's okay if you accidentally cut the ends of these roots.
-
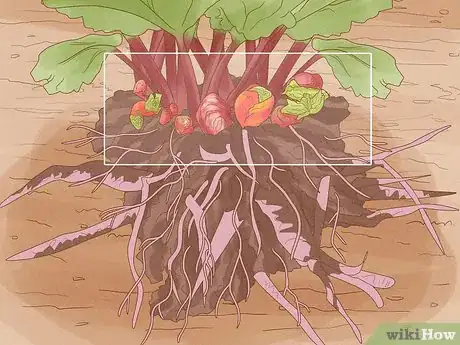
2Find the buds along the stems (petioles). Set the rhubarb down on the ground and note where the buds or new shoots are. They will appear smaller, pinker, and more delicate than the rest of the rhubarb. Depending on the size of your plant, you'll see about 8 to 10 buds. Each bud has the potential to become another plant!
-
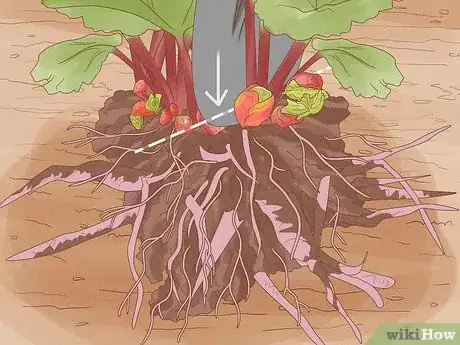
3Cut the rhubarb apart so that each segment contains 1 bud. Find 2 new buds and cut between them with a spade, all the way down to the roots. Pull the 2 halves apart, then repeat the process. Each clump should have 1 rhizome, some roots, and 1 bud.
- Some will be larger than others. If you take good care of them, however, they all have the potential to grow into strong, healthy plants.
-
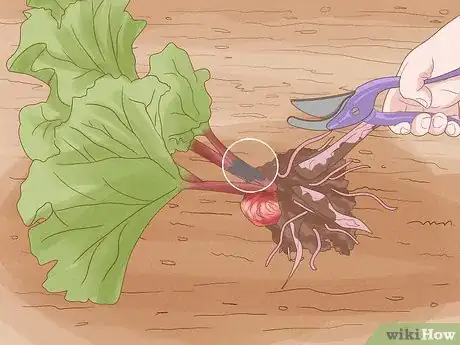
4Cut off any parts that show rot or decay. A small amount of rot or decay is normal and not a sign of a sick plant. These parts will appear black or gray, and they will feel slimy or mushy. Cut these off with sharp, clean gardening shears.[3]
- If you notice that the roots are rotten, this means that the soil is waterlogged or that you have overwatered the rhubarb.
- Root disease, honey fungus, and bacterial crown rot are more serious. You need to discard all diseased crowns.
Replanting the Rhubarb
-
1Plan to plant the divisions between late fall or early spring. For best results, plant the rhubarb in late winter while the weather is still cold. It is best to plant the rhizomes as soon as you finish dividing the original rhubarb. If you can't plant them right away, wrap the rhizomes in damp cloths and store them in a cool, dark place. Try to plant them within the next week or so.[4]
-
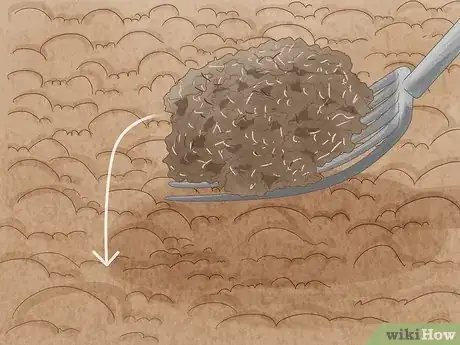
2Prepare gardening soil that contains 50% compost. This will ensure that the rhubarb gets all the nutrients it needs. Organic matter, such as manure, works the best. If the soil contained a previously diseased plant, remove the old soil and use fresh soil.[5]
- Make sure that the planting site is free of any weeds.
- If the roots were rotten as a result of waterlogged soil, add a layer of gravel to the bottom of the planting site first.
-
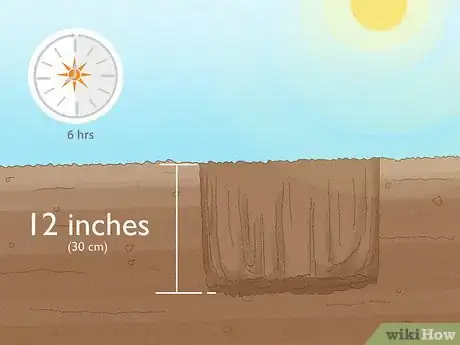
3Dig a hole in an area that receives at least 6 hours of sunlight. Use a shovel to dig a hole that is about 12 inches (30 cm) wide and deep. It needs to be big enough to contain the entire rhubarb division, including the rhizome and bud.[6]
- You are planting just 1 division for now. You'll have to repeat this process for every division that you want to plant.
-
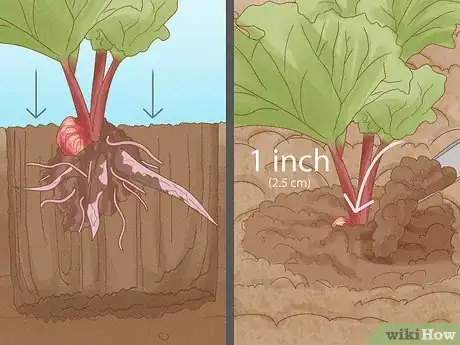
4Set the rhizome into the hole and cover it with 1 inch (2.5 cm) of soil. Set the rhizome root-first into the hole first, then fill the hole with soil. Cover the top of the rhizome with 1 inch of soil to protect it from the elements.[7]
- Tamp the soil over rhizome with your foot to remove any air pockets.[8]
-
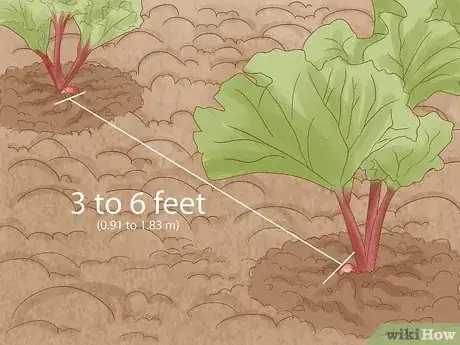
5Plant the rest of the rhizomes, if desired. Keep the new divisions 3 feet (0.91 m) apart. If you have multiple rows of rhubarb, space the rows 3 to 6 feet (0.91 to 1.83 m) apart. Wrap any divisions that you won't be planting right away in damp sacking, and store them in a cool, dark place.[9]
- Expect new shoots to form after 2 to 3 months.[10]
- You can store rhubarb rhizomes for a long time, but it is best to plant them in late winter.
Growing the Rhubarb
-
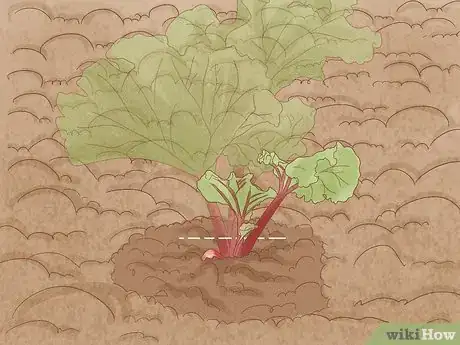
1Cut off any large leaves to conserve energy. Leaves use up a lot of energy, and the new divisions need this energy to put forth new roots and grow. If you find any large leaves on your newly planted division, it is best to cut them off. Once the plant becomes established, you can let the leaves grow.
- You should leave some of the smaller leaves behind.
-
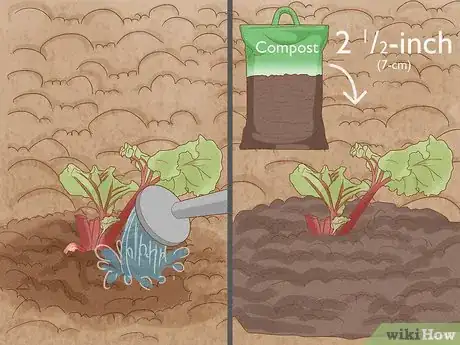
2Water the rhubarb often, but don't let it become water-logged. Rhubarb is a thirsty plant, so you should water however often is needed to keep the soil moist. During hot, dry seasons, add a 2 1/2-inch (7-cm) deep layer of compost mulching to help the soil retain moisture. Do not cover the crown of the rhubarb, however[11]
-
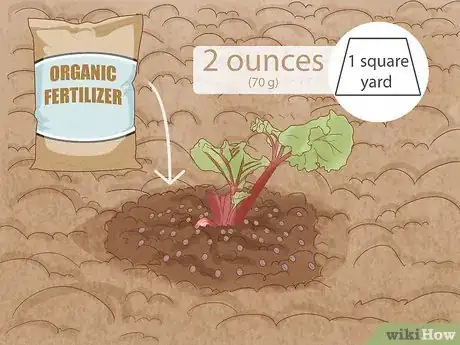
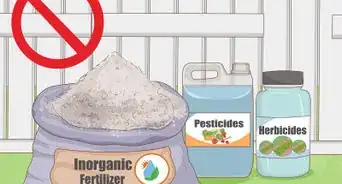
3Fertilize the rhubarb with a general fertilizer during the spring or summer. You will need about 2 ounces (70 g) for every 1 square yard (1 sq m).[12] Do not use chemical fertilizers, especially during the first year after you plant your new divisions. An organic fertilizer consisted of well-rotted organic matter is the best.[13]
- Avoid fertilizers high in nitrogen at first. You can eventually use high-nitrogen fertilizers after the first frost however, while the ground is still thawing.
-
4Divide the rhubarb every 5 to 6 years. If you notice thin or weak-looking stalks at any point, you should divide your rhubarb again, even if 5 to 6 years haven't passed yet. Thin, weak stalks are a sign that the rhubarb is losing vigor. Some dividing will help it grow more vigorously, however. Be sure to feed the new divisions with fertilizer afterwards.[14]
Expert Q&A
Did you know you can get expert answers for this article?
Unlock expert answers by supporting wikiHow
-
QuestionHow do you split a rhubarb plant?
 Maggie MoranMaggie Moran is a Professional Gardener in Pennsylvania.
Home & Garden Specialist
-
QuestionWhat time of year can you transplant rhubarb?
 Maggie MoranMaggie Moran is a Professional Gardener in Pennsylvania.
Home & Garden Specialist
-
QuestionWhen should you not pick rhubarb?
 Maggie MoranMaggie Moran is a Professional Gardener in Pennsylvania.
Home & Garden Specialist
Warnings
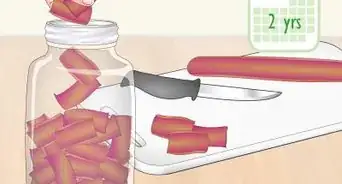
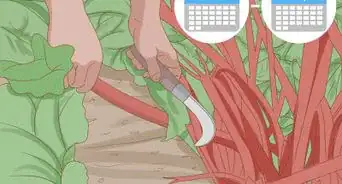
- Never eat the leaves. Only harvest and eat the stalks.[15] Once you harvest the stalks, you also need to know how to store them properly to ensure they remain fresh and safe to consume.⧼thumbs_response⧽
Things You'll Need
- Gardening gloves
- Spade
- Gardening fork
- Shovel
- Compost
- Gardening soil
- Basic fertilizer
References
- ↑ http://www.bbc.co.uk/gardening/basics/techniques/growfruitandveg_growingrhubarb1.shtml
- ↑ http://www.finegardening.com/article/clean-sharp-tools-work-better
- ↑ https://www.rhs.org.uk/advice/profile?pid=544
- ↑ https://www.rhs.org.uk/advice/profile?pid=544
- ↑ https://www.rhs.org.uk/advice/profile?pid=544
- ↑ https://www.starkbros.com/growing-guide/article/planting-bare-root-rhubarb
- ↑ http://www.bbc.co.uk/gardening/basics/techniques/growfruitandveg_growingrhubarb1.shtml
- ↑ https://www.starkbros.com/growing-guide/article/planting-bare-root-rhubarb
- ↑ https://www.rhs.org.uk/advice/profile?pid=544
- ↑ http://www.bbc.co.uk/gardening/basics/techniques/growfruitandveg_growingrhubarb1.shtml
- ↑ https://www.rhs.org.uk/advice/profile?pid=544
- ↑ https://www.rhs.org.uk/advice/profile?pid=544
- ↑ https://www.almanac.com/plant/rhubarb
- ↑ https://www.rhs.org.uk/advice/profile?pid=544
- ↑ https://www.starkbros.com/growing-guide/article/planting-bare-root-rhubarb
