wikiHow is a “wiki,” similar to Wikipedia, which means that many of our articles are co-written by multiple authors. To create this article, volunteer authors worked to edit and improve it over time.
The wikiHow Video Team also followed the article's instructions and verified that they work.
This article has been viewed 21,788 times.
Learn more...
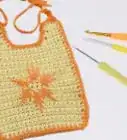
Making your own custom sized carry bags out of plastic bags adds personal style and functionality while helping save the environment. Plastic bags have proven to be sturdy enough and a cost effective material for the carrying needs of retail and food store consumers. However, due to its economical price to manufacture, convenience and disposable properties this lead to a growing use and demand created a problem. Landfills and oceans are being polluted with this waste. Now if you follow these methods, patterns and steps you can bring some new use for your bags.
Steps
Preparing Plastic Yarn
-
1Choose the color, pattern and desired thickness/strength of your tote.
- Recycle plastic bags to make your yarn.
- Buy a roll of plastic bags the color you prefer.
- Use a thicker plastic material like shower curtains or plastic drop cloth.

Collecting Used Plastic Shopping Bags
-
1Sort out all the bags you have collected into color, thickness, and material.
-
2Cut the top handles of each bag and stack them evenly.
-
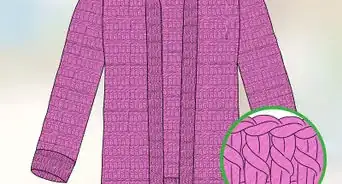
3Fold the bags twice leaving one side edge seam sticking out.

Cutting a Roll of Plastic Trash Bags Into Strips
-
1Cut along the entire length of the unrolled bags. You will need to cut the bags into two or three sections depending on the thickness you desire.
-
2Don't unfold the bags as you cut with your scissors.
-
3Keep the width of the strips in a uniform size. Variations in thickness will make your tote pattern look bad and be weaker at some sections.
-
4Leave three or four inches of the end of your roll uncut. To keep a continuous long yarn you must turn the plastic roll over and make your second strip cut from there on, skipping six inches and leaving the uncut end intact.


Cutting a Large Plastic Sheet into Strips
-
1Fold as many times as you need to match the width of the strips.
-
2Using a Multipurpose scissors or sharp blade cut along leaving the end uncut.
-
3Turn over and cut the next strip to the other end.
-
4Repeat until all the plastic sheet is evenly cut in a continuous plastic strip yarn.

Crocheting the Tote
-
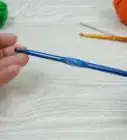
1Hook and loop your yarn with the Crochet Needle.
- Select a large diameter needle, larger than you would normally use on common yarn.
-
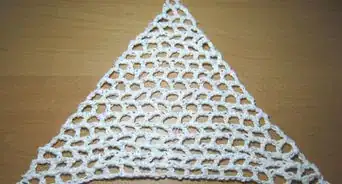
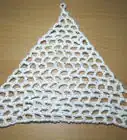
2Crotchet chain stitch into the same loop to make a round or oval bottom of bag.
-
3Keep casting on the round using only the chain stitch or the single crochet to avoid gaps in your pattern.
- You can alternate colors every circle turn you complete using a second plastic yarn.
-
4Add extra stitches per turn until you reach the desired size of your tote's bottom.
-
5Count the same number of stitches when you build up the sides.
-
6Continue your on the round crochet pattern until you reach the desired height of your bag.
-
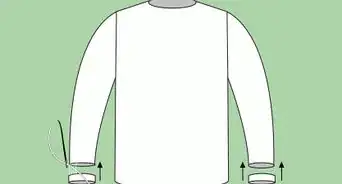
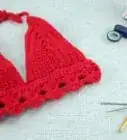
7Cast a chain stitch to form the handles of your bag.
-
8Make sure that you make the handles wide and strong enough to handle the load.
-
9Run a wire or Nylon line to the handle to give it strength and support.
-
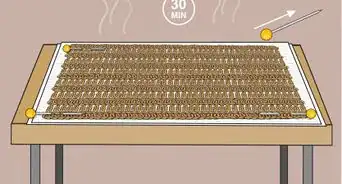
10Use an Iron to weld and join thicker plastic strips to reinforce the side, edges, handles and bottom.
- Set the iron temperature under the polyester temperature setting.
- Use parchment paper to keep the iron from sticking to plastic.
-
11Add a flat plastic bottom to keep small objects from falling.