This article was co-authored by Tom Eisenberg. Tom Eisenberg is the Owner and General Manager of West Coast Tires & Service in Los Angeles, California, a family-owned AAA-approved and certified auto shop. Tom has over 10 years of experience in the auto industry. Modern Tire Dealer Magazine voted his shop one of the Best 10 Operations in the Country.
There are 13 references cited in this article, which can be found at the bottom of the page.
This article has been viewed 11,522 times.
If your truck has rusted areas, you’ll naturally want to get rid of those so your truck continues looking fresh and new. Ideally, you should remove the rust entirely, fill any holes it caused, and replace rusted out sections with new sheet metal, but you may not have the time or money for these solutions. Fortunately, there are a few quick and inexpensive tricks to cover up the rusted potions. To hide rust without using any coverings, spray paint over the area. You can also use flares and bumper bras to keep the rust hidden with less effort than painting. These are only temporary fixes, so plan on repairing the rusted sections as soon as you can.
Steps
Painting over the Rust
-
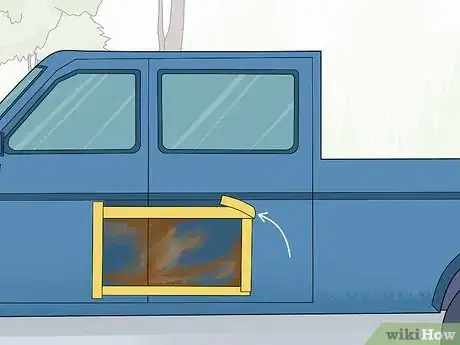
1Tape off the border of the area you’re painting. Use painter’s or masking tape. Mark the border around the rusted area to keep the paint contained in that spot.[1]
- If you paint over rust, the paint job won't last as long as if you ground all the rust away. It works well as a temporary fix, though.
-
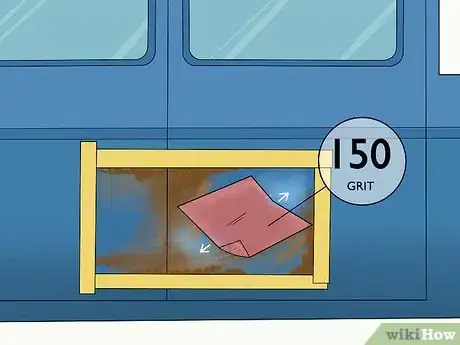
2Sand the area to remove loose rust.[2] While you don’t have to grind away all the rust, you still have to remove the loose surface rust or the paint won't stick properly. Use 150-grit sandpaper and rub the rusted area with firm pressure until all the loose pieces come off.[3]
- If you have an electric sander, this job will be easier. Otherwise, sand it by hand.
Advertisement -
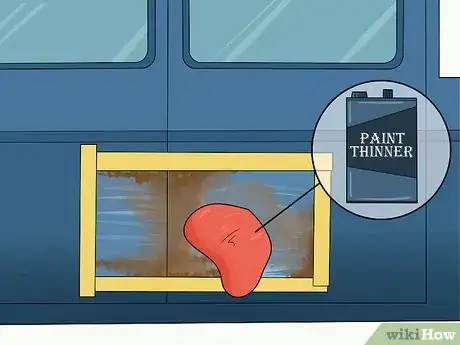
3Wipe down the area with a rag and paint thinner. Dip a clean rag into a can of paint thinner and scrub the area that you sanded to remove any leftover rust remnants. Wait for the moisture to dry before moving on.[4]
- You could also use another weak solvent like mineral spirits to wipe the rust down.
- Wear goggles and gloves while working with solvents. If you get any paint thinner on your skin, rinse it off with cool water. If any gets in your eyes, flush your eye out with water for 15 minutes and then contact Poison Control.
- Don’t use water to wipe down the truck. This could make the rusting worse.
-
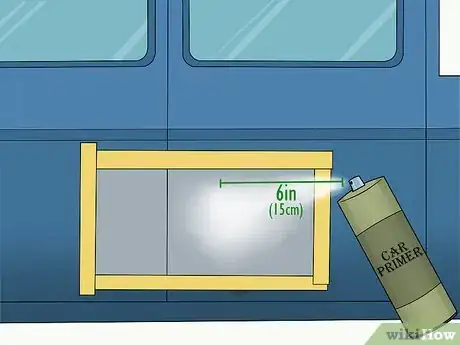
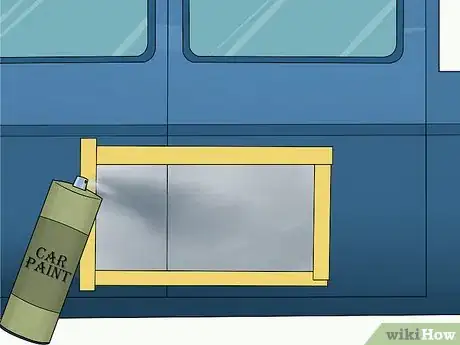
4Spray primer onto the rusted area. Get a spray primer designed for use on auto bodies.[5] Shake the can and hold it 6 inches (15 cm) from the truck. Spray it in a sweeping motion, making sure to stay within the tape border that you made. Continue until all the rusted parts are covered. Let the primer dry for 1 hour before moving on.[6]
- You could also use a brush and roll-on type of primer. Since this is a quick fix, however, spray primer and paint is the best option.
- Always use spray paint in a well-ventilated area. Work outside or leave the garage door open.
-
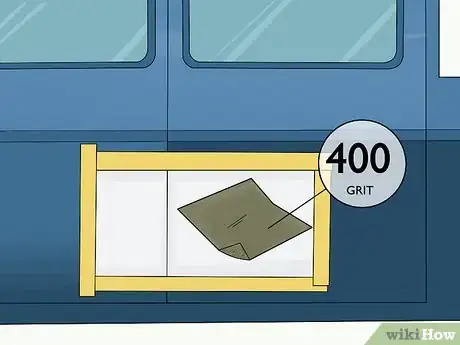
5Sand the primed area with very fine sandpaper. Use 400-600-grit sandpaper and rough up the primer a little. Sand lightly in a circular motion until the surface is slightly rough. This helps the paint stick better.[7]
- If you have a power sander, don’t use it for this step. The spot only needs a light sanding, so do it by hand.
-
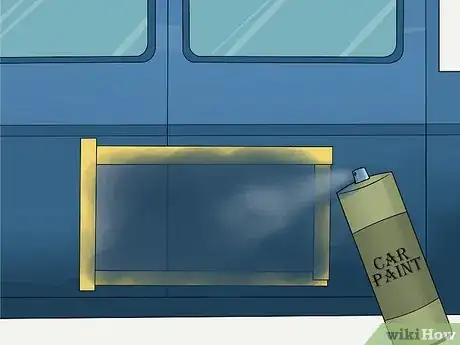
6Apply the first coat of spray paint. Get a paint designed for use on cars and trucks.[8] Apply it the same way that you sprayed the primer. Shake the can well first. Hold it 6 inches (15 cm) from the truck, and spray in a sweeping motion. When you’ve covered the area, wait 20 minutes for the paint to dry before adding another coat.[9]
- Match the spray paint to your truck’s color as well as you can. The match probably won’t be perfect, but it will cover the rust.
- Avoid using paints that aren't made for vehicles since it will not have the same finish.[10]
-
7Spray 2 more coats of paint to cover the rust completely. After 20 minutes, apply the second coat the same way as the first one. Wait an additional 20 minutes and then cover the rust with the final coat.[11]
- 3 coats should be enough to cover the rust, but check the paint job after the final coat dries. If some rust is still poking through or the area looks discolored, spray another coat.
-
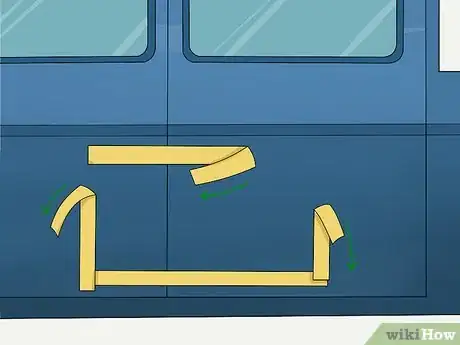
8Remove the tape from the truck. Once you’re done painting, peel off the tape border. Then let the paint sit for 24 hours to complete the job.[12]
- Depending on how severe the rust was, a coverup with spray paint could last up to 2 years. After that, it will probably start bubbling up as the rust spreads.
Using Fender Flares
-
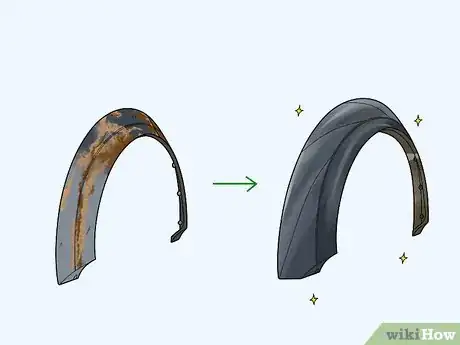
1Get flares that fit your truck if the rust is on your fender. The fenders are a common place for rust to start, so a set of fender flares can cover it up temporarily. These are plastic or metal extensions that cover the fenders. They're mostly cosmetic features, but can also hide unsightly rust. You can purchase a set from an auto parts store or your truck manufacturer if they make custom flares. Just make sure to get a set made for your truck so they fit properly.[13]
- Get large fender flares, if possible. These will keep the rust covered for longer after it starts spreading.
-
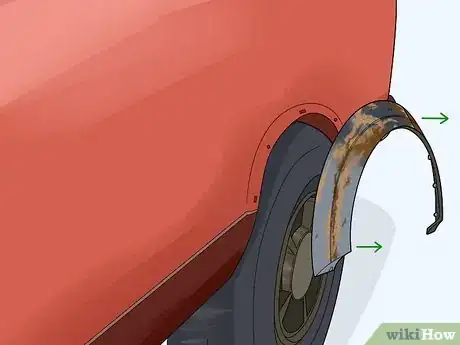
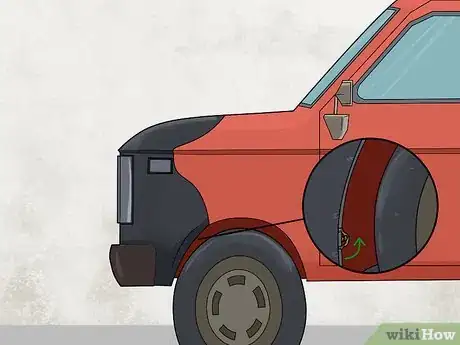
2Remove the current fender flares if your truck has them. Some trucks come with factory flares, which will be in the way of the new set. Reach into the wheel well, behind the flares, and feel for the locations of all the bolts holding them in position. Use a socket wrench to remove each bolt. Then, pull the flare towards you to pop it out of position.[14]
- Some flares also have Christmas tree fasteners holding them in along with bolts. These are plastic clips that look like screws with teeth along the sides. If you find any of these, pull them straight out with pliers.
- If you’re pulling but the flare is stuck, you may have missed a bolt. Stop pulling and look back into the wheel well for any other ones.
-
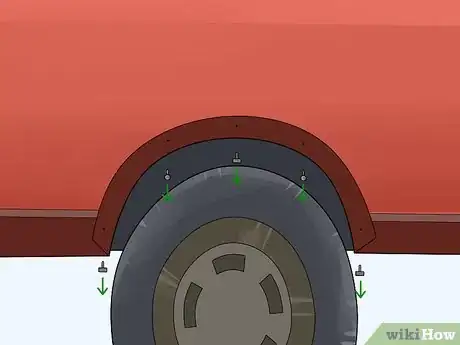
3Pop out any fasteners in place under the flares. Sometimes there are additional bolts or fasteners in the wheel well left over from the factory flares. These will get in the way of the new flare. Look inside the wheel well with a flashlight and locate any additional fasteners. Unscrew them with your socket wrench or pull them out with pliers if they’re Christmas tree fasteners.[15]
- If you aren’t sure how the flares attach or which bolts hold it in place, consult your truck owner’s manual or the truck manufacturer.
-
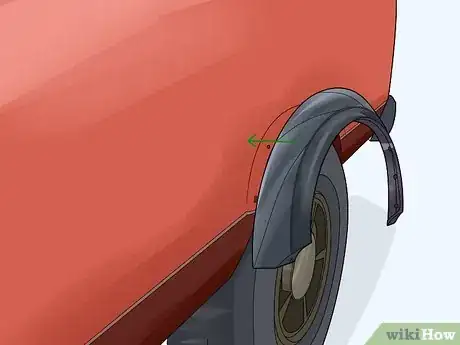
4Install the fender flares to hide the rust. Hold each flare up to the wheel well and line it up with the existing bolt holes. Press it into position and insert a bolt through each hole. Tighten a nut onto each bolt from the back with your socket wrench. Repeat the process for each wheel well.[16]
- This will be easier if you have a partner to hold the flares in place while you bolt them down.
- Always follow the instructions that come with the flares you use. The process may differ for different products.
Getting a Bumper Bra
-
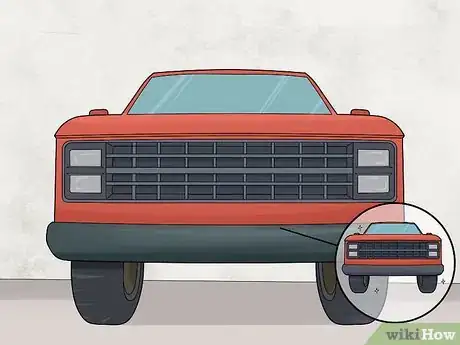
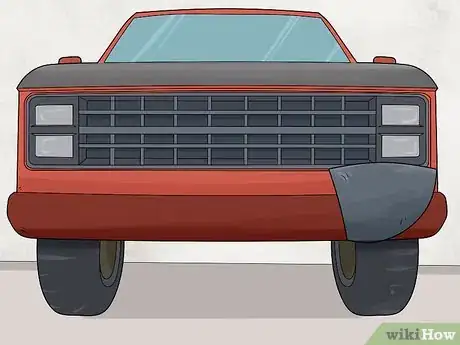
1Get a bumper bra designed for your truck. A bumper bra is a plastic and fabric sheet that covers the truck bumper. It usually protects from scuffs and dings, but can also cover up rust in the area. If the rust is on your bumper, get a bumper bra designed to fit your truck.[17]
- Always read and follow the instructions that come with the product you use. These are common instructions that you might see.
-
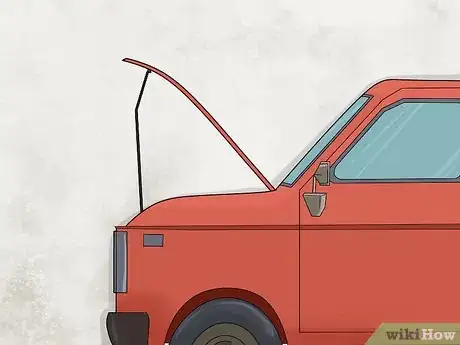
2Open the truck hood. Pop the hood, pull it up, and lock it in place with the hood rod. Make sure the hood is secure so it doesn’t fall down while you’re working.[18]
-
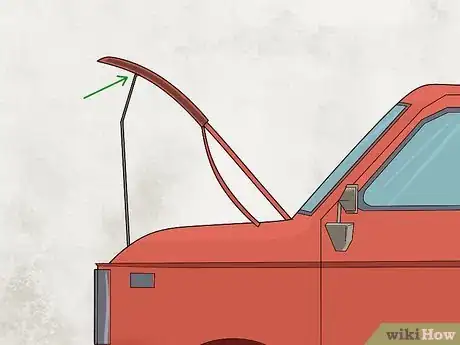
3Tuck the top section of the bra over the front of the hood. Bumper bras come in 2 sections. The top section is a smaller fabric strip that tucks over the hood like a glove. Hold it so the straps are on the bottom and the open portion faces the edge of the hood. Slide it over the hood and push it back so it’s snug. Run your finger along the front of the hood to make sure the bra isn’t bunched up anywhere.[19]
-
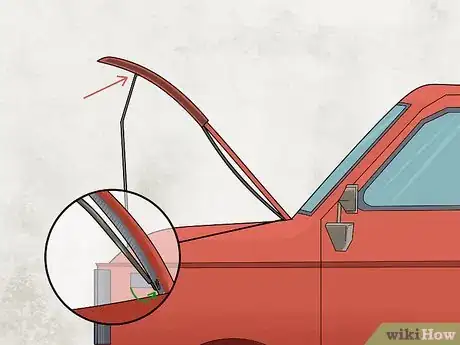
4Slip the side straps into the holes on either side of the hood. Hoods have holes along their underside edges for attachments. Pull the strap on each side of the bra back towards the truck until it’s tight. Tuck the hook on the front of each strap into one of the holes on the bottom of your hood.[20]
- Depending on the type of cover you have, the straps may be adjustable. Pull them until they’re snug against the hood.
-
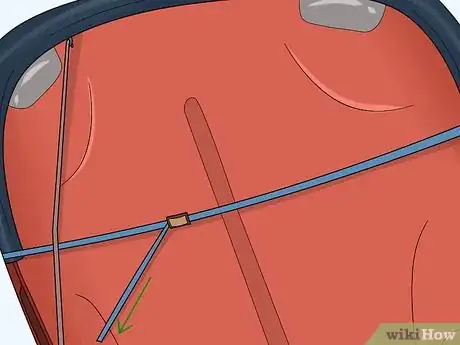
5Pull the cross strap so it’s taut. Look on the bottom of the cover for another strap that points across the hood. Pull it to the opposite side and hook it into the clip on the other side of the cover. Then pull the free part of the strap to tighten it up.[21]
- Your model of hood cover may not have a cross strap. Skip this step if it doesn’t.
-
6Tuck the lower flap over the front of the truck. With the top part done, now move on to the lower part of the covering. Take the lower bra section and tuck it over the truck, above the headlights. If there are hooks or other attachments, loop them over the front of the truck. Smooth out the covering so it’s even and not bunched up in any spots.[22]
- Line the openings in the bra up with the license plate and headlights so you can see them. This means that the bra is aligned properly.
-
7Fold the clips by the tires into the wheel wells. One each end of the bra, near the wheels, look for clips. Fold these around the edge of the truck body and into the wheel well.[23]
- Give the covering a slight tug to see if the clips are attached. If not, tuck them in again.
-
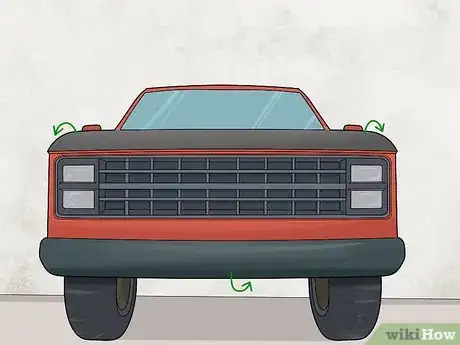
8Hook all the plastic clips on the top and bottom of the cover to the truck. There may be some remaining clasps or hooks that you haven’t secured yet. Work along the entire border of the bra and fasten any hooks you come across. When you’re done, close the hood.[24]
- Some bumper bras have small flaps that tuck underneath the headlights. Check to see if yours has this feature, and insert the flaps.
Expert Q&A
-
QuestionHow can I stop my truck from rusting?
 Tom EisenbergTom Eisenberg is the Owner and General Manager of West Coast Tires & Service in Los Angeles, California, a family-owned AAA-approved and certified auto shop. Tom has over 10 years of experience in the auto industry. Modern Tire Dealer Magazine voted his shop one of the Best 10 Operations in the Country.
Auto Technician While it's really hard to prevent rust due to weather, you can easily get rid of it with some sandpaper. After you remove the rust, be sure to apply new primer and paint to protect the metal from future rust.
 -
QuestionWhat kind of paint can you paint your car with?
 Tom EisenbergTom Eisenberg is the Owner and General Manager of West Coast Tires & Service in Los Angeles, California, a family-owned AAA-approved and certified auto shop. Tom has over 10 years of experience in the auto industry. Modern Tire Dealer Magazine voted his shop one of the Best 10 Operations in the Country.
Auto Technician Choose a paint that is labeled for use on cars. Other paints won't have the right kind of finish.
Warnings
- Remember that all of these solutions are temporary fixes that only cover the rust. The rust will still eat away at the metal if you don’t completely grind it out and repaint the metal.⧼thumbs_response⧽
- Always wear gloves and goggles when you're handling any chemicals or paint. Work outside or in a garage with the door open to avoid inhaling fumes.⧼thumbs_response⧽
References
- ↑ https://www.popularmechanics.com/cars/how-to/a3110/a-diy-guide-to-painting-your-car-15998013/
- ↑ Tom Eisenberg. Auto Technician. Expert Interview. 26 July 2019.
- ↑ https://www.bobvila.com/articles/painting-rust/
- ↑ https://www.popularmechanics.com/cars/how-to/a3110/a-diy-guide-to-painting-your-car-15998013/
- ↑ Tom Eisenberg. Auto Technician. Expert Interview. 26 July 2019.
- ↑ https://www.bobvila.com/articles/painting-rust/
- ↑ https://www.popularmechanics.com/cars/how-to/a3110/a-diy-guide-to-painting-your-car-15998013/
- ↑ Tom Eisenberg. Auto Technician. Expert Interview. 26 July 2019.
- ↑ https://www.popularmechanics.com/cars/how-to/a3110/a-diy-guide-to-painting-your-car-15998013/
- ↑ Tom Eisenberg. Auto Technician. Expert Interview. 26 July 2019.
- ↑ https://www.popularmechanics.com/cars/how-to/a3110/a-diy-guide-to-painting-your-car-15998013/
- ↑ https://www.popularmechanics.com/cars/how-to/a3110/a-diy-guide-to-painting-your-car-15998013/
- ↑ https://youtu.be/z-Yl_dMiGUQ?t=8
- ↑ https://youtu.be/z-Yl_dMiGUQ?t=186
- ↑ https://youtu.be/z-Yl_dMiGUQ?t=285
- ↑ https://youtu.be/z-Yl_dMiGUQ?t=470
- ↑ https://youtu.be/-HqUEc0l454?t=24
- ↑ https://youtu.be/-HqUEc0l454?t=24
- ↑ https://youtu.be/-HqUEc0l454?t=24
- ↑ https://youtu.be/-HqUEc0l454?t=31
- ↑ https://youtu.be/-HqUEc0l454?t=47
- ↑ https://youtu.be/-HqUEc0l454?t=67
- ↑ https://youtu.be/-HqUEc0l454?t=82
- ↑ https://youtu.be/-HqUEc0l454?t=112
