This article was co-authored by wikiHow Staff. Our trained team of editors and researchers validate articles for accuracy and comprehensiveness. wikiHow's Content Management Team carefully monitors the work from our editorial staff to ensure that each article is backed by trusted research and meets our high quality standards.
There are 12 references cited in this article, which can be found at the bottom of the page.
This article has been viewed 39,301 times.
Learn more...
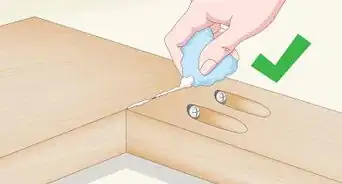
When wood paneling is hung correctly, it can give any room in your home a unique, classical look. However, the seams between panels are always visible. You might even catch a glimpse of the underlying wall color. Hiding unsightly seams is as simple as applying a premade joint compound over them. With careful sanding, the compound creates a smooth surface you can easily refinish with a new coat of paint. You don’t even have to tear down paneling to start remodeling!
Steps
Sanding Paneling
-
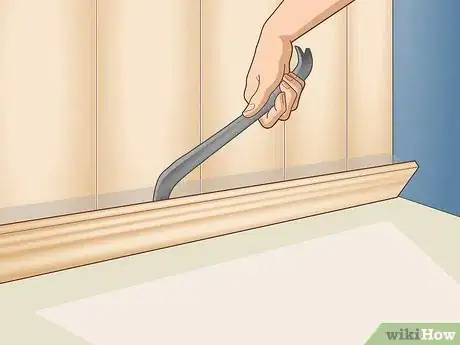
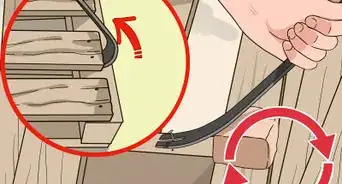
1Pull any baseboard or molding trim off the wall with a pry bar. At one end of the paneling, slip a putty knife behind the trim. Pull the trim forward gently until you’re able to slip a pry bar behind it as well. Loosen the entire length of trim before attempting to pry it off the wall. Then, wedge the pry bar in until it’s behind the center part of the trim and pull it forward to detach it from the wall.[1]
- You could also use tools like a trim puller or claw hammer to pull trim off a wall.
- Trim cracks easily, so take plenty of time to loosen it first. If you’re planning on replacing it, you won’t have to be as gentle with it.
-
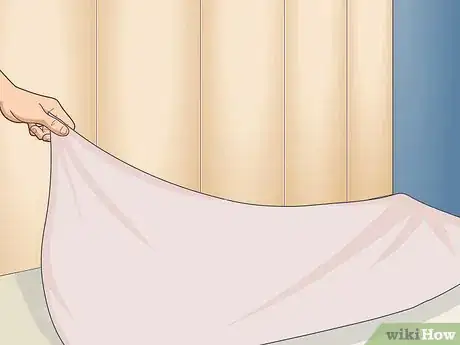
2Spread a drop cloth to protect the floor from stains. Move nearby furniture away from the wall first. Then, roll out the drop cloth, making sure it rests flat against the floor. Weight its edges down with heavy things like brick or scrap wood if you’re having trouble getting it to stay in place. Splattered drywall and paint drips are a hassle to get rid of once they are on a nice floor, so having the layer of protection can save you a lot of hassle in the long run.[2]
- You can get a canvas drop cloth or plastic sheeting online and at most hardware stores. These places also have everything else you might need for the project.
Advertisement -
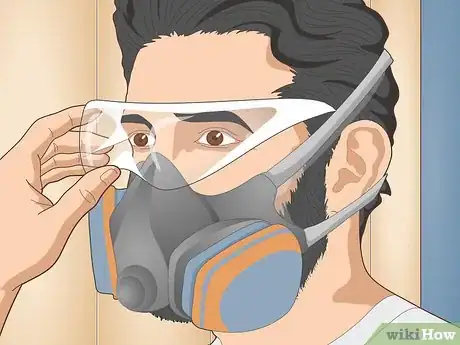
3Put on a paint mask and safety glasses for safety. You can use a regular painter’s mask. Wear it at all times while sanding and painting the paneling. Also, wear a fitting pair of safety glasses to protect yourself from wood dust while sanding. You won’t have to keep the glasses on when you’re painting.[3]
- To reduce the wood dust and paint smell in the room, try opening nearby doors and windows. When you’re done sanding, you could also vacuum to eliminate the dust.
- Keep other people and pets out of the room until you’re done working.
-
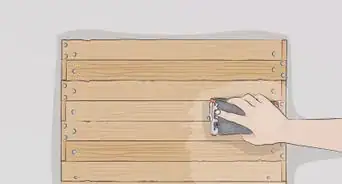
4Scuff the paneling lightly with 220-grit sandpaper. Prepare the entire wall by sanding each panel individually. Follow the wood’s grain by working from top to bottom. The grain is the dark fiber lines in the wood, and, by following them, you’re less likely to scratch the wood. Also, press the sandpaper down with a light amount of pressure while sanding.[4]
- Sanding dulls the finish on the wood. Check it over to make sure it looks consistently dull all over. If you notice spots that look very glossy, you might have missed sanding them.
-
5Wipe the wood dust off the wall with a damp rag. Moisten the rag in a sink with a little bit of warm water. Squeeze out the excess moisture before using it on the wall. To ensure you get all of the dust, scrub each panel from top to bottom.[5]
- You could also use a tack cloth to wipe away the dust, followed by a vacuum to pull anything left over out of tough areas like around the paneling seams.
Applying Joint Compound
-
1Scoop up a small amount of joint compound with the edge of a putty knife. To easily fill in the seams, use a flexible broad knife about 4 in (10 cm) wide. Dip the knife in so its bottom edge is covered by a layer of compound about 1 in (2.5 cm) thick. Less is more when filling seams, and you can always get more of the compound if you need it.[6]
- Remember, if you use too much compound, you will have to sand it off later. Some of the excess can be scraped off, but the rest will end up on the paneling.
- Keep in mind that you don’t have to fill deep seams in one go. For a better finish, spread the compound in a consistent layer 1⁄2 in (1.3 cm) thick and follow up with additional coatings when the initial one dries.
-
2Spread the joint compound down each seam at a 90-degree angle. To apply the initial layer of joint compound, hold the putty knife parallel to the wall. Then, drag it all the way down the seam. When you notice the joint compound thinning out, dip your knife back into the container to get more. Try to spread the joint compound consistently over each seam, although it won’t look very neat just yet.[7]
- The joint compound will overflow the seams. It’s unavoidable, but you will have plenty of time to tidy up later.
- To make this part easier, focus on one seam at a time. Fill it in and smooth out the joint compound before moving on to the next one.
-
3Hold the knife at a 45-degree angle to smooth out the joint compound. Place the edge of the knife at the top of the seam. Hold it so the handle faces toward you. While holding it at an angle, pull the blade down along the seam. Run it along each seam 2 or 3 times to ensure the joint compound has been smoothed out.[8]
- Check the seams afterward. They should all be filled in and level with the paneling. Apply more joint compound if you notice any spots that look under-filled.
- Smooth out any joint compound outside of the seams as well. It is easier to blend in and sand off when it’s consistent along the paneling.
-
4Wait 24 hours for the joint compound to dry. Make sure no one touches the wall in the meantime. When you come back, check the joint compound. If it feels hard and dry to the touch, it is ready to be sanded and covered.[9]
- If you attempt to sand too early, the joint compound won’t have a chance to settle properly. Check the manufacturer’s instructions to make sure you have given it enough time to dry.
-
5Sand the joint compound with 100-grit sandpaper to smooth it out. Wear down any spots covered by the joint compound, including outside of the seams. To ensure you get everything, start at the top of the wall and work on the panels one by one. Rub gently along the wood’s grain. Try to get the panels and seams as level with one another as possible.[10]
- Leveling the joint compound better hides the seams and gives you a fresh surface to paint over. It’s a little tedious, but the end result is worth the effort.
- Normally, you will have to sand away any joint compound outside of the seams to level out the wall. Go over the paneling several times to make it consistent.
- If you’re dealing with deep seams, they won’t be level with the wall yet. Sand the initial layer of joint compound on the seams, then cover it with another layer.
-
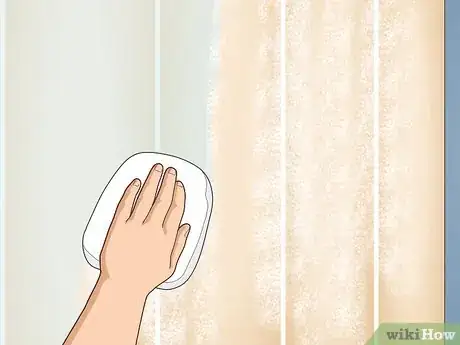
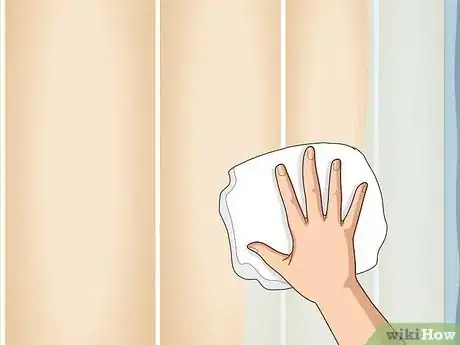
6Wipe off the paneling with a damp rag to remove dust. Dampen a clean rag in warm water and scrub each individual panel. Start at the top and work down to the bottom to be sure you don’t miss any spots. Look them over for any spots you may have missed. Afterward, you can vacuum to remove any make sure the wall is as clean as you can get it.[11]
- Each time you sand, wipe down the paneling. Even though you can’t see the dust, it’s there and gets in the way. It is noticeable when you apply joint compound or primer over it.
-
7Dry off any moisture still on the paneling. Go back over the paneling, scrubbing it dry with a clean rag. Make sure it looks and feels dry to the touch. Afterward, let it air dry for about 15 minutes to ensure that there isn’t any moisture lingering in the seams.[12]
- Afterward, you can touch the wall to feel for any lingering moisture. If you notice any sort of dampness, dry it off or let it air dry a little longer.
- Moisture could thin out the joint compound or prevent it from sticking to the wall. For the best finish, don’t start applying it until you’re sure the wall is dry.
-
8Fill the seams with another layer of joint compound if it is needed. To deal with deep seams, apply more joint compound with a broad knife. Spread some down the seams first, then smooth it out. After it dries, sand it and then clean it with a damp cloth. If the seam still doesn’t look consistent with the rest of the wall, add a third coat of joint compound.[13]
- Most seams aren’t deep enough to require more than 1 to 2 layers of joint compound. However, if yours don’t look finished, keep adding more joint compound to create a smoother surface.
- You could also cover the entire wall with joint compound, sand that, and paint over it. It’s a good way to ensure the wall is smooth with the seams well-covered. Use a roller to spread the joint compound.
Refinishing Paneling
-
1Select a stain-blocking primer to prepare the paneling for painting. Oil-based primers are usually what the professionals use. They are good at covering imperfections and resisting stains some types of wood leave on paint. Shellac-based primers are like high-end oil primers that dry out at a faster rate. If you use a white oil or shellac primer, it will do a good job of covering the paneling for a neat, damage-resistant finish.[14]
- Latex primers are usually fine for paneling. They are more inexpensive, easier to clean, and dry out at a faster rate than other primers, but they don’t block stains from wood like cedar.
- No matter what type of primer you choose, make sure it’s compatible with the type of paint you plan on using. Oil-based primers can usually be used with any type of wall paint.
-
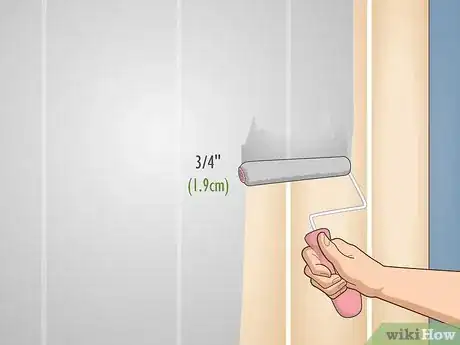
2Roll primer onto the wall using a 3⁄4 in (1.9 cm)-nap foam roller. Pour some of the paint into a paint tray, then move the roller through it. Make sure the roller is pretty evenly-coated but not dripping. Then, work around the wall’s edges first. Fill the inner portion of the paneling afterward.[15]
- To make painting easier, use a brush to paint around the edges first. Those spots tend to be tough to reach with a roller.
-
3Wait about 24 hours for the primer to dry. Make sure no one touches the paneling in the meantime. It should feel dry to the touch when you come back. Once it is dry, you can safely finish it with a new coat of paint.
-
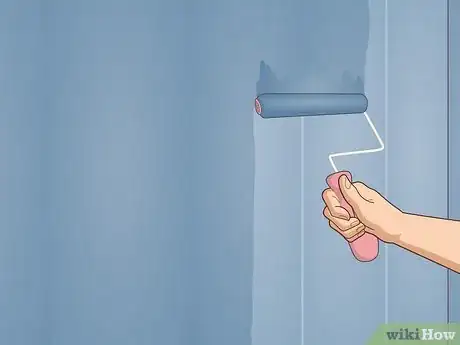
4Spread paint over the wall with a 3⁄4 in (1.9 cm)-nap foam roller. Select a paint that is compatible with the primer you used. If you’re unsure what to use, a latex paint with a satin finish is good for a finish that is easy to clean and easier to look at. Work around the paneling’s edges first, then fill in the inner portion.[16]
- Use a brush to work around corners without staining other walls or the ceiling.
-
5Recoat the paneling if necessary when it finishes drying. Interior latex paint tends to dry enough to be re-coated within about 1 hour. Apply a second coating afterward to even out the finish. Wait for it to dry, then check your work. If the finish still looks a little uneven, you can apply additional coats of paint to improve it.[17]
- Generally, you will have to paint over paneling 2 to 3 times in order to get it perfect. It’s a somewhat slow process, but take your time so each coat of paint has plenty of time to dry out.
- The drying time varies depending on what kind of paint you choose. Remember to check the manufacturer’s information for more information.
-
6Nail any removed baseboards and molding trim back onto the wall. If the trim is still intact, you can put it back in its original position around the paneling. Put each piece back, lining up the nail with the existing nail holes on the wall. After hammering the nails back in, apply a bead of caulk along each panel to secure it in place. Your wall will then look as good as new with no signs of the seams underneath it.[18]
- If the trim is damaged, install new pieces. Cut the boards, then nail them to the wall.
Warnings
- Always wear the proper safety gear when sanding and painting. Have a dust mask and safety glasses available.⧼thumbs_response⧽
Things You’ll Need
- Putty knife
- Pry bar or claw hammer
- Joint compound
- 4 in (10 cm) broad knife
- 100-grit sandpaper
- 220-grit sandpaper
- Clean rags
- Dust mask
- Safety glasses
References
- ↑ https://www.bobvila.com/articles/how-to-remove-baseboard/
- ↑ https://www.bobvila.com/articles/how-to-paint-wood-paneling/
- ↑ https://www.bobvila.com/articles/how-to-paint-wood-paneling/
- ↑ https://www.bobvila.com/articles/how-to-paint-wood-paneling/
- ↑ https://todayshomeowner.com/video/how-to-fill-grooves-in-paneling-before-painting/
- ↑ https://todayshomeowner.com/video/how-to-fill-grooves-in-paneling-before-painting/
- ↑ https://www.thisoldhouse.com/walls/21016728/how-to-finish-drywall
- ↑ https://www.youtube.com/watch?v=ihVe2zztaRo&feature=youtu.be&t=82
- ↑ https://www.youtube.com/watch?v=MMQiV6xMp40&feature=youtu.be&t=12
- ↑ https://todayshomeowner.com/video/how-to-fill-grooves-in-paneling-before-painting/
- ↑ https://www.bobvila.com/articles/bob-vila-radio-painting-wood-paneling/
- ↑ https://todayshomeowner.com/video/how-to-fill-grooves-in-paneling-before-painting/
- ↑ https://www.youtube.com/watch?v=MMQiV6xMp40&feature=youtu.be&t=14
- ↑ https://www.thisoldhouse.com/painting/21015783/a-primer-on-primers
- ↑ https://www.bobvila.com/articles/how-to-paint-wood-paneling/
- ↑ https://www.bobvila.com/articles/bob-vila-radio-painting-wood-paneling/
- ↑ https://www.bobvila.com/articles/bob-vila-radio-painting-wood-paneling/
- ↑ https://www.bobvila.com/articles/how-to-install-baseboard/
- ↑ https://todayshomeowner.com/video/how-to-hide-seams-when-installing-paneling/
- ↑ https://www.bobvila.com/articles/how-to-mud-drywall/
