X
wikiHow is a “wiki,” similar to Wikipedia, which means that many of our articles are co-written by multiple authors. To create this article, volunteer authors worked to edit and improve it over time.
This article has been viewed 181,496 times.
Learn more...
After making homemade bread, you'll need to cool it after removing it from the oven. To keep the bread in top shape, it needs to be cooled properly to avoid sweating, stickiness, or too much softness.
This method relates to yeasted breads, not unleavened varieties.
Steps
-
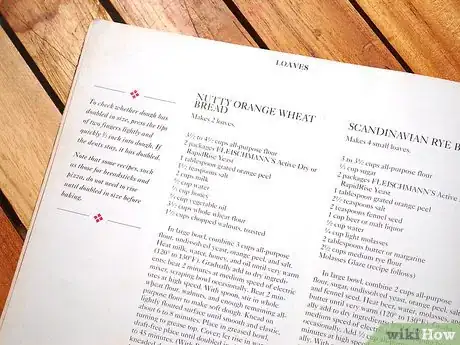
1Read the recipe. The recipe may make a certain cooling method apparent and this should be followed to ensure the outcome promised by the recipe.[1] If not, follow the method outlined here.
-
2Remove the bread from the oven. Use oven mitts to protect your hands from both the hot pan and oven. When handling the hot bread, consider leaving the mitts on initially.Advertisement
-
3Remove the bread from the loaf pan or baking pan as soon as you've removed it from the oven. This is important because bread left in the pan outside of the oven will become moist, soggy, and sponge-like very quickly as the moisture in the pan condenses onto the bread.
-
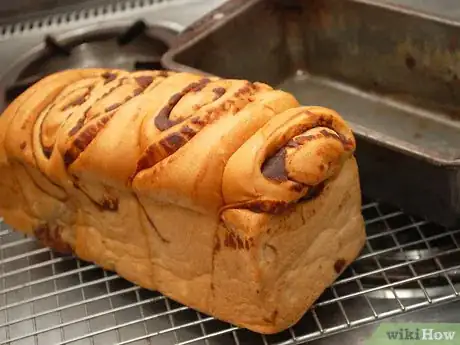
4Turn the bread out onto a wire cooling rack. Leave to cool, or you can take slices of the bread when warm for a "hot bread" treat.[2]
-
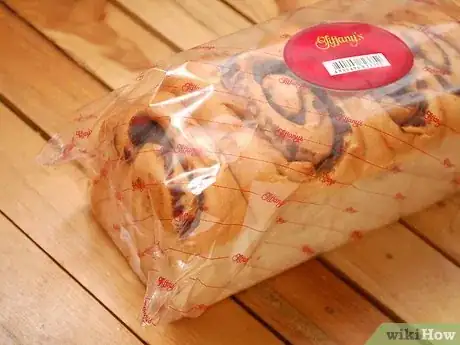
5Ensure that any bread to be stored is absolutely cold before placing it into plastic or paper. This will ensure that it stays crisp around the crust.[3]
-
6Finished.
Advertisement
Community Q&A
-
QuestionShould bread be cooled on its side?
 Community AnswerNo, you do not have to cool the bread on its side.
 -
QuestionDo I have to cool it on the windowsill? I don't have a screen, and there are pigeons outside.
 Community AnswerYou can just cool it on a wire rack on a counter.
 -
QuestionCan I cool gluten-free bread in the fridge?
 Community AnswerSure, but keep it tightly sealed in a plastic bag so that it doesn't absorb any smells from the fridge.
Advertisement
Things You'll Need
- Wire cooling rack
- Oven mitts for handling hot pan and bread
- Paper or plastic for room temperature storage
- Foil and sealable plastic bag for freezer storage
References
- ↑ https://www.allrecipes.com/recipes/156/bread/
- ↑ https://www.epicurious.com/expert-advice/how-to-glaze-bake-and-cool-bread-loaves-at-home-article
- ↑ https://www.epicurious.com/expert-advice/how-to-keep-bread-fresh-article
- ↑ https://www.thekitchn.com/the-best-way-to-freeze-and-thaw-bread-246477
- ↑ https://www.stilltasty.com/questions/index/18
About This Article
Advertisement
