Steps on connecting your HP LaserJet 1010 and configuring settings in Windows 7
X
wikiHow is a “wiki,” similar to Wikipedia, which means that many of our articles are co-written by multiple authors. To create this article, volunteer authors worked to edit and improve it over time.
This article has been viewed 164,967 times.
Learn more...
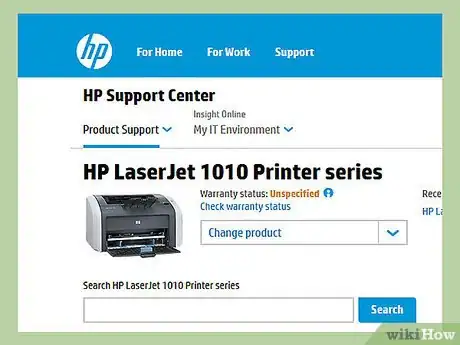
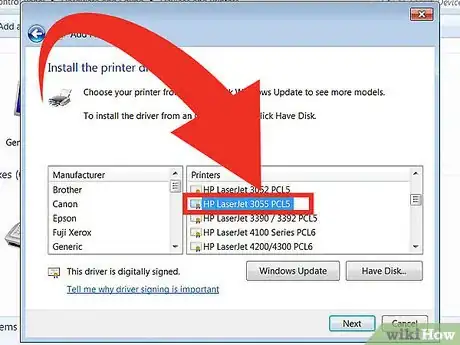
One thing about HP LaserJet 1010 is that it was released way before Windows 7, so trying to install this printer on a Windows 7 computer might be a little difficult due to compatibility issues. Luckily, there are other drivers from the same HP printer family that you can use to make LaserJet 1010 work on your Windows 7 PC.
Steps
Method 1
Method 1 of 2:
Connect the Printer to Your Computer
-
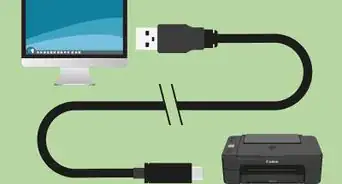
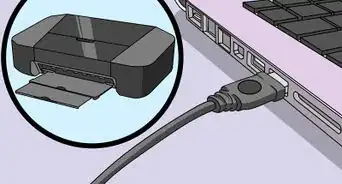
1Connect your HP LaserJet 1010 to your computer. Do this using the USB data cable. Plug the ends of the cable, respectively, into the compatible ports on each device.
-
2Plug the printer to a power supply. Then, switch it on.Advertisement
-
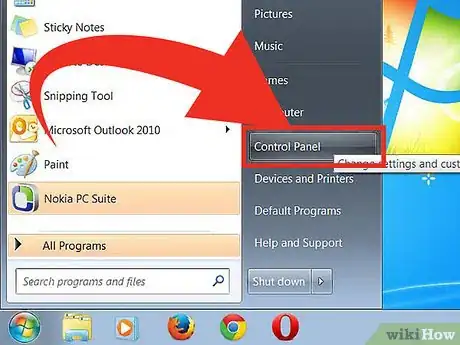
3Click on the Orb button. It is located on the lower-left corner of the screen.
-
4Select “Control Panel.” Click on “Devices and Printers.”
-
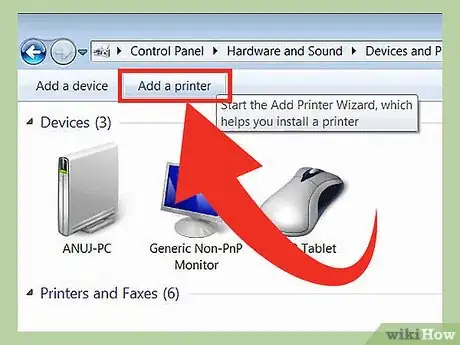
5Click on “Add a Printer.” This is found on the upper-left corner of the window.
-
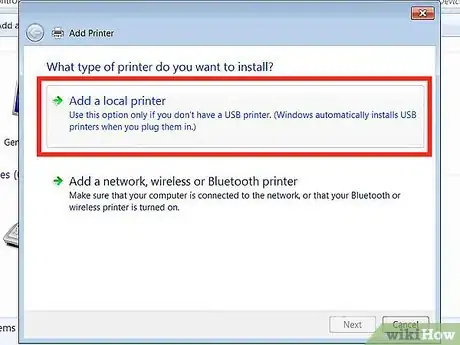
6Choose “Add a Local Printer.” Click on “Next” to proceed.
-
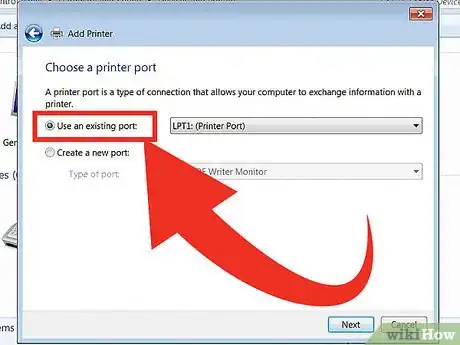
7Select “Use an existing port.” A drop-down list will show; select “DOT4_001” from the options.
- Click on “Next” to go to the next page.
Advertisement
Method 2
Method 2 of 2:
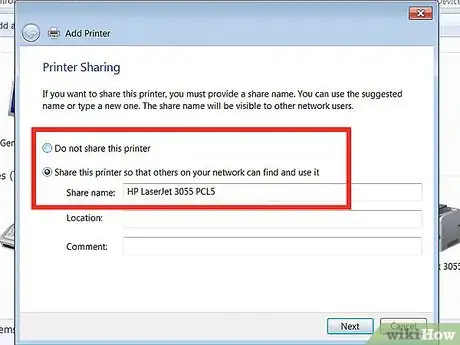
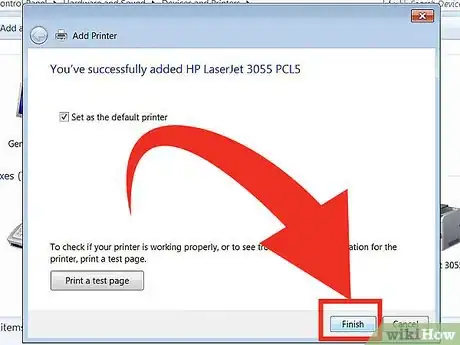
Configure the Settings
Community Q&A
-
QuestionWhy do I get the message "unsupported personality : pcl" after using printer several times?
 Community AnswerTry by installing the device driver software. It refers to the software, which does the work of supporting external utilities.
Advertisement
About This Article
Advertisement
