This article was co-authored by wikiHow staff writer, Kyle Hall. Kyle Hall works on the content team at wikiHow. He helps manage our team of editors and creates content for a variety of wikiHow projects. Kyle continually looks for new ways to improve the content at wikiHow and make it more helpful and enjoyable for readers. He graduated from Eckerd College in 2015, where he majored in Political Science.
The wikiHow Tech Team also followed the article's instructions and verified that they work.
This article has been viewed 60,157 times.
Learn more...
A print spooler is the software that handles all the print jobs being sent to a printer. If your printer's not working and your print jobs keep getting stuck, you may need to clear the printer spooler. Before you clear the printer spooler, make sure your work is saved and there aren't any other issues affecting your print jobs. Then, you can go into your computer settings and clear the printer spooler so all your failed print jobs are deleted. Once they're deleted, you should be able to print your documents again without any problems.
Steps
Clearing a Printer Spooler in Windows 8 and 10
-
1Click on the start menu. The start menu looks like 4 blue boxes. If you can't find the start menu on your screen, press the button on your keyboard that looks like 4 black boxes and the “S” key at the same time to open the menu.[1]
-
2Search for “Services.msc” in the search box. The search box should be located in the menu that popped up when you clicked start. After you type “Services.msc” into the search box, press the “Enter” key on your keyboard.[2]Advertisement
-
3Select “Print spooler” in the window that pops up. The window should say “Services” at the top. On the right side of the window, scroll through the list of services until you find the one labeled “Print spooler.” The services should be in alphabetical order. Click on “Print spooler” so the column is highlighted in blue.[3]
-
4Click on “Restart the service.” Look for this button on the left side of the “Services” window. You'll find it below the “Stop the service” button, and above “Description.”[4]
-
5Try printing your document again. Go back into the program you were printing from and pull up the document you were working on. Click the “Print” button in the program. The document should now print.[5]


Clearing a Printer Spooler in OS X
-
1Open the Apple menu. To open the menu, click on the Apple menu icon on your screen. The menu icon is a small picture of a shaded-in apple.
-
2Click on “System preferences.” Look for “System preferences” near the top of the Apple menu.
-
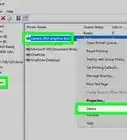
3Click on “Printers and scanners” in the window that pops up. It may say “Print and scan” or “Print and fax” instead. If you're having trouble finding it, look for the icon that looks like a printer and click on it.
-
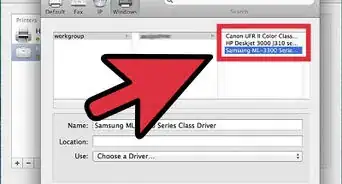
4Select your printer from the printer list. The printer list is located on the left side of the “Printers and scanners” window. If you're not sure what your printer is called, check the outside of your printer for a name and model number. Then, find that name and number in the list of printers and click on it so it's highlighted in blue.
-
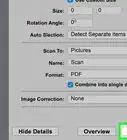
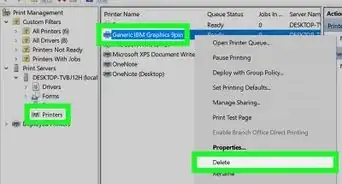
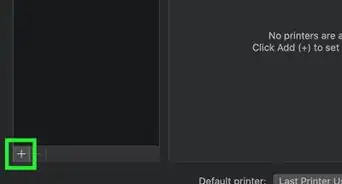
5Click the minus button at the bottom of the printer list. The minus button looks like a minus sign. After you click on it, your selected printer should be deleted from the printer list. This will clear any print jobs that have been sent to the printer.
-
6Click on the plus button at the bottom of the printer list. The plus button looks like a plus sign. After you click on it, a new window that says “Add” at the top should pop up.
-
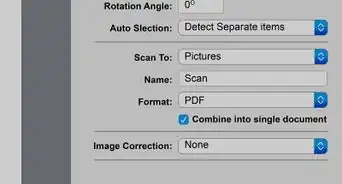
7Select your printer from the list of printers in the “Add” window. You may need to scroll through the list of other nearby printers to find yours. Once you find it, click on it so it's highlighted in blue.
-
8Click the “Add” button in the bottom right corner of the window. This will add your printer back to the printers list. Close out of the “Add” window after you add your printer back to the list.
-
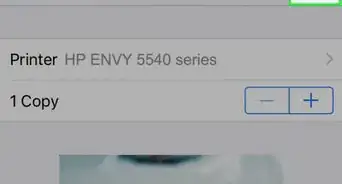
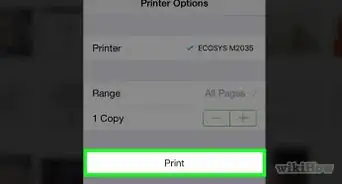
9Try printing again. Go into the program you're working in and click the “Print” button. Select your printer from the list of options and print your document. It should now print.


Ruling out Other Issues
-
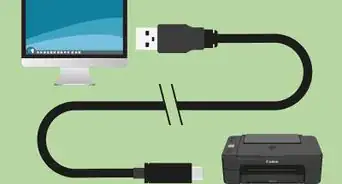
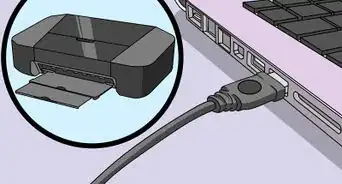
1Make sure your printer is plugged in and has power. Look at your printer. If all the lights are off, it may not have power, which could be why your print jobs aren't going through. Check to see if the printer cord is plugged in. If it's not, plug it in and try printing again to see if the problem is resolved.[6]
-
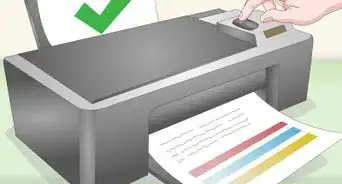
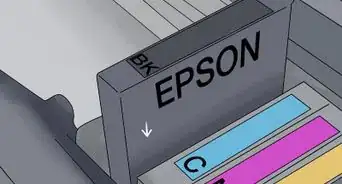
2Check if your printer has any errors. Look on the printer for any flashing lights or error messages. A paper jam or low ink may be why your printer isn't working. Take care of any error messages before you clear the printer spooler. Once the error messages are gone, try printing something to see if the problem is resolved.[7]
-
3Save your work in the program you're trying to print from. Once you're certain it's nothing else causing your print jobs to fail, you should clear the printer spooler. However, doing so will delete all your previous print jobs, so make sure you have all of your work saved before you proceed. When you're finished clearing the printer spooler, you can pull up your saved work and try printing it again.


References
- ↑ https://technet.microsoft.com/en-us/library/cc772408(v=ws.11).aspx
- ↑ https://technet.microsoft.com/en-us/library/cc772408(v=ws.11).aspx
- ↑ http://www.windowstricks.in/2015/07/print-spooler-stopping-automatically-on-windows-10-windows-8-and-8-1.html
- ↑ http://www.windowstricks.in/2015/07/print-spooler-stopping-automatically-on-windows-10-windows-8-and-8-1.html
- ↑ http://www.windowstricks.in/2015/07/print-spooler-stopping-automatically-on-windows-10-windows-8-and-8-1.html
- ↑ http://hp.dezide.com/ts/start.jsp?guide=printjobstuckinqueue.net&as=true&os=windows§ion=ccweb&sfs=sdoc&language=english&lc=en&cc=us&tracking=mhhhjder&dcsession=43599114&action=step&response=1&step=C51450.C51322&session=d06839ad-2c1e-4b69-bbff-6b0f48
- ↑ http://hp.dezide.com/ts/start.jsp?guide=printjobstuckinqueue.net&as=true&os=windows§ion=ccweb&sfs=sdoc
About This Article